
Is your little one a fan of Pete the Cat and his carefree attitude? Do they love the story of “Pete the Cat and His Four Groovy Buttons”? If so, you’re in the right place! Inspired by the popular children’s book, this DIY Pete the Cat costume, focusing on his iconic groovy buttons, is purr-fect for Halloween, dress-up parties, or just because. Not only is it incredibly simple to make, but it’s also budget-friendly, allowing you to create a memorable and adorable outfit for your child without breaking the bank. Let’s dive into how you can bring Pete the Cat and his groovy style to life!
What You Need to Create Your Pete the Cat Costume
To get started on your groovy adventure, gather these easy-to-find materials. You might even have some of them already at home!
- Yellow Long-Sleeve Shirt or Cardigan: This forms the base of Pete’s outfit. A cardigan works great for layering and mimicking Pete’s look.
- Colorful Felt or Fabric Scraps (Teal, Dark Blue, Green, Red): For crafting those essential groovy buttons. Felt is easy to work with and requires no sewing!
- Red Felt Sheets (Two): To create Pete’s signature red sneakers shoe covers.
- White Ribbon or Elastic: For securing the shoe covers.
- Blue Fabric Scrap (Fleece or Polyester Recommended): For Pete’s cool cat hat. Fleece is forgiving for beginners as it doesn’t fray easily.
- Empty Cereal Box: To give structure to your groovy buttons.
- White Paint: To add buttonhole details.
- Safety Pins: For attaching the buttons to the shirt.
- Hot Glue Gun & Glue Sticks: For the shoe covers and hat (optional sewing for hat).
- Yellow Sunglasses (Optional): To complete Pete’s cool and groovy vibe.

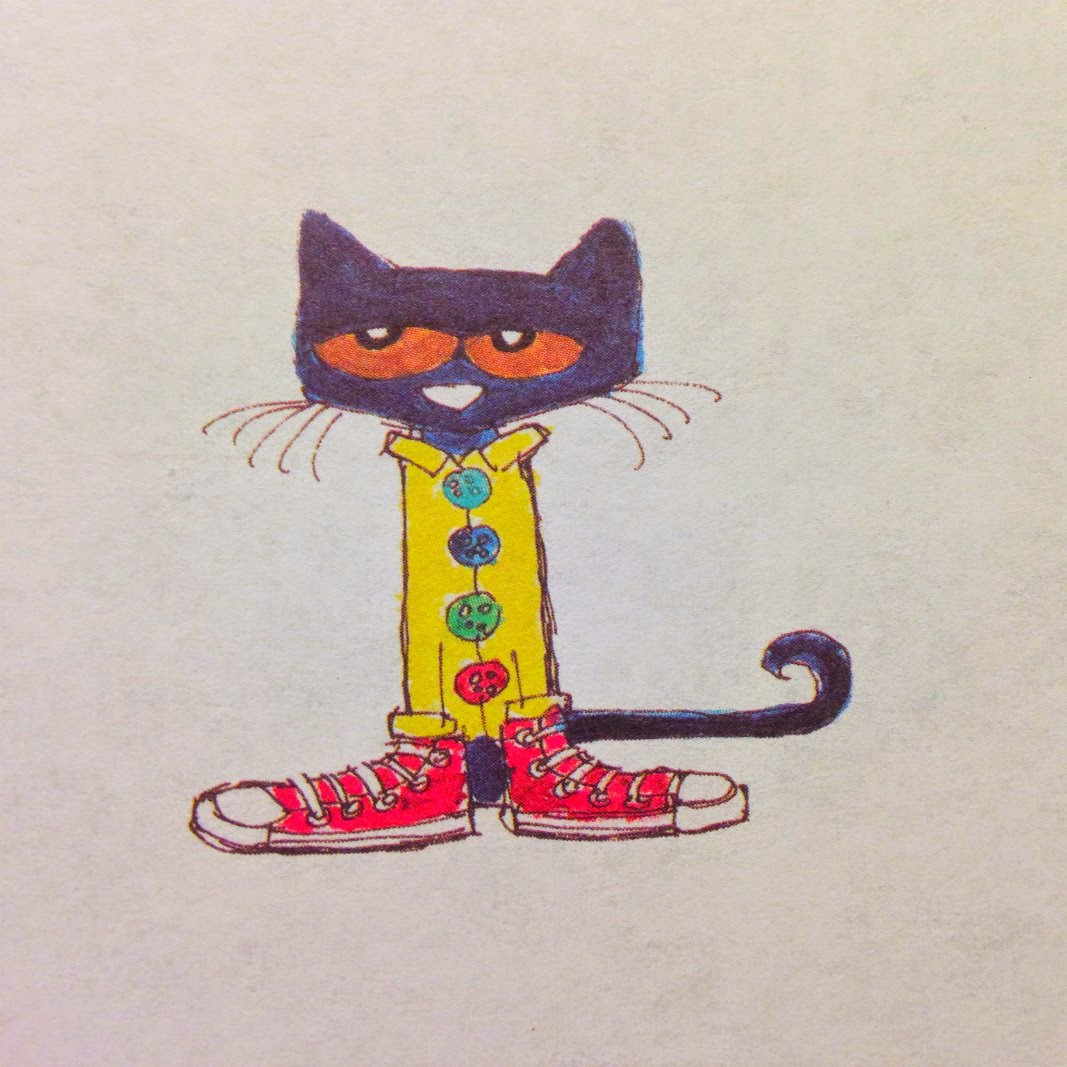
Pete the Cat ‘Four Groovy Buttons’ book cover, showcasing Pete with his iconic colorful buttons.
Step-by-Step Guide to Pete’s Groovy Buttons Costume
Now, let’s get crafting! Follow these simple steps to assemble each part of your Pete the Cat costume, focusing on those all-important groovy buttons.
Crafting Pete’s Groovy Buttons
Pete’s groovy buttons are the heart of this costume! They are easy and fun to make:
- Cut Cardboard Circles: Trace and cut out four circles from your empty cereal box. These will be the base for your buttons.
- Cover with Fabric: Cut circles of your teal, dark blue, green, and red felt or fabric slightly larger than the cardboard circles. Glue the fabric onto the cardboard, wrapping the edges to the back for a neat finish.
- Add Button Details: Once the glue is dry, use white paint to create the look of buttonholes on each fabric-covered circle.
- Attach to the Shirt: Carefully use safety pins to attach the groovy buttons to the yellow shirt or cardigan. Arrange them down the front, just like in “Pete the Cat and His Four Groovy Buttons.”

Close-up of DIY Pete the Cat costume buttons made from fabric and cardboard.
Making Pete’s Cool Cat Hat
No Pete the Cat costume is complete without his blue cat ears! Here’s how to make a simple hat:
- Use a Template (or Sketch Your Own): While a precise pattern isn’t essential, sketch out two semi-circle shapes for the main hat pieces and four ear shapes (two for each ear). Refer to the original post’s template image for a visual guide, or simply create your own basic cat ear and hat shapes.
- Cut the Fabric: Cut out two hat pieces and four ear pieces from your blue fabric. Remember to measure your child’s head circumference to ensure a good fit.
- Assemble the Hat:
- Sew or Glue Hat Pieces: Sew or hot glue the two semi-circle hat pieces together along the curved edge to form the main part of the hat. If using fleece or polyester, unfinished edges will work fine.
- Create the Ears: Pair up two ear pieces for each ear. Sew or glue around the curved edges, leaving the bottom straight edge open.
- Attach Ears: Position and attach the ears to the top of the hat. You can fold the bottom straight edge of the ear pieces inwards before gluing or sewing them to the hat for a cleaner look.

Template sketch for a DIY Pete the Cat hat, showing basic shapes for cutting fabric.
Creating Pete’s Red Sneaker Shoe Covers
To complete the look with Pete’s iconic red sneakers, these simple shoe covers are perfect:
- Cut Felt Shapes: Using the template provided in the original post as a guide, cut out two shoe cover shapes from each sheet of red felt (four total). Folding the felt in half before cutting ensures matching shapes.
- Create Lace Holes: Cut small slits or holes near the top of each felt piece for shoelaces.
- Glue Back Seams: Hot glue along the back seams of each shoe cover piece to create a slip-on shoe shape. Add a small piece of felt to the bottom center for extra durability.
- Add Straps and Laces: Use ribbon or elastic to create a strap that goes under the shoe to secure the cover. Lace up the front using ribbon in Pete’s signature horizontal style.

DIY Pete the Cat red shoe covers made from felt, laced with white ribbon.
Completing Your Pete the Cat Look
To truly embody Pete the Cat, consider these final touches:
- Yellow Cardigan or Shirt: Layer a yellow cardigan over a long-sleeve shirt for a cozy and book-accurate look.
- Yellow Sunglasses: Add a pair of yellow sunglasses for extra coolness, especially for outdoor events or sunny Halloween days!

Child proudly wearing a completed DIY Pete the Cat costume with groovy buttons, hat, and shoe covers.
Get Groovy with Pete the Cat!
Creating a Pete the Cat “groovy buttons” costume is a fantastic way to celebrate this beloved book character and his positive message. It’s a simple, affordable, and fun DIY project that’s perfect for costume parties, book character day, or imaginative play. So, gather your supplies, get crafty, and get ready to spread some groovy vibes with your very own Pete the Cat! And remember, “Buttons come and buttons go.” Goodness no, don’t sweat the small stuff!
