Got a cat and a growing collection of cardboard boxes thanks to your online shopping habits? Don’t just toss those boxes! Instead, tap into your creativity and build a fantastic Cat Castle that will thrill your feline friend. This DIY project is not only a fun way to repurpose materials, but it also provides your cat with enrichment and a unique playground. Forget expensive cat trees – a cardboard cat castle is budget-friendly, eco-conscious, and guaranteed to be a hit with your kitty.
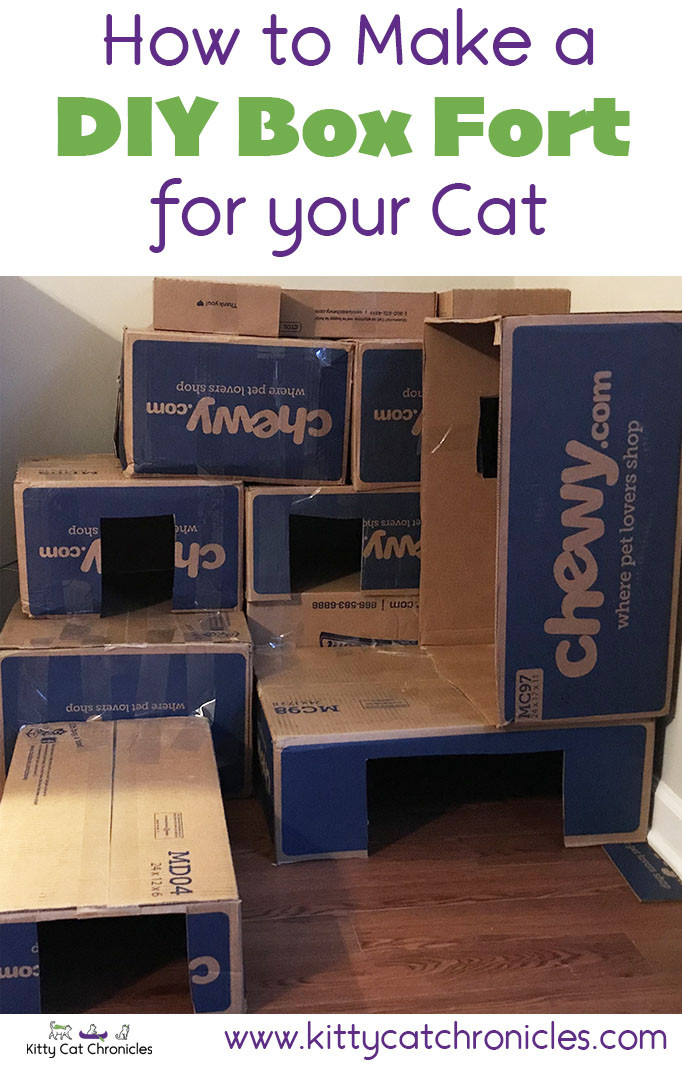 A multi-level cat castle crafted from cardboard boxes, offering cats a fun and enriching environment.
Building a DIY cardboard cat castle is surprisingly simple, and you likely already have everything you need right at home. Let’s dive into the materials and easy steps to create this purr-fect feline fortress.
Materials You’ll Need to Build Your Cat Castle:
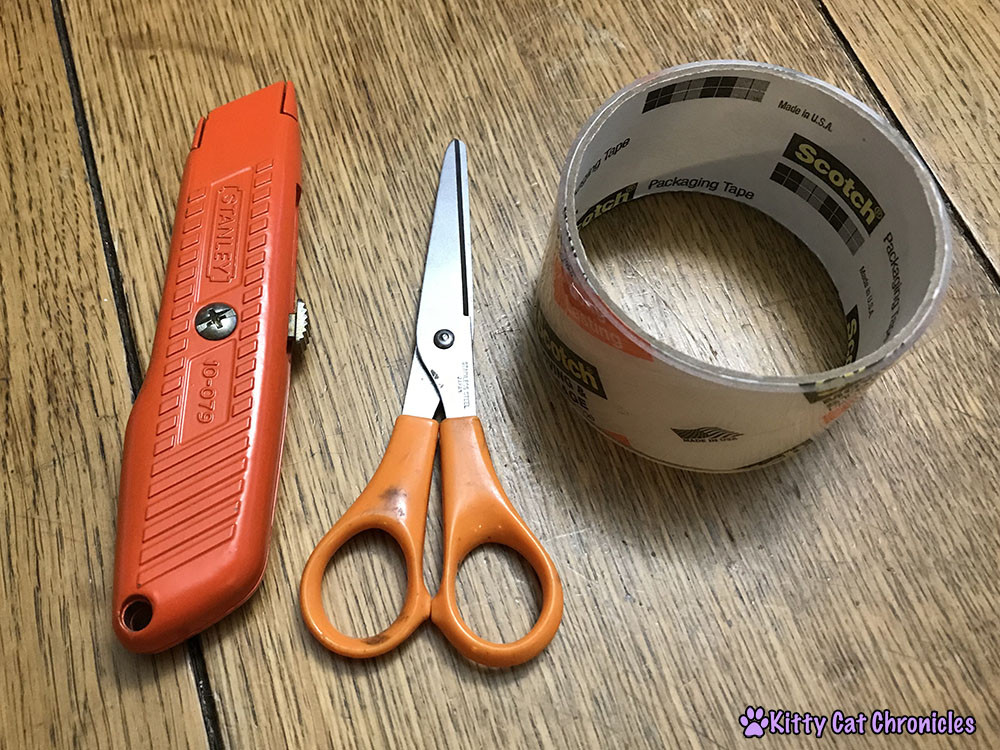 Essential supplies for building a cardboard cat castle, including boxes, box cutter, and tape.
- Cardboard Boxes: The stars of the show! Gather various sizes and shapes to make your cat castle more interesting. Amazon boxes, shipping boxes, even cereal boxes can be incorporated.
- Box Cutter or Scissors: For safely cutting entryways and shaping the boxes.
- Tape: Packing tape or duct tape works best for securely holding the cat castle together.
- Optional: Ruler or Measuring Tape: Helpful for planning and ensuring holes line up.
- Optional: Marker or Pen: For marking where to cut.
Step-by-Step Guide to Building Your Cardboard Cat Castle:
Step 1: Box Acquisition – The Foundation of Your Castle
Start collecting cardboard boxes. The more you have, the grander your cat castle can be! Different sizes will add variety to the structure.
Step 2: Flap Removal – Preparing Your Building Blocks
Using your box cutter or scissors, carefully cut off the top flaps of each box. This will create open ends for your cat to move freely between sections of the cat castle.
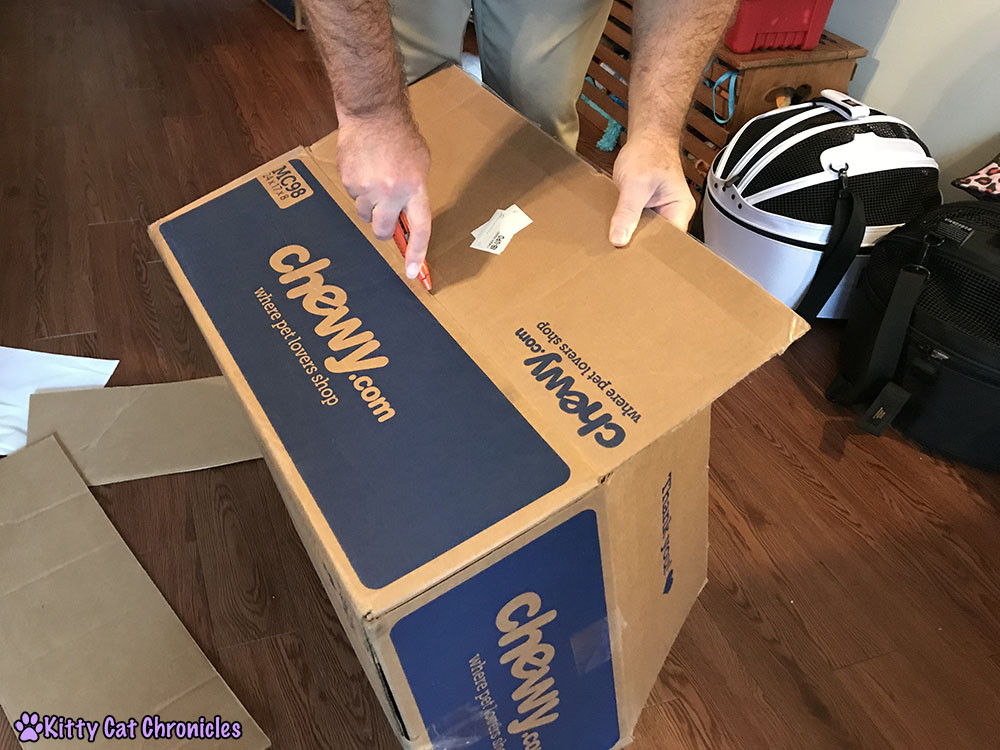 Cutting flaps off cardboard boxes to prepare them for cat castle construction.
Step 3: Blueprint Brainstorming – Designing Your Feline Fortress
Before you start cutting holes, take some time to plan the layout of your cat castle. Imagine how the boxes will connect and stack. Think about creating tunnels, cozy cubbies, and multiple levels for your cat to explore.
Step 4: Entryway Excavation – Creating Passages for Exploration
Using your box cutter, carefully cut entry holes into the sides of the boxes you’ve chosen. Make sure the holes are large enough for your cat to comfortably pass through. Vary the size and shape of the openings for added interest in your cat castle design.
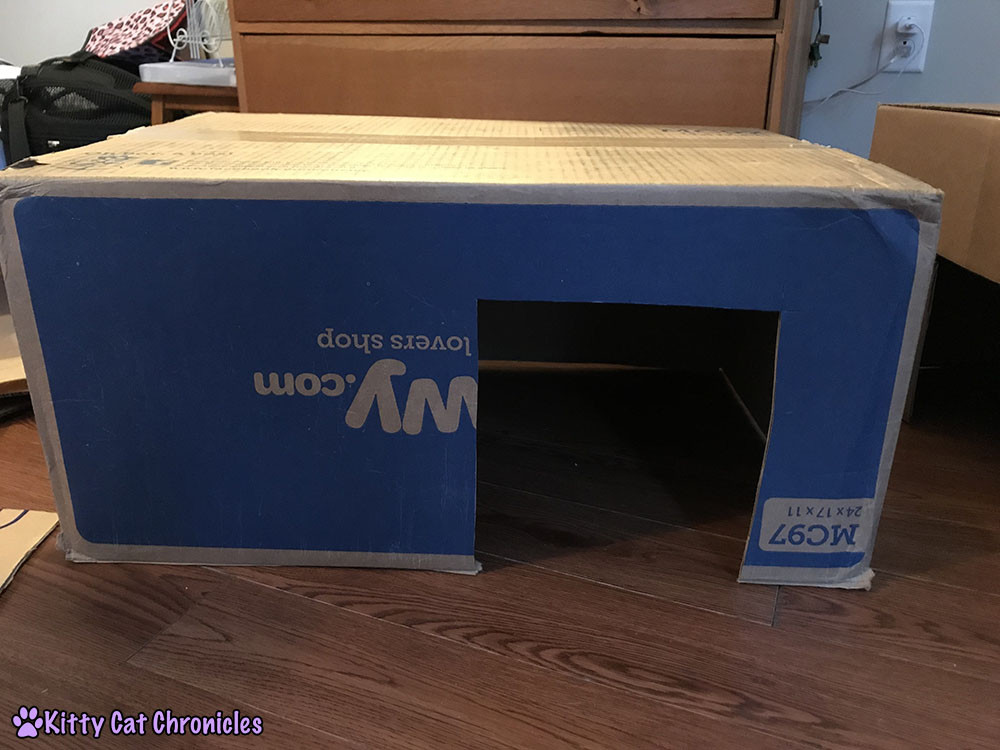 Cutting entry holes into cardboard boxes to create tunnels and rooms in the cat castle.
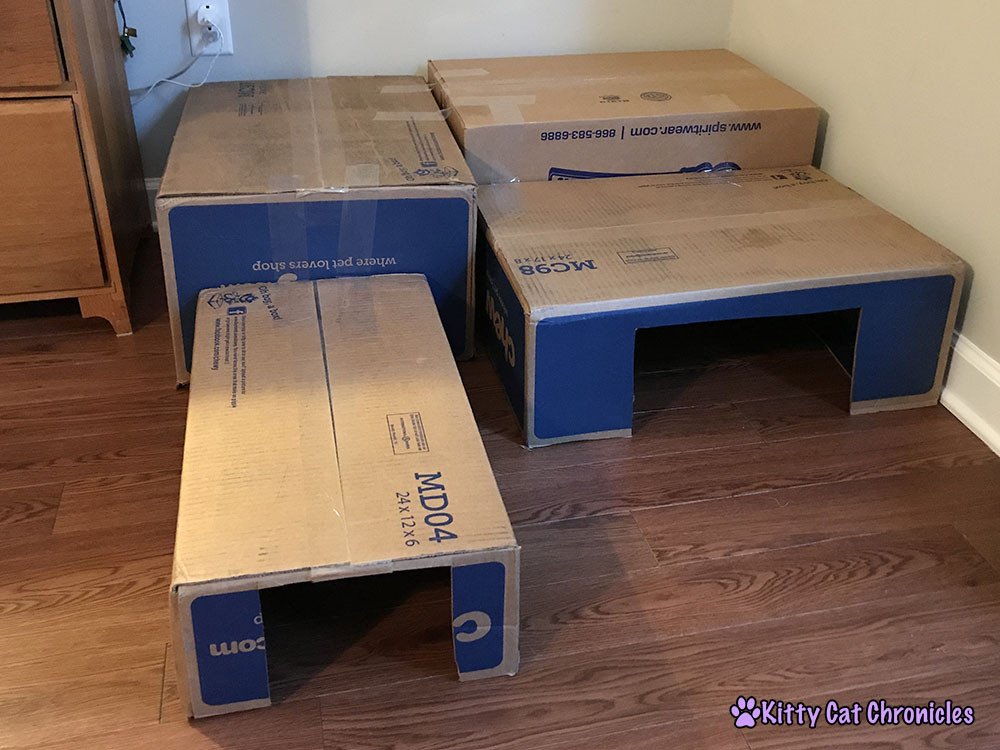
Step 5: Tunnel Alignment – Connecting the Chambers
Arrange the boxes to align the entry holes, creating tunnels and interconnected spaces. This allows your cat to move seamlessly through their new cat castle. Experiment with different configurations to maximize fun and exploration.
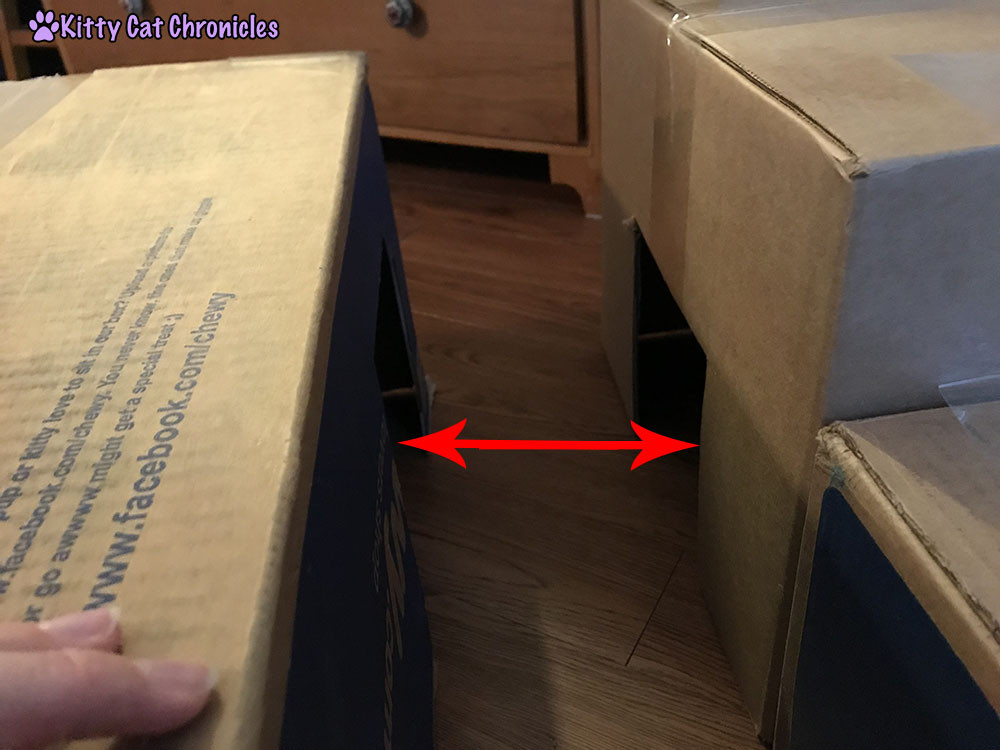 Arranging cardboard boxes with aligned entry holes to form interconnected tunnels for a cat castle.
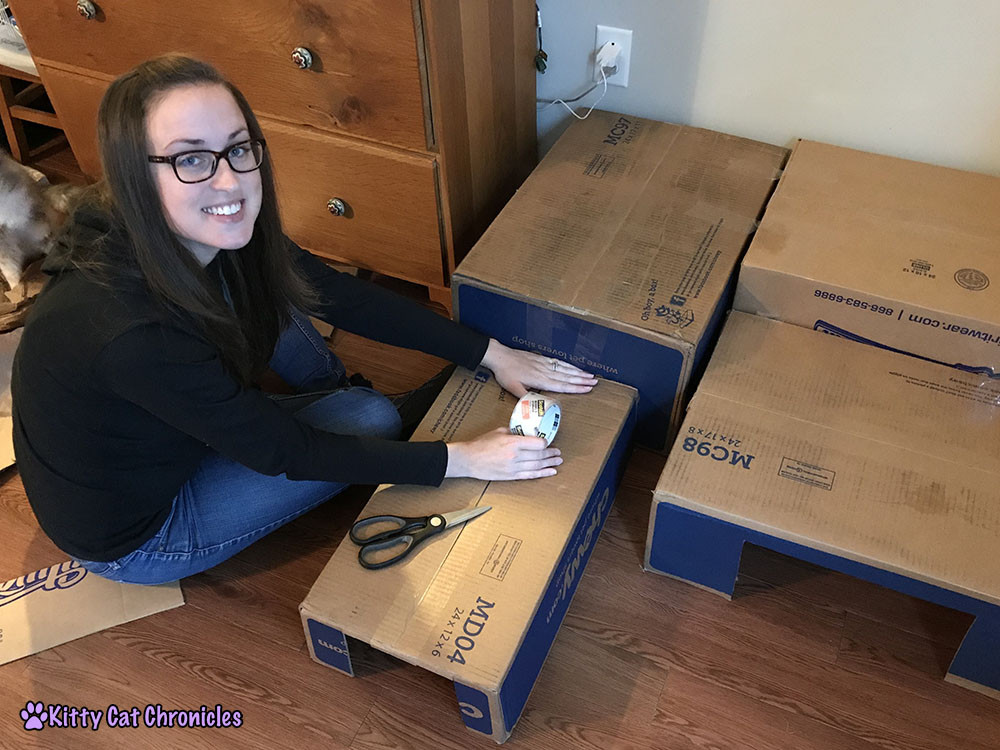
Step 6: Secure the Structure – Taping the Castle Walls
Generously apply tape to connect the boxes together. Focus on securing the points where boxes meet to ensure a sturdy and safe cat castle for your feline friend. Don’t skimp on the tape – a well-taped castle is a long-lasting castle!
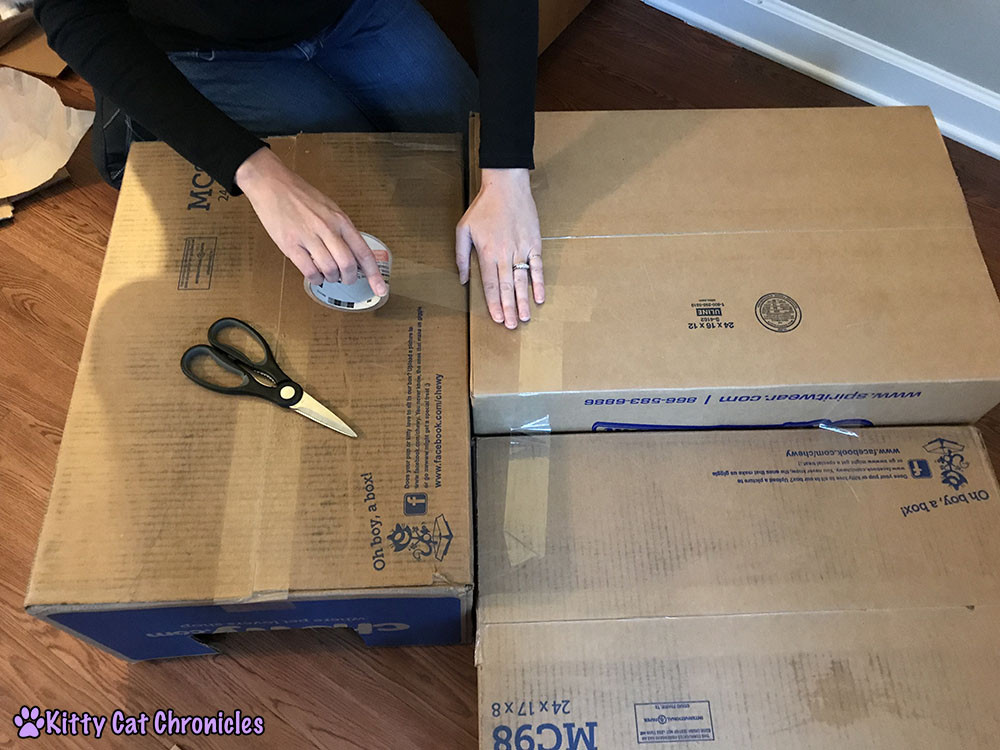 Taping cardboard boxes together to build the sturdy structure of a cat castle.
 Close-up of taping cardboard boxes together to reinforce the cat castle structure.
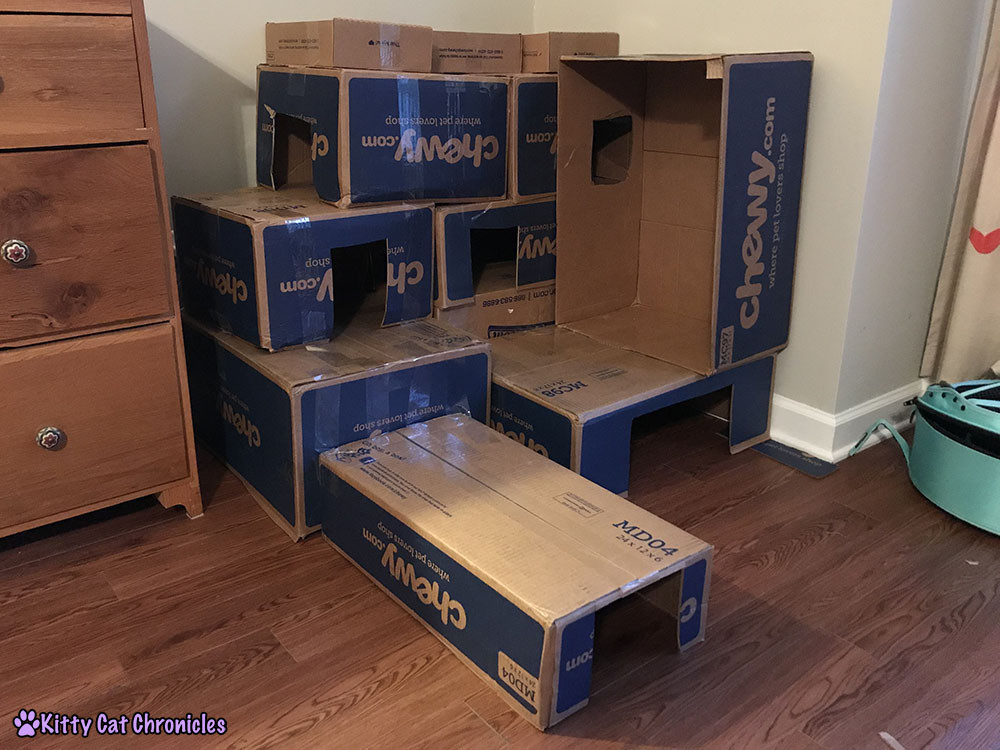
 The first level of a cardboard cat castle, showcasing interconnected boxes securely taped together.
Step 7: Vertical Expansion – Building Upwards
Once the first level is complete, you can start building vertically to create a multi-story cat castle. Repeat steps 2-6 to add more levels. Get creative with stacking, but remember to keep the structure stable and not too high to prevent tipping. Safety first for your kitty king or queen!
 A multi-level cardboard cat castle taking shape, showing vertical construction and interconnected boxes.
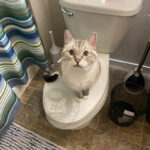
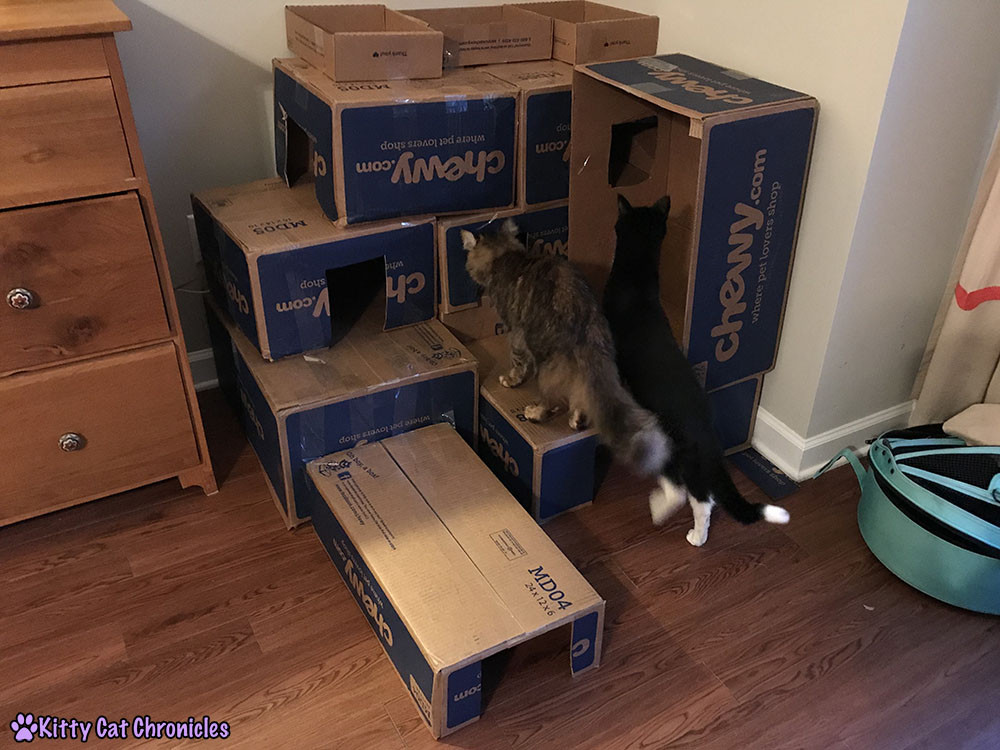
Step 8: Quality Control – The Feline Inspection
Now for the most important step: let your cats explore their new cat castle! Observe their reactions and make any adjustments needed. Cats are the best quality control inspectors when it comes to feline furniture.
 A cat inspecting the cardboard cat castle, ensuring it meets feline quality standards.
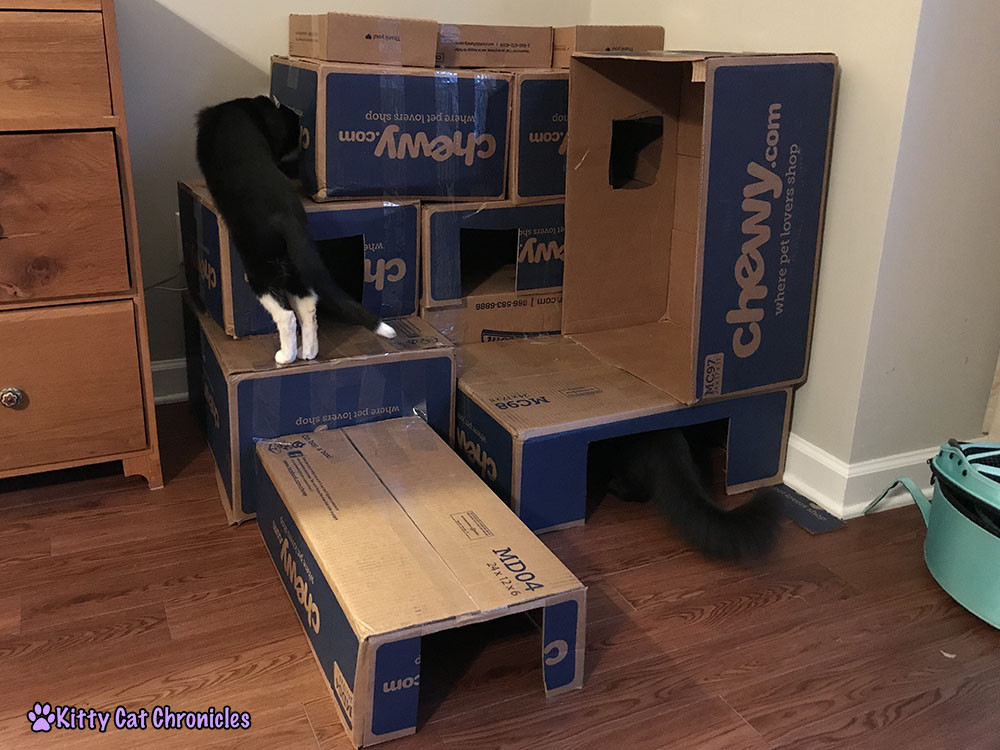 A cat enjoying the interior of a cardboard cat castle, showcasing its cozy and playful design.
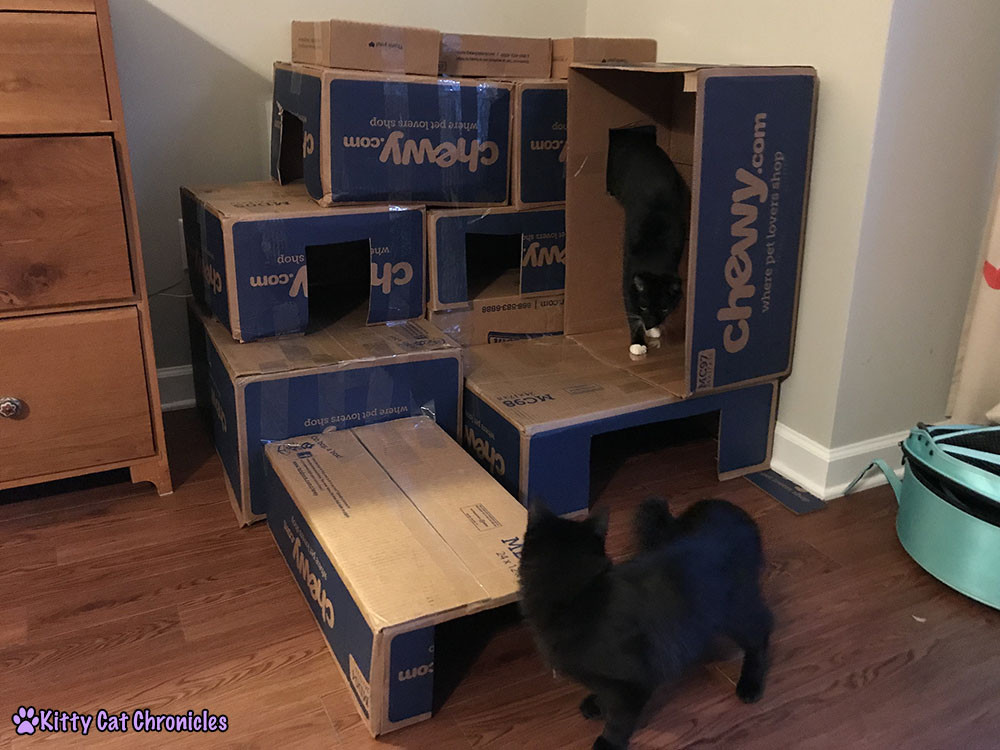 Two cats playing inside a cardboard cat castle, highlighting its appeal as a feline playground.
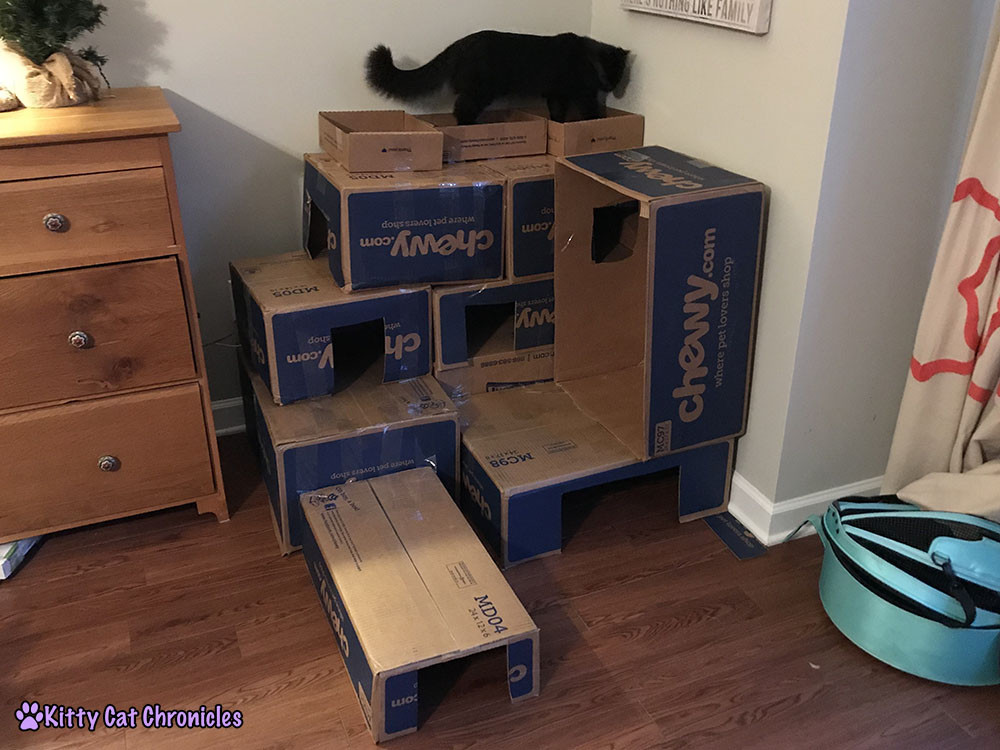 A cat perched on top of a cardboard cat castle, surveying its kingdom from above.
Step 9: Enjoy the Feline Fun!
Sit back and watch your cats revel in their amazing cardboard cat castle. You’ve not only created a fun and engaging space for them, but also repurposed materials and saved money.
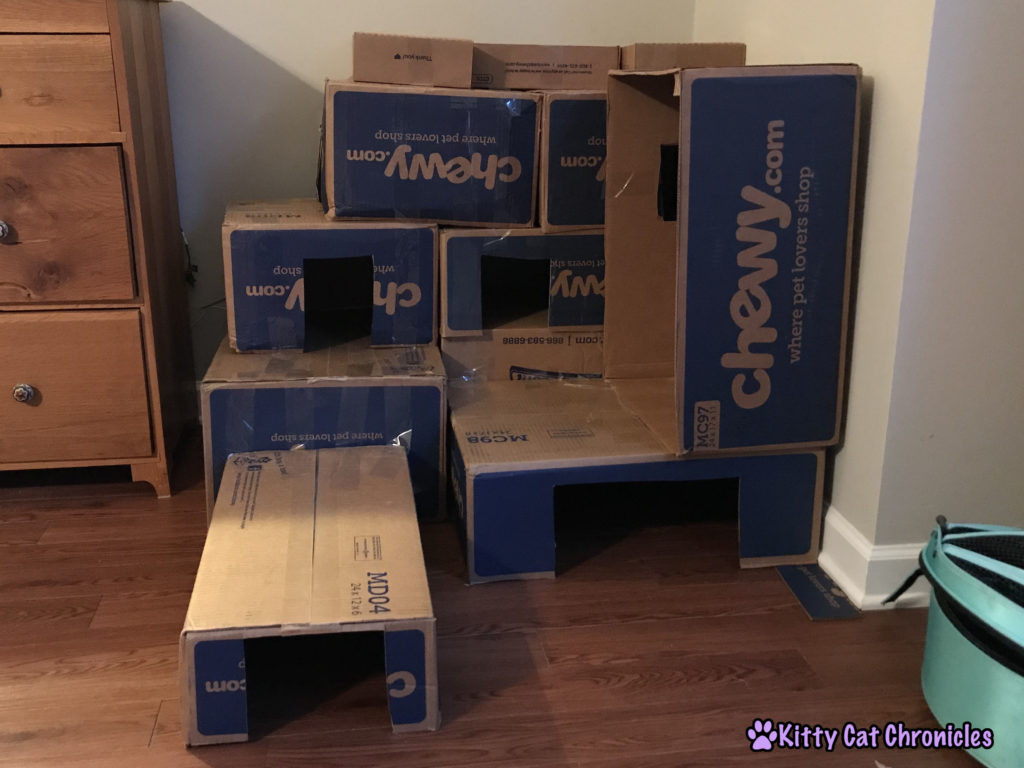 A finished cardboard cat castle, ready for feline adventures and enjoyment.
This DIY cat castle is a fantastic way to provide environmental enrichment for your cats. It’s eco-friendly, budget-saving, and offers endless entertainment. Plus, it’s a great way to deal with that pile of Amazon boxes! There’s no reason not to build a cardboard cat castle for your beloved felines. So, gather your boxes and get crafting – your cats will thank you for their new kingdom!
Have you ever built a box fort or cardboard cat castle for your cats? Share your experiences in the comments below!