
Halloween is fast approaching, and what better way to celebrate than by crafting your own adorable accessories? This DIY project will guide you through creating charming crochet Cat Ear Headbands, perfect for adding a touch of whimsy to your Halloween costume or any fun outfit. These headbands are not only easy and quick to make, but they also use minimal yarn, making them an ideal stash-busting endeavor. Whether you’re dressing up as a cute kitten or simply want to add a playful element to your look, these cat ear headbands are purr-fect for both kids and adults!
If you’ve followed my blog, you know my enthusiasm for Halloween! The season’s beauty and the holiday’s spooky charm always inspire me, and this year is no exception. You might have noticed this in my recent patterns, such as the Pumpkin Messy Bun Beanie and the Pumpkin Spice Latte Amigurumi. Even with Halloween looking a bit different this year, dressing up in delightful costumes remains a cherished tradition. That’s why I designed these cute animal headbands, expanding on my previous Halloween headband creations like the Unicorn Headband and Witch Hat Headbands!
While this pattern originally included instructions for fox ears as well, we’ll be focusing specifically on creating adorable cat ear headbands in this guide. They are incredibly versatile and can be customized in various colors to match your personal style or costume.
For those interested in the quintessential cat-like black yarn, Lion Brand Vanna’s Choice in Black is an excellent option. It provides a beautiful, rich black color that works up wonderfully for crochet projects.
Looking for the ad-free PDF pattern encompassing both cat and fox ears? You can find it for purchase in my shop HERE!
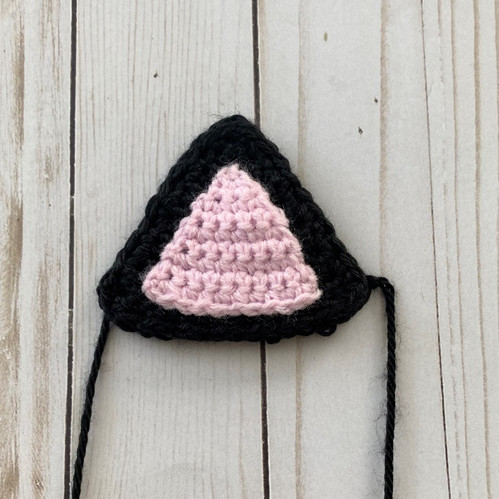
 Close-up of crocheted black cat ears attached to a headband, showcasing the texture and shape of the ears.
Supplies You’ll Need
To create your own charming cat ear headband, gather these supplies:
- Size D-3 / 3.25 mm crochet hook
- Yarn:
- Lion Brand Vanna’s Choice in Black (approximately 90 yards for both ears and headband)
- Lion Brand Pound of Love in Pink (approximately 20 yards for inner ears)
- Plastic Craft Headband
- Yarn Needle
- Scissors
Abbreviations Used
- Ch = chain
- Rep = repeat
- Sc = single crochet
- St(s) = stitch(es)
Gauge
Gauge is not crucial for this project, making it perfect for relaxed crafting.
Size
Each finished cat ear will measure approximately 2.5 inches in length.
Step-by-Step Guide: Crocheting Your Cat Ear Headband
Let’s dive into the crochet pattern to create these delightful cat ears.
Creating the Cat Ears (Make 4)
We will begin by crocheting the main part of the cat ears using black yarn. You will need to make four of these pieces – two for the front of the ears and two for the back, providing structure and a neat finish.
- Start: With black yarn, chain 2.
- Row 1: In the second chain from the hook, make 3 single crochets (sc). Chain 1, turn. (3 sc)
- Row 2: Single crochet in each stitch across. Chain 1, turn. (3 sc)
- Row 3: 2 single crochet in the next stitch, single crochet in the next stitch, 2 single crochet in the last stitch. Chain 1, turn. (5 sc)
- Row 4: Single crochet in each stitch across. Chain 1, turn. (5 sc)
- Row 5: 2 single crochet in the next stitch, single crochet in the next 3 stitches, 2 single crochet in the last stitch. Chain 1, turn. (7 sc)
- Row 6: Single crochet in each stitch across. Chain 1, turn. (7 sc)
- Row 7: 2 single crochet in the next stitch, single crochet in the next 5 stitches, 2 single crochet in the last stitch. Chain 1, turn. (9 sc)
- Row 8: Single crochet in each stitch across. Chain 1, turn. (9 sc)
- Row 9: 2 single crochet in the next stitch, single crochet in the next 7 stitches, 2 single crochet in the last stitch. Chain 1, turn. (11 sc)
- Row 10: Single crochet in each stitch across. Chain 1, turn. (11 sc)
- Row 11: 2 single crochet in the next stitch, single crochet in the next 9 stitches, 2 single crochet in the last stitch. Chain 1, turn. (13 sc)
- Row 12: Single crochet in each stitch across. Chain 1, turn. (13 sc)
- Row 13: 2 single crochet in the next stitch, single crochet in the next 11 stitches, 2 single crochet in the last stitch. Chain 1, turn. (15 sc)
- Row 14: Single crochet in each stitch across. Chain 1, turn. (15 sc)
Edging for Cat Ears
To give the cat ears a polished look, we’ll add an edging around each piece.
- Single crochet around the entire piece, making 9 single crochets up the first side, 2 single crochets at the tip of the ear, 9 single crochets down the other side, and 15 single crochets across the bottom (Row 14). (35 sc)
- Fasten off, leaving a long tail for sewing.
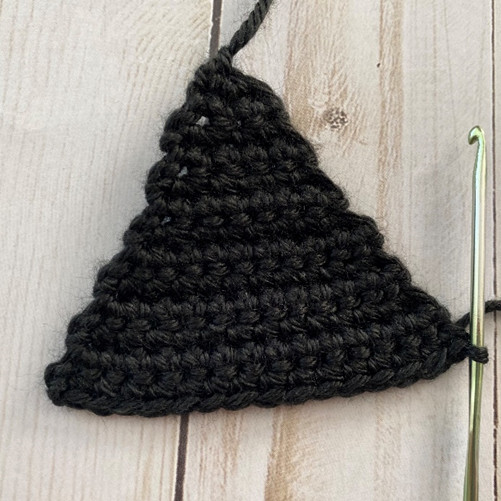 Diagram illustrating the crochet pattern for the cat ear shape, highlighting row increases and the final edging.
Creating the Inner Ears (Make 2)
The inner ears add a contrasting color and depth to your cat ears. We’ll use pink yarn for a classic cat ear look, but you can choose any color you like!
- Start: With pink yarn, repeat Rows 1 – 9 of the Cat Ear pattern.
- Finishing: Fasten off, leaving a long tail for sewing.
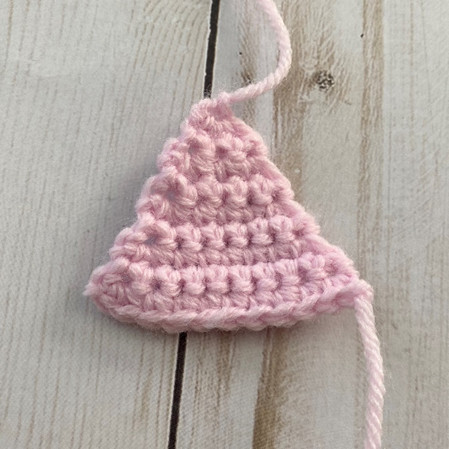 Image showing a close-up of the crocheted pink inner ear piece, emphasizing its smaller size compared to the outer ear.
 Image displaying both the black outer cat ear and the pink inner ear pieces side-by-side, ready for assembly.
Assembling the Cat Ears
Now that you have all the pieces crocheted, let’s assemble the cat ears.
- Layering: Sew one pink Inner Ear to one black Cat Ear.
- Completing the Ear: Sew this layered piece to another black Cat Ear to create one complete ear with a front and back.
- Repeat: Repeat this process to make a second complete cat ear.
 Step-by-step photo showing how to sew the inner pink ear to the outer black ear, and then attaching the back black ear piece.
Preparing the Headband
To make the headband comfortable and yarn-covered, follow these steps:
- Starting Point: Begin at one end of the plastic craft headband. Place a small section of your desired yarn color (black is recommended to match the ears) on the inside of the headband.
- Wrapping: Start wrapping the yarn tightly around this section, and continue wrapping around the rest of the headband. Keep the wraps tight and push the yarn down occasionally to ensure a snug and secure covering.
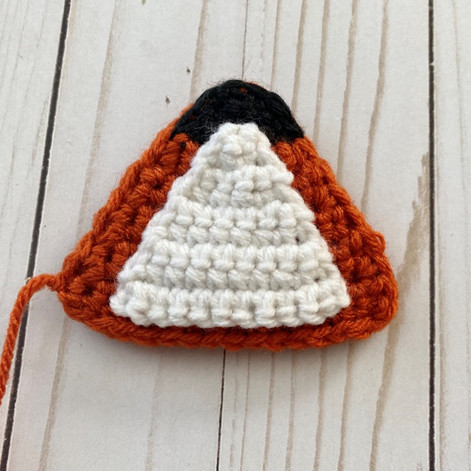 Image illustrating the process of wrapping yarn around the plastic headband, starting from one end.
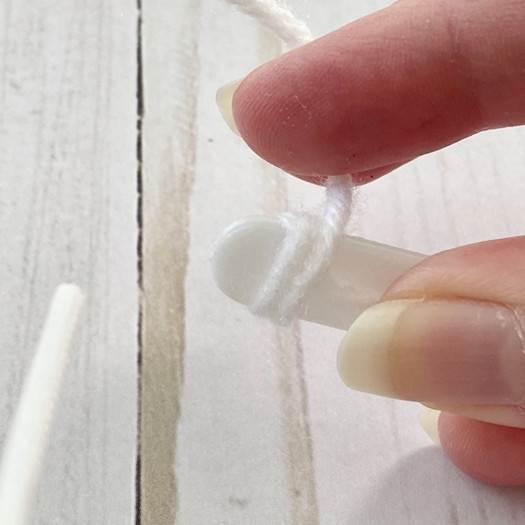 Image showing the headband partially wrapped in black yarn, demonstrating the tight wrapping technique.
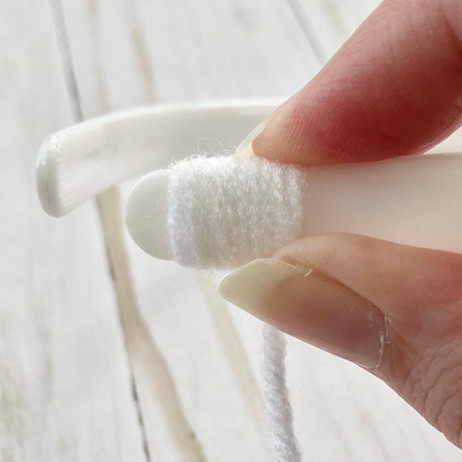 Image of a fully yarn-wrapped headband, ready for the cat ears to be attached.
Finishing the Headband
- Securing the End: When only about half a centimeter of the headband remains unwrapped at the other end, fasten off the yarn, leaving a long tail.
- Weaving in the Tail: Thread the yarn tail onto your yarn needle and weave it through 1-2 centimeters of the wrapped yarn at the edge of the headband to secure the end neatly.
 Image showing the final wraps of yarn around the headband end and preparing to secure the yarn tail.
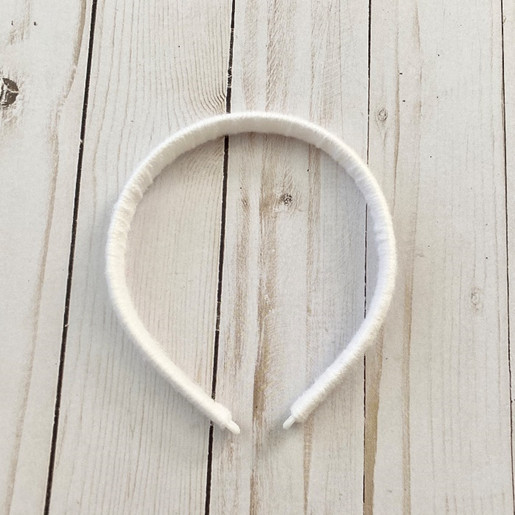 Image demonstrating how to weave in the yarn tail to secure the wrapped yarn at the headband's end.
Attaching the Cat Ears to the Headband
- Positioning: Sew the completed cat ear pairs to the yarn-covered headband, spacing them about an inch apart.
- Securing: Ensure the ears are firmly attached to the headband for durability.
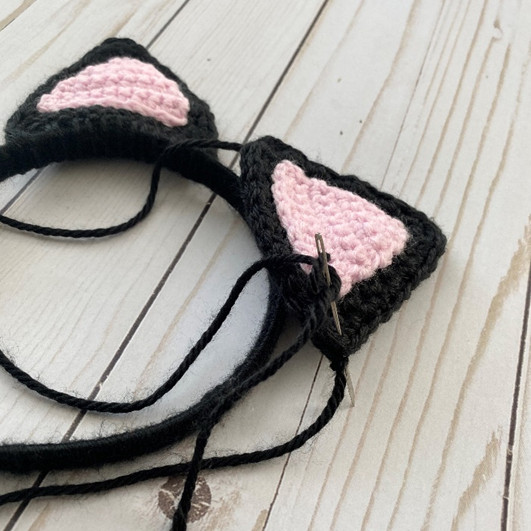 Image showing the process of sewing the assembled cat ears onto the yarn-wrapped headband, ensuring even spacing.
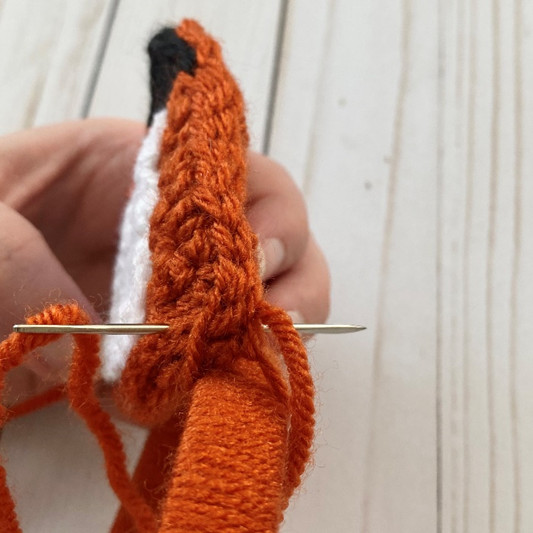 Image displaying the cat ears attached to the headband, viewed from the front to show ear placement.
Final Touches
- Weave in all remaining yarn ends to ensure a clean and professional finish.
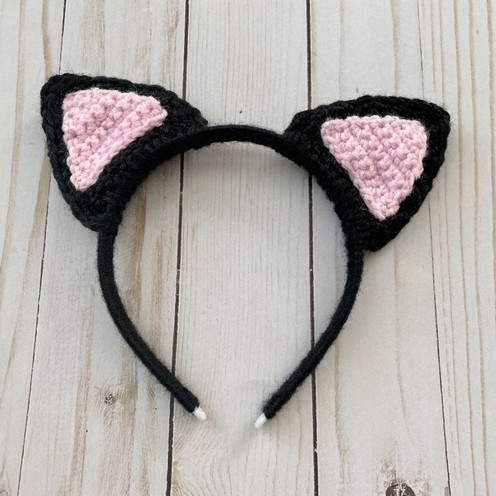 Image showcasing the finished crochet cat ear headband from a side angle, highlighting the neat finish and ear placement.
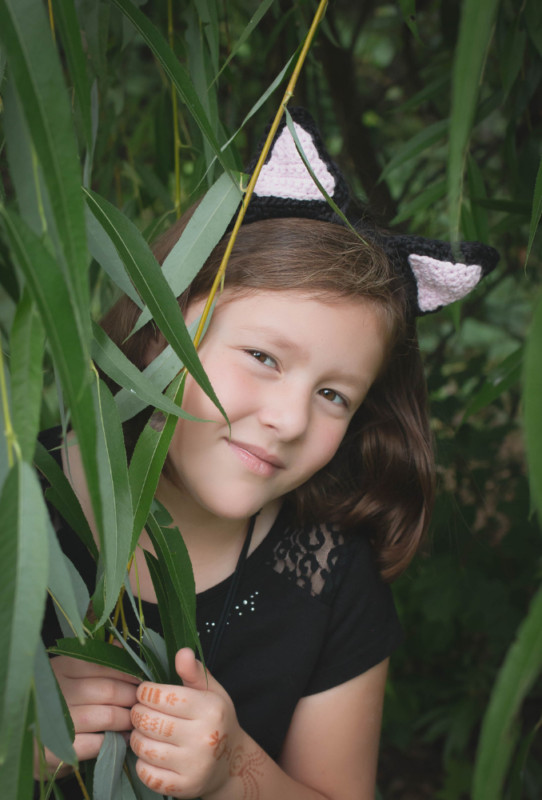
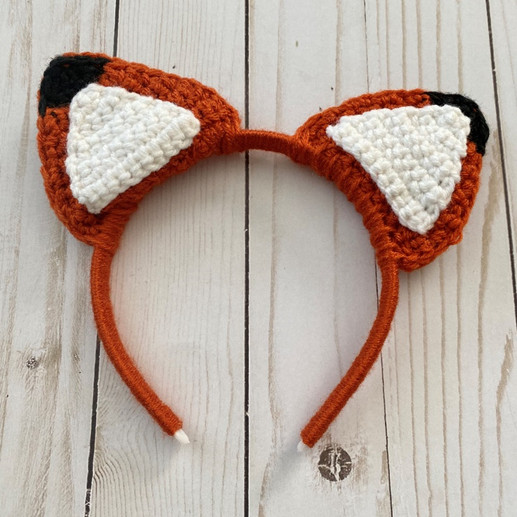 Image of a person wearing the completed crochet cat ear headband, demonstrating how it looks when worn.
Here are your finished adorable cat ear headbands! Perfect for Halloween, costume parties, or just adding a playful touch to your everyday style.
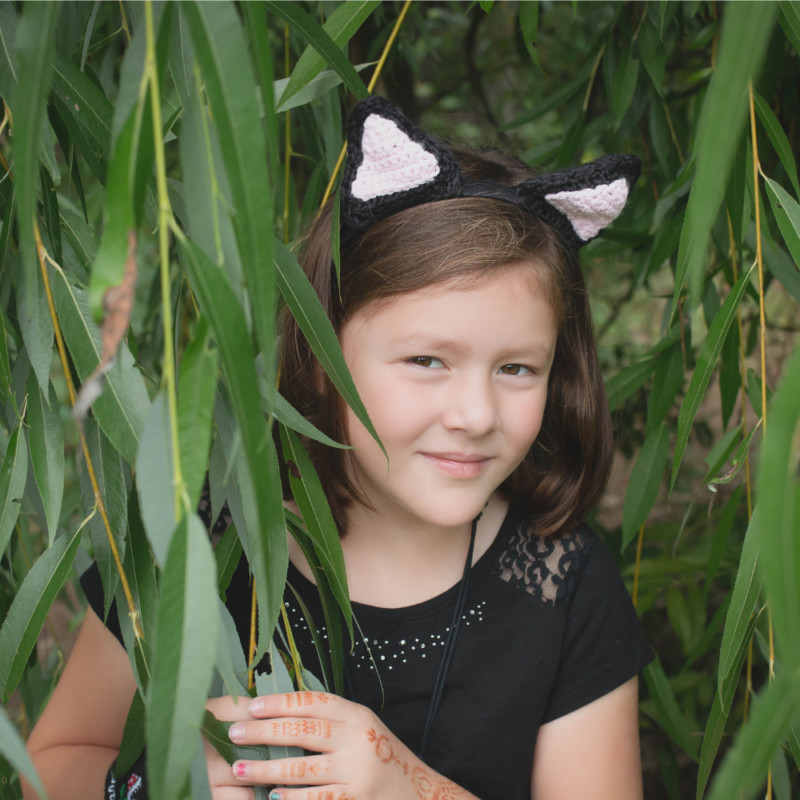 Image of the finished black and pink crochet cat ear headband, clearly showing both ears and the wrapped headband.
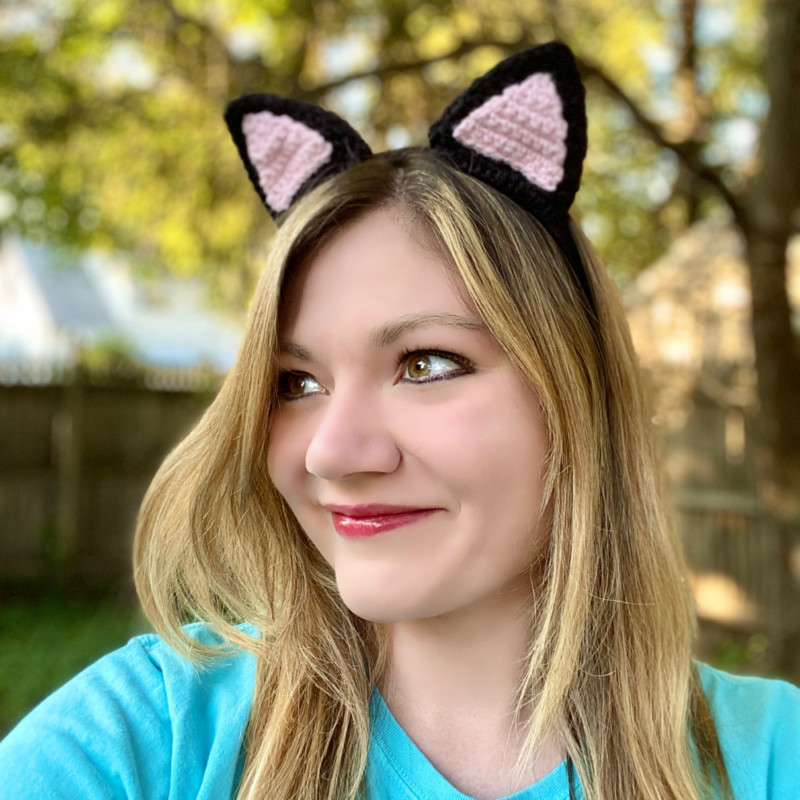 Image of a second finished black and pink crochet cat ear headband, slightly different angle, showcasing the cute design.
I hope you enjoyed crocheting these charming cat ear headbands with me! If you’re a fan of fun and free crochet patterns, don’t forget to subscribe to my email list to stay updated on my latest designs:
Newsletter
Sign up to receive updates on my newest crochet patterns and upcoming events!
[Newsletter signup form – text only representation]
Thank you!
You have successfully joined our subscriber list.
Please share your finished projects on social media and tag me so I can see your wonderful creations!
Don’t forget to pin this pattern for later HERE!
And you can find the ad-free PDF pattern HERE!
Happy Crocheting!
COPYRIGHT: This pattern is owned by Crafty Kitty Crochet (Melissa Moore). Reselling or distributing this pattern is prohibited. You are welcome to sell items made using this pattern, but please provide credit/a link back to my site, craftykittycrochet.com.