
Get ready to celebrate Dr. Seuss’s birthday on March 2nd with this fun and incredibly easy DIY Cat in the Hat costume! Perfect for school events like National Read Across America Day or Halloween, this no-sew costume is so simple to make, you can whip it up in under 30 minutes. Inspired by the beloved Dr. Seuss character, this Cat in the Hat costume is a fantastic way to bring the magic of reading to life.
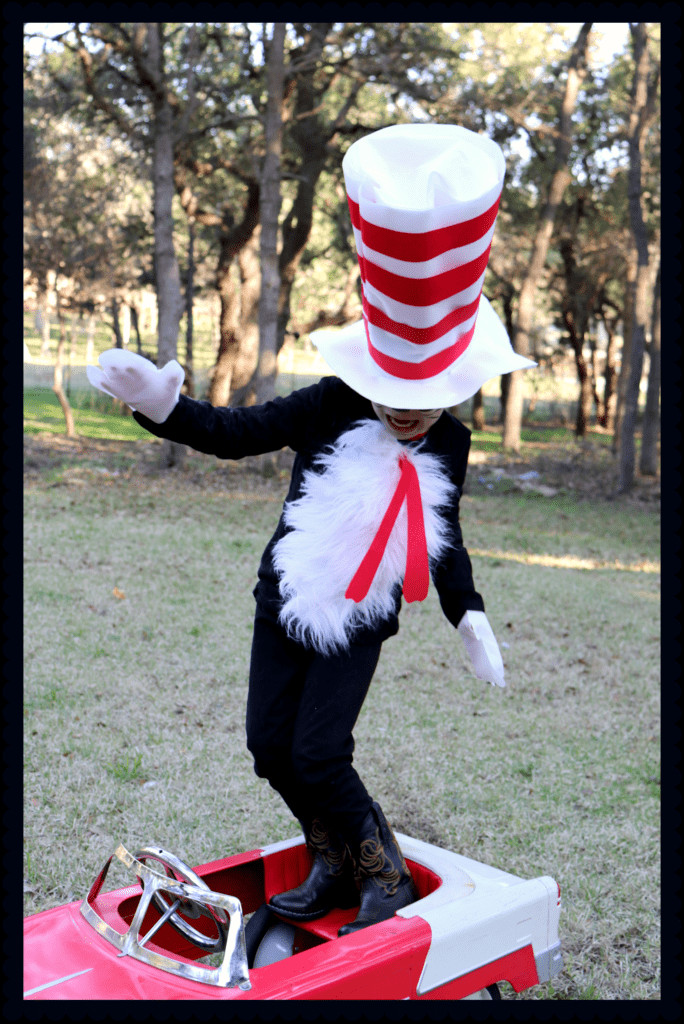 Cat in the Hat Costume Showcase
My kindergartner was thrilled to dress up as the Cat in the Hat for his school’s Dr. Seuss birthday bash, and this tutorial made it a breeze. If you’re also looking for a quick and effective costume, especially if you’re not a fan of sewing, this guide is for you. Plus, if you’re feeling extra creative, consider pairing this costume with a Thing 1 and Thing 2 outfit for a fun group theme!
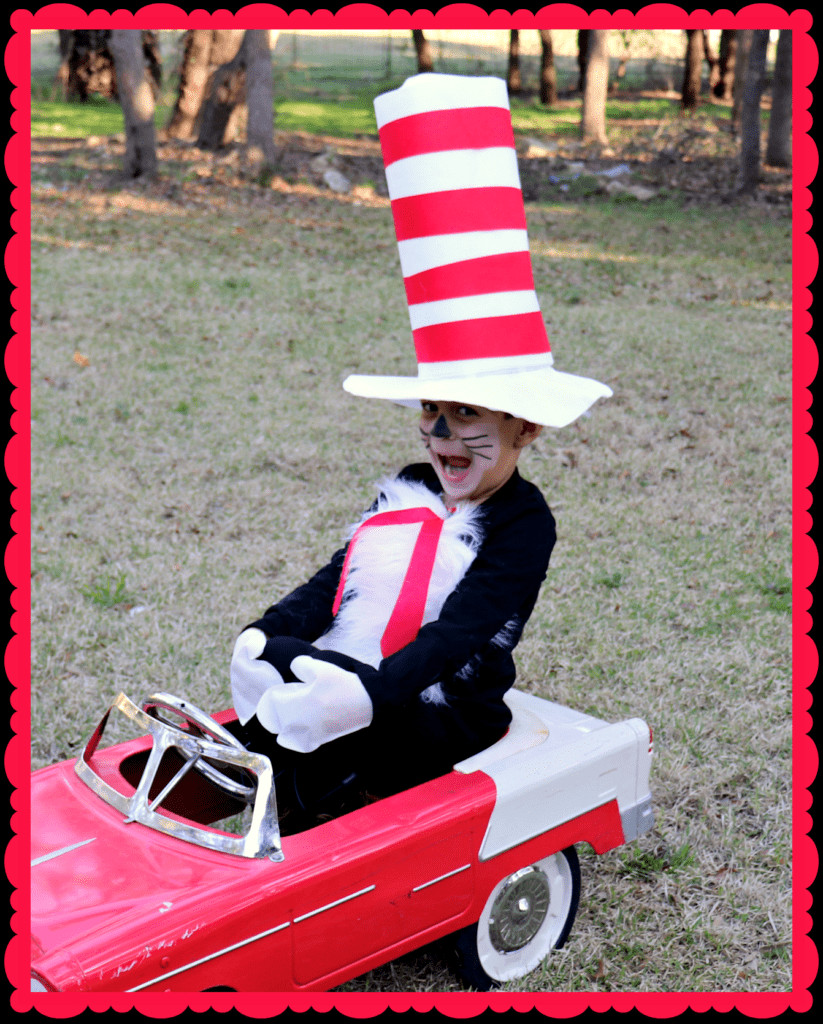 Close-up of the DIY Cat in the Hat Costume
Materials You’ll Need for Your Cat in the Hat Costume
To create your own Cat in the Hat costume, gather these readily available supplies:
- White Craft Fabric (Oly-Fun or similar): Fairfield Oly Fun Multi-Purpose Craft Material, Snow White – This lightweight, versatile fabric is perfect for no-sew projects.
- Red Craft Fabric (Oly-Fun or similar): Fairfield Oly Fun Multi-Purpose Craft Material, Cherry Pop – For the hat stripes and bow tie.
- White Faux Fur: Shannon Faux Fur Gorilla White Fabric By The Yard – To create the Cat in the Hat’s signature furry chest.
- Hot Glue Gun and Glue Sticks: Essential for this no-sew method.
- Black Long-Sleeved Shirt: A basic black shirt to attach the fur to.
- Black Pants: To complete the Cat in the Hat’s look.
- Hat for Tracing (optional): To help size the hat brim.
Step-by-Step Guide to Making Your No-Sew Cat in the Hat Costume
Follow these simple steps to create your own Cat in the Hat costume quickly and easily:
1. Crafting the Hat Brim
Cut four rectangles of white Oly-Fun fabric, approximately 18 inches in length. Use a hat that fits your child as a guide for sizing the brim. Place the hat on the fabric and trace around the brim to get the correct size and shape.
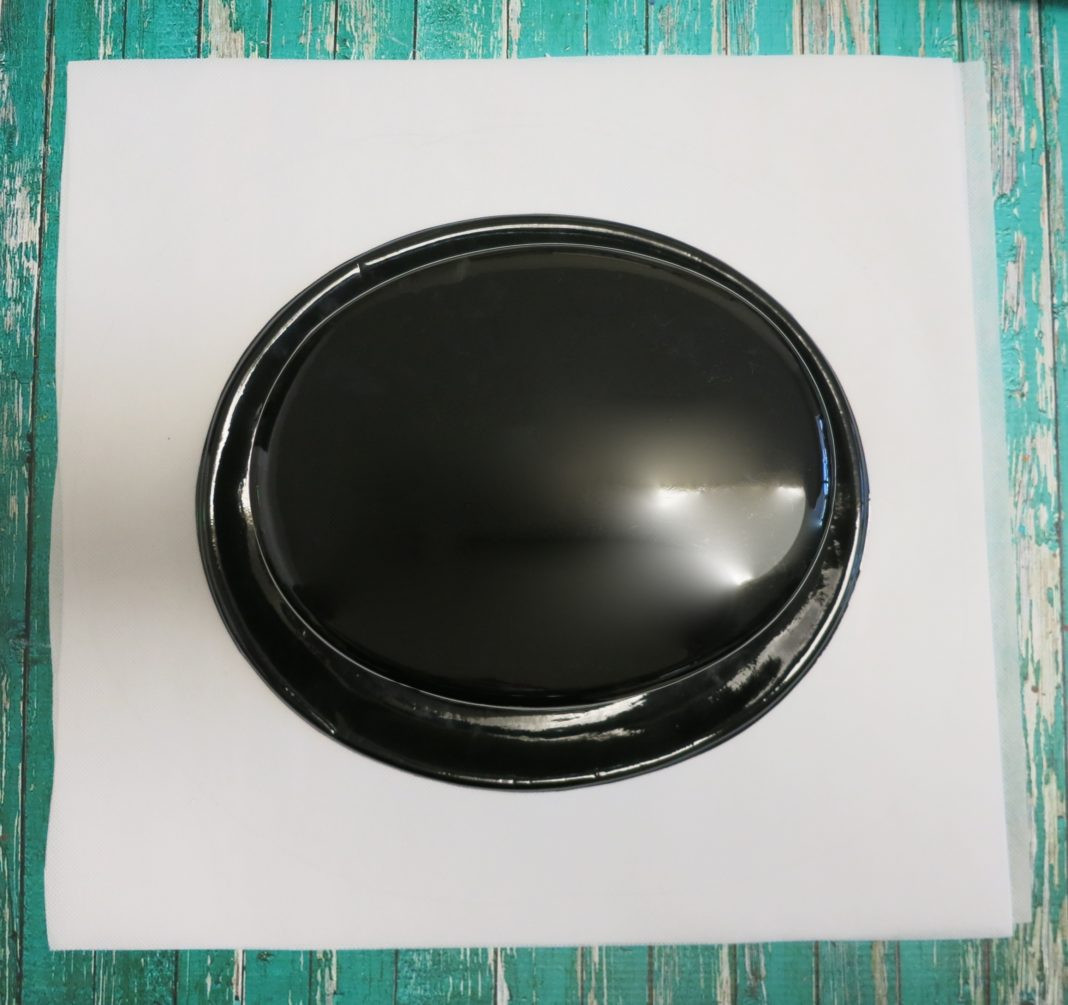 Cutting fabric for the hat brim
2. Assembling the Hat Brim
Cut out the circular brim shapes from all four fabric pieces. Each piece will resemble the letter “O”. Test the size to ensure it fits comfortably on your child’s head. Using a low-temperature hot glue gun, carefully glue the edges of the four fabric pieces together to create a thicker, sturdier brim.
Alt text: Step 2 of the no-sew Cat in the Hat costume tutorial: Hot gluing fabric pieces to assemble the hat brim.
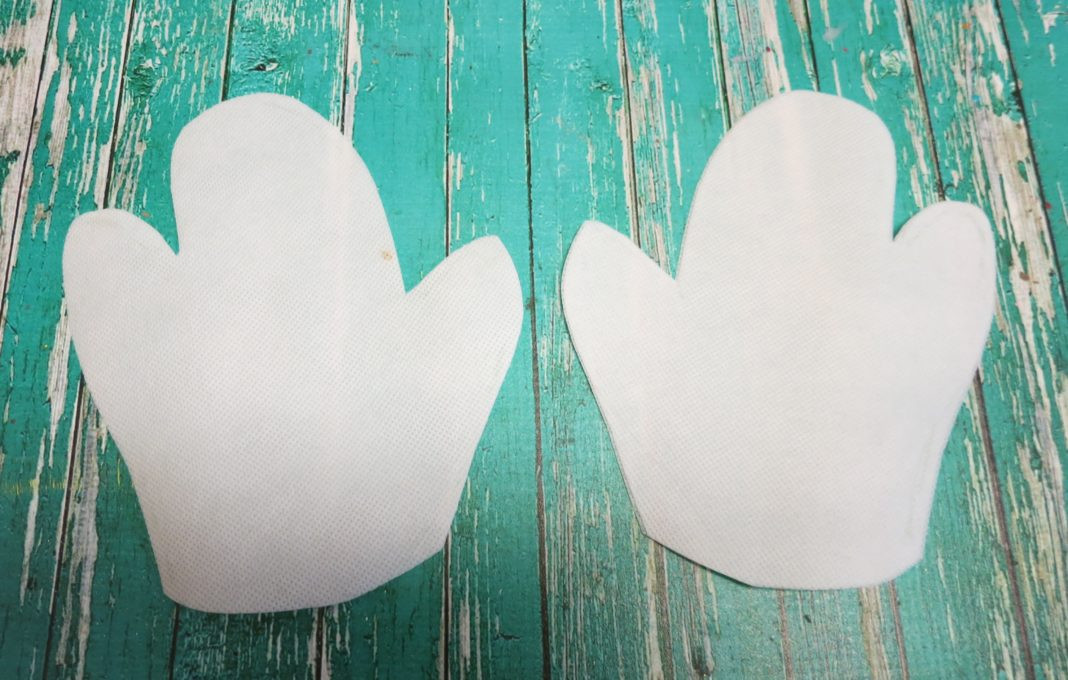
3. Creating the Gloves
Trace your child’s hand onto the white fabric. For the glove pattern, trace around the thumb and pinky finger separately, and then create a larger section to encompass the middle three fingers. Extend about two inches outwards from the hand outline to ensure a roomy fit. Cut out four of these hand shapes.
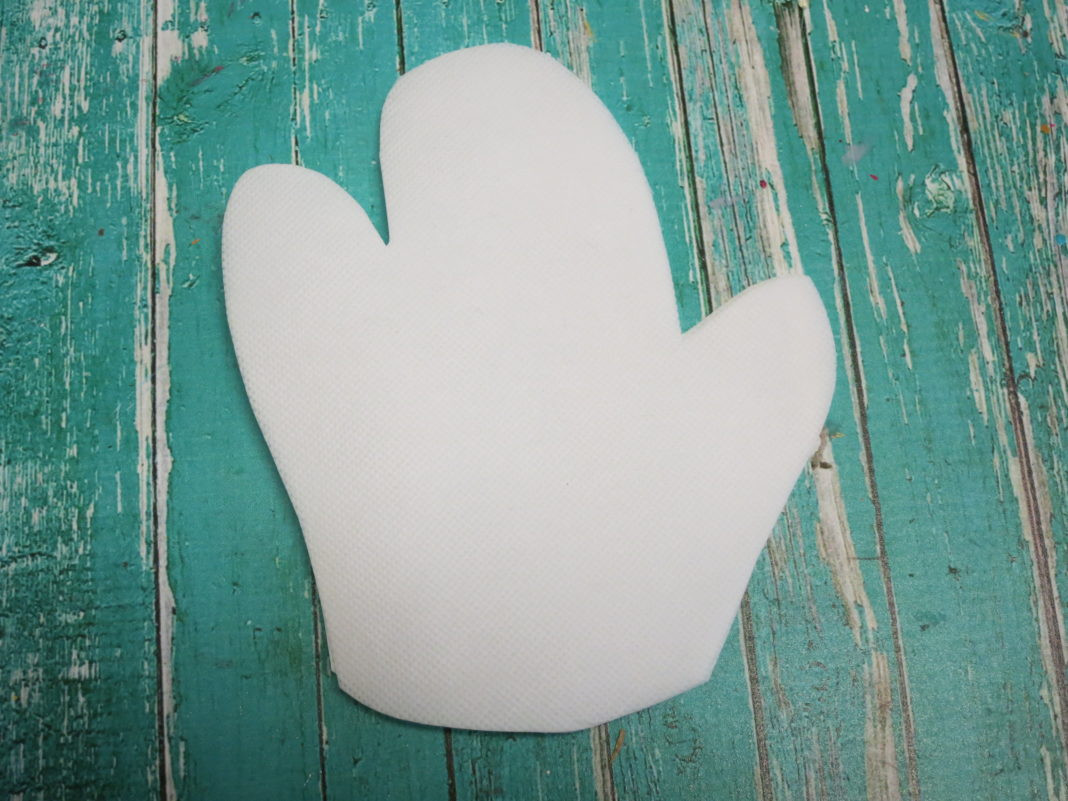 Tracing hand shapes for the gloves
4. Assembling the Gloves
Pair up the fabric hand shapes and use hot glue to seal the edges of each pair together, creating two glove pieces.
 Gluing the glove pieces together
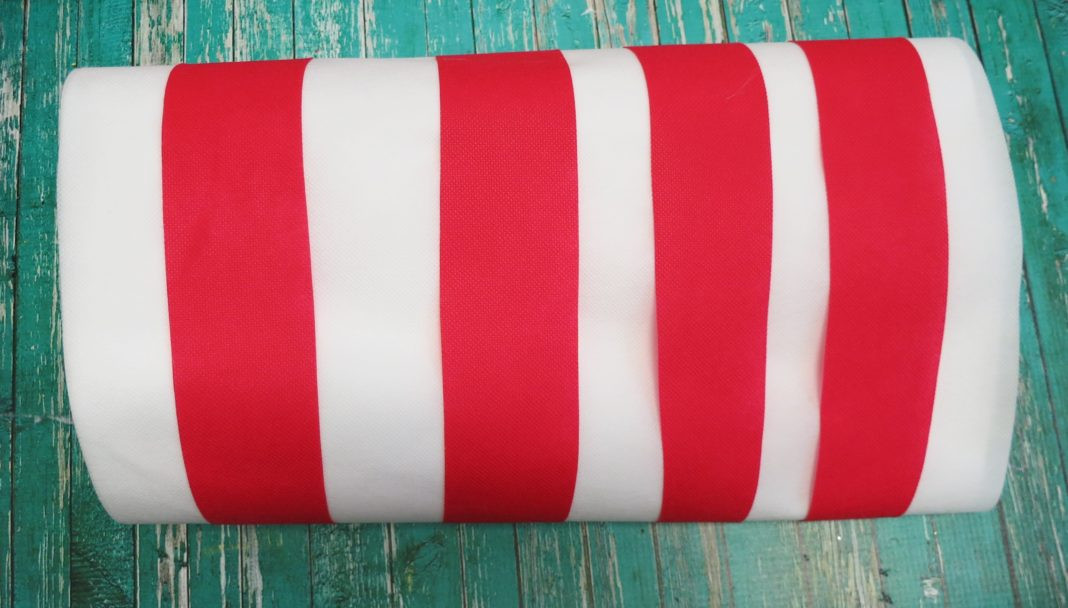
5. Preparing the Hat Body and Stripes
Cut four pieces of white Oly-Fun fabric, each approximately 18-20 inches tall and wide enough to comfortably fit around your child’s head. Cut strips of red Oly-Fun fabric to create the iconic stripes for the Cat in the Hat’s hat. Hot glue the red stripes onto the white fabric pieces, spacing them evenly.
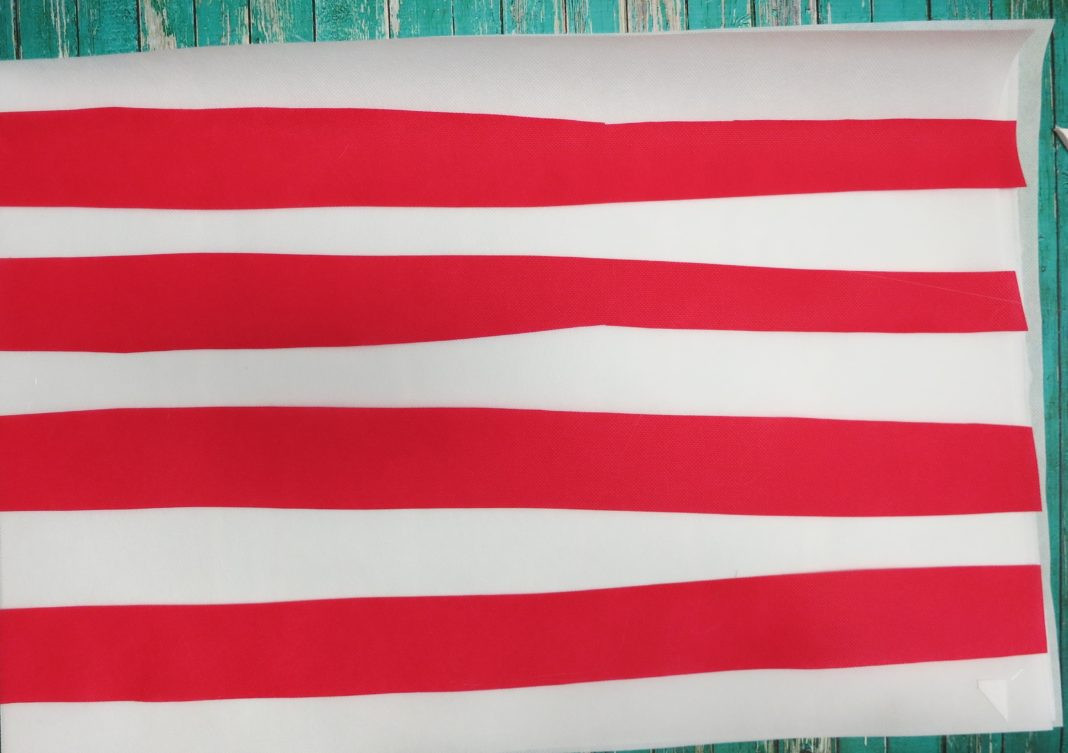 Adding red stripes to the hat fabric
6. Forming the Hat Cylinder
Fold the striped white fabric piece right sides together, creating a cylinder shape. Use the hot glue gun to glue the edge closed, forming the main body of the hat.
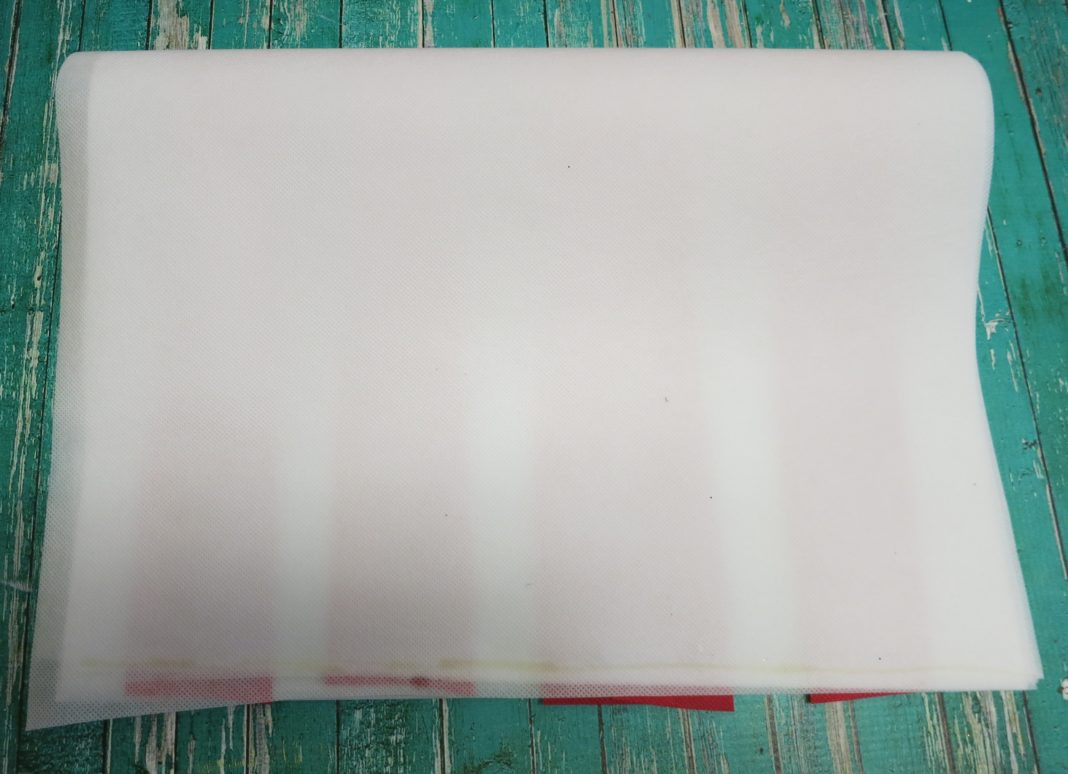 Gluing the hat cylinder seam
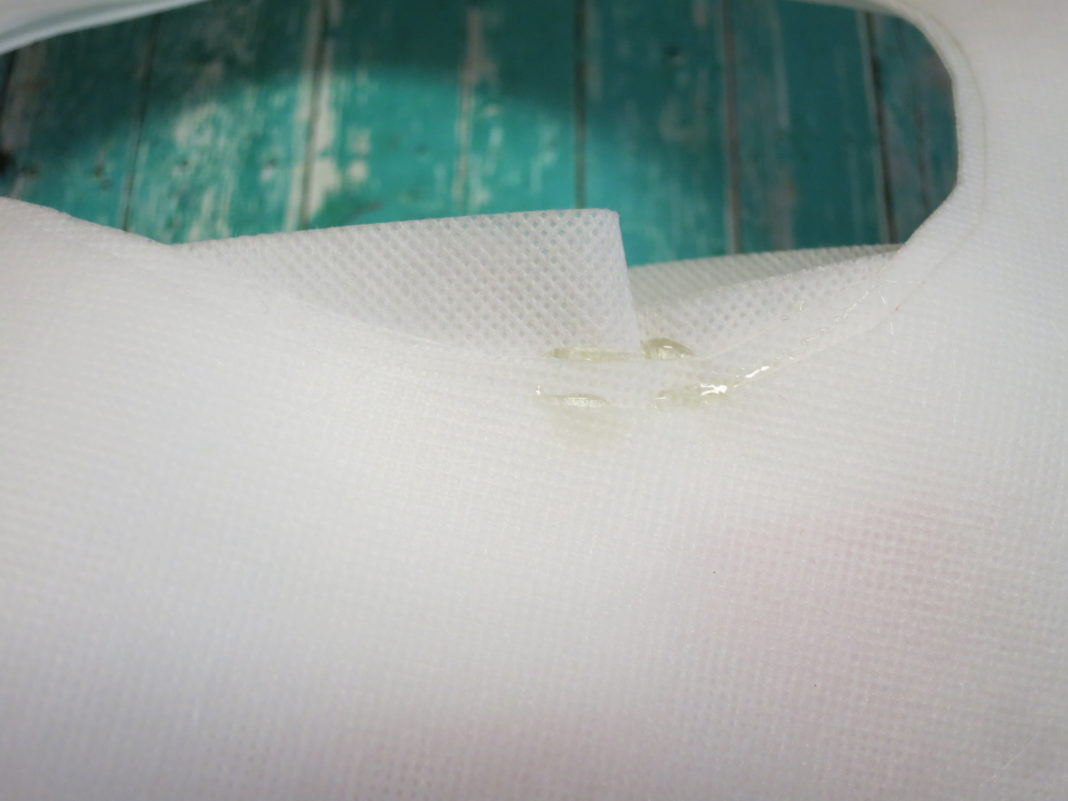
7. Closing the Top of the Hat
Cut a rectangular piece of white fabric to fit the top opening of the hat cylinder. Hot glue two opposite edges of this rectangular piece to the inside top edges of the hat cylinder.
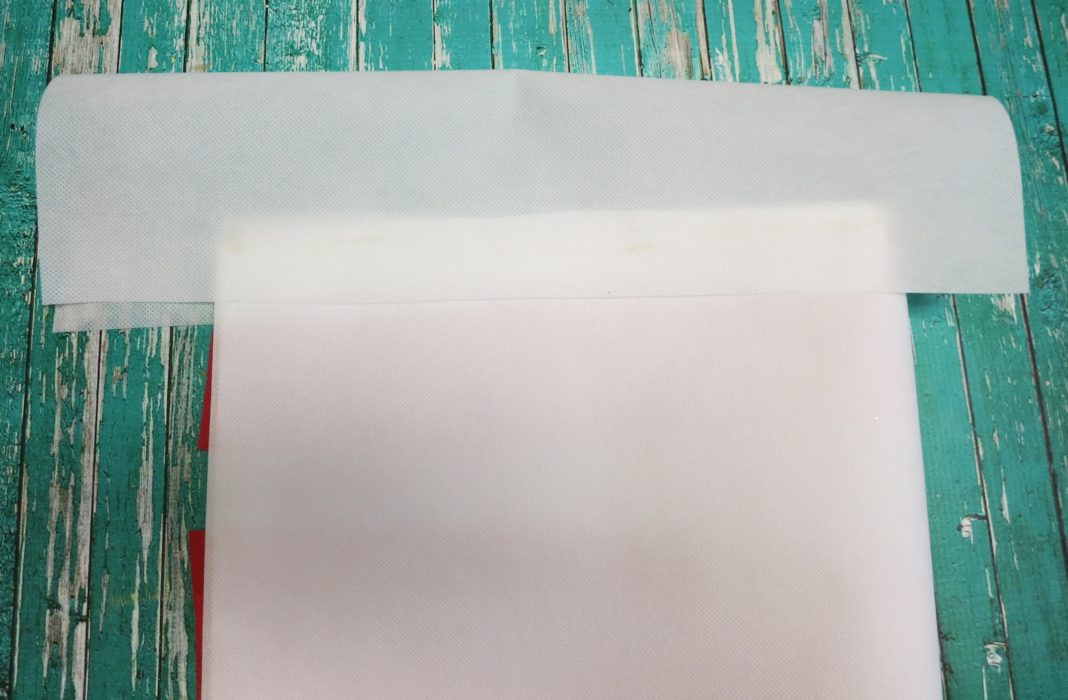 Attaching fabric to the top of the hat
8. Finishing the Hat Top
Flip the fabric tube inside out. Adjust and tuck in the fabric piece that was glued to the top, ensuring a neat finish. Add more hot glue if needed to secure it.
 Finishing the inside of the hat top
9. Attaching the Brim to the Hat
Hot glue the brim to the bottom edge of the hat cylinder. Press the right sides of the brim and hat cylinder together while gluing. Ensure the hot glued section is hidden underneath the brim for a clean look.
 Attaching the brim to the hat cylinder
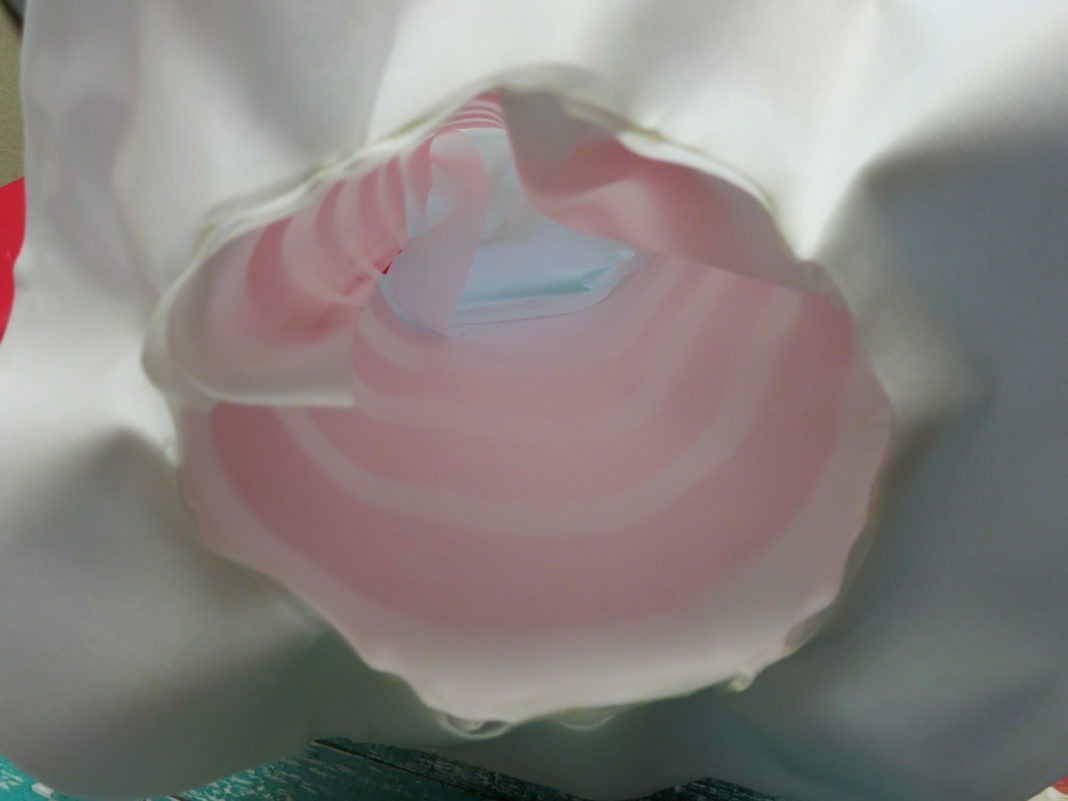 View from under the hat showing brim attachment
10. Adding Fur and Bow Tie to the Shirt
Cut a piece of white faux fur and hot glue it to the front of the black long-sleeved shirt to mimic the Cat in the Hat’s furry chest. Cut a strip of red fabric, tie it loosely in a knot in the center to create a bow tie shape, and hot glue it just above the fur on the shirt.
 Completed Cat in the Hat costume hat
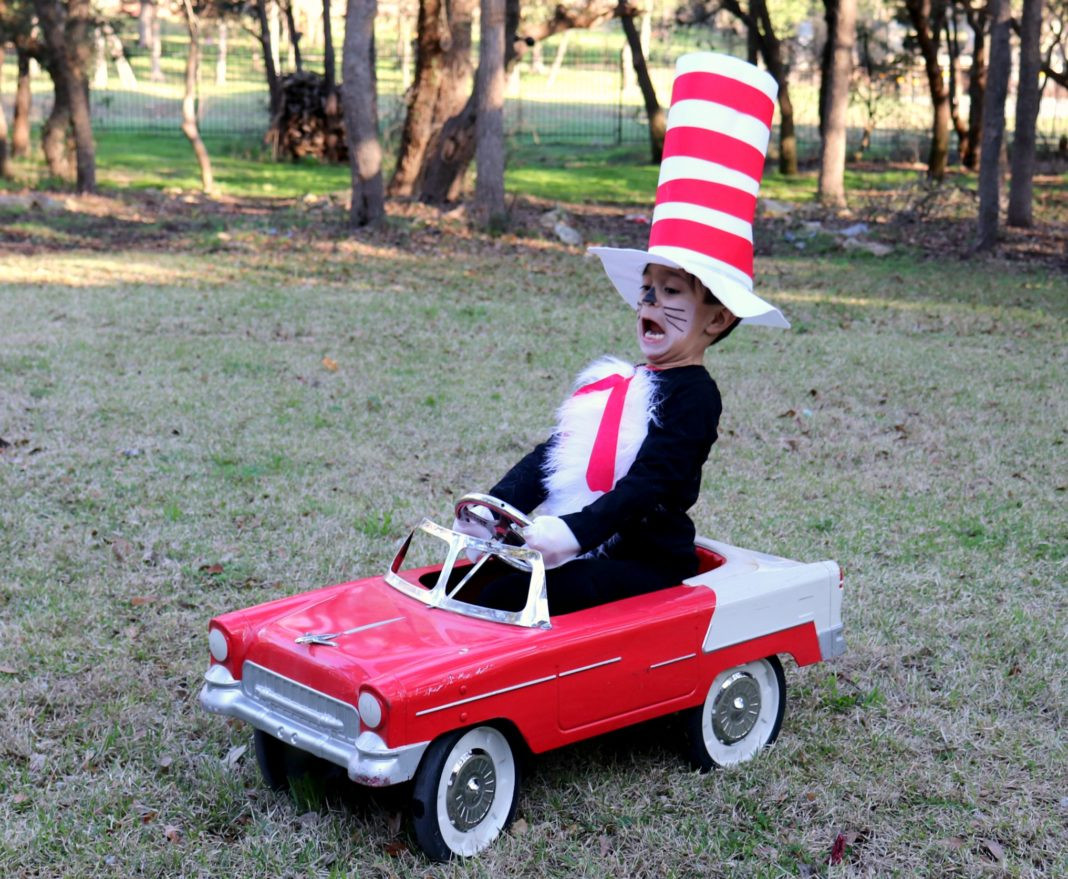
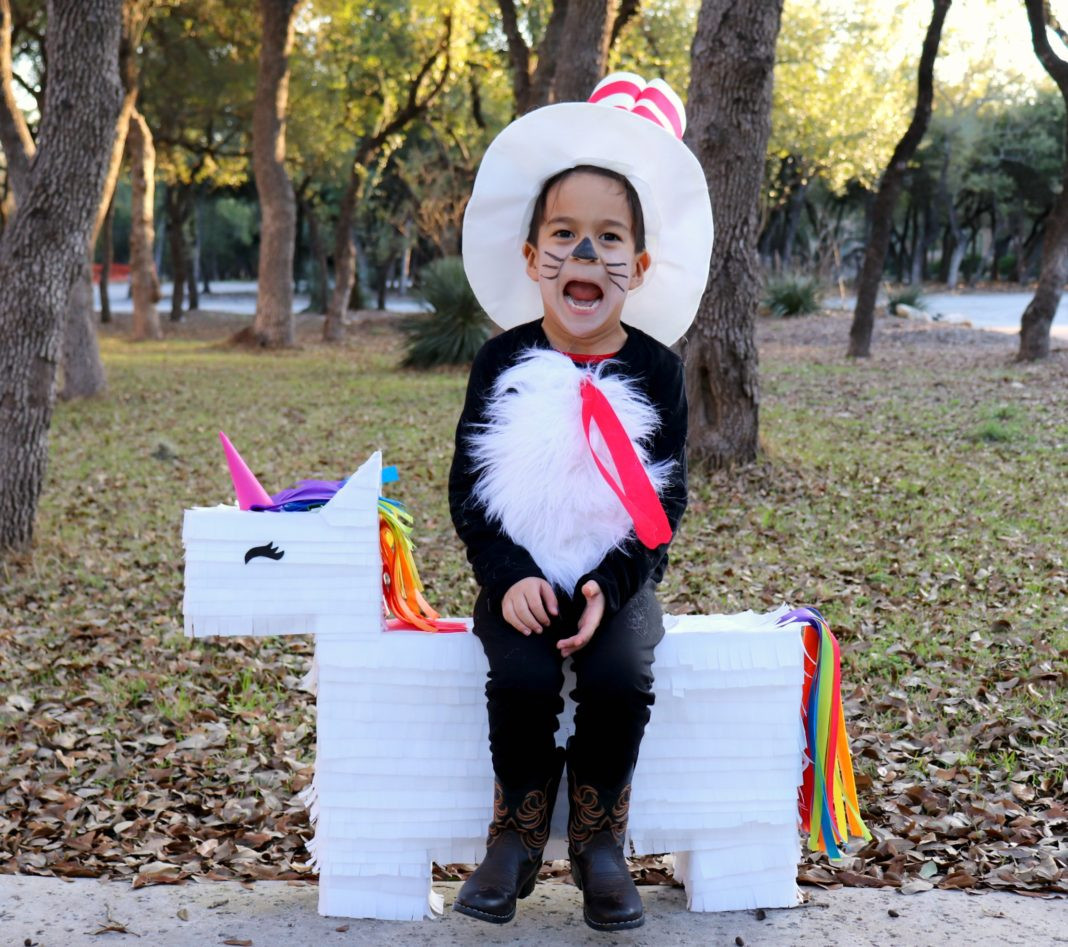 Full Cat in the Hat costume with shirt and hat
Enjoy Your DIY Cat in the Hat Costume!
Once everything is assembled, your child’s no-sew Cat in the Hat costume is complete and ready to wear! My son couldn’t wait to put his on and spent the whole afternoon playing in it, even imitating the Cat in the Hat’s playful speech. To round out the day, why not read some classic Dr. Seuss books together? This costume is not only fun to make but also a wonderful way to encourage creativity and imagination in your children.
Alt text: Image suggesting a Thing 1 and Thing 2 wig tutorial as a related DIY costume idea.
If you loved this Cat in the Hat costume tutorial, you might also enjoy creating a Thing 1 and Thing 2 wig to expand your Dr. Seuss-themed costumes! Have a fantastic time crafting and celebrating Dr. Seuss’s birthday!