Braving the cold with your feline friend can be challenging, especially when winter arrives. For many cat owners, like myself, taking our furry companions outdoors during the frosty months often means short, brisk excursions. Canadian winters, in particular, demand extra preparation. This year, I set out to enhance my Cat Backpack Carrier to make it winter-ready, ensuring Chumka stays snug and warm on our outdoor explorations. Inspired by a fantastic giveaway win from Narlynx (@nar.lynx), featuring a cozy fleece backpack bag/bed, the project became not only feasible but also incredibly exciting.
Let me guide you through the simple steps to winterize your cat backpack, making it a haven for your cat during chilly adventures.
Gathering the Ideal Insulating Layers
Seeking inspiration, I turned to the adventure cat community on Instagram and was particularly drawn to Lava (@meowdyssey.of.lava)’s setup, which incorporated sheepskin for insulation. My quest for sheepskin led me to Etsy, where I discovered a UK-based shop offering affordable “imperfect” pieces. Minor flaws like natural discoloration or small tears were inconsequential to me, as the goal was warmth and cost-effectiveness. A bargain sheepskin piece was a perfect start.
However, knowing Chumka, a slender cat who prioritizes warmth, sheepskin alone wouldn’t suffice. Serendipitously, my friend announced a giveaway for her new venture, Narlynx. This brand specializes in adventure cat gear, including jackets, blankets, and crucially, a BACKPACK BED/BAG! Winning this giveaway was the perfect catalyst for my winter-proofing project.
Winter Backpack Field Tests
As temperatures plummeted, the real work began. My husband, Chumka, and I embarked on several winter adventures to rigorously test the evolving backpack setup. Each outing revealed areas for improvement in our winter-proofing efforts. A pivotal suggestion came from an Instagram friend (@natl.theo.graphic) who recommended using an emergency blanket as a layer.
Emergency blankets are designed to be windproof and reflect approximately 90% of body heat back to the source. This was the missing element: wind protection and heat retention. To validate this idea, I personally tested an emergency blanket outside in -12°C/ 10°F weather, enduring strong winds with just a T-shirt underneath. The emergency blanket proved its worth immediately.
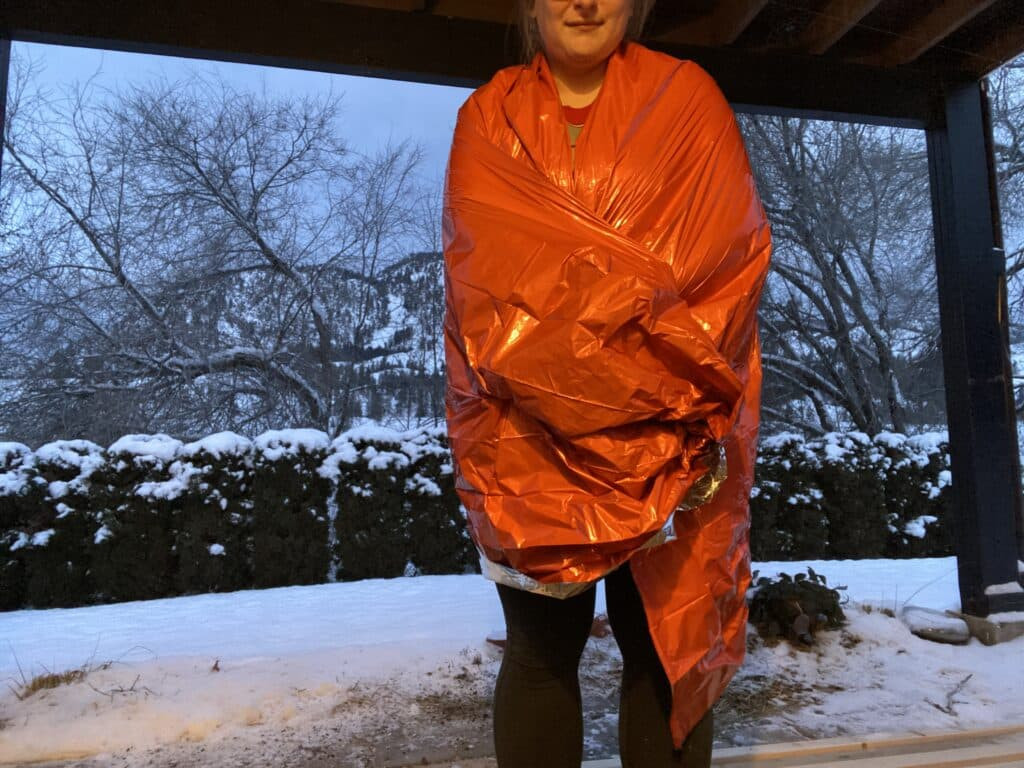 Lady standing outside in the cold winter weather. She is wrapped in emergency blanket, demonstrating its effectiveness against wind and cold for insulating a cat backpack carrier.
Now, confident in our approach, let’s delve into how you can winter-proof your own cat backpack carrier effectively.
Step-by-Step Guide to Winter-Proofing Your Cat Backpack Carrier
This DIY approach is straightforward and requires no advanced crafting skills – think of it as a simple arts and crafts project suitable for anyone.
First, measure the inside of your cat backpack carrier to determine the size of sheepskin needed. Cut the sheepskin to fit the base and sides, allowing for layering. Next, attach Velcro strips inside the backpack, positioning them to hold the sheepskin upright against the sides, creating insulated walls.
Prepare the emergency blanket. The SOL brand blanket was chosen for its durability and quietness compared to flimsier Mylar blankets. Its generous size and affordability are also advantageous, allowing for mistakes without significant cost.
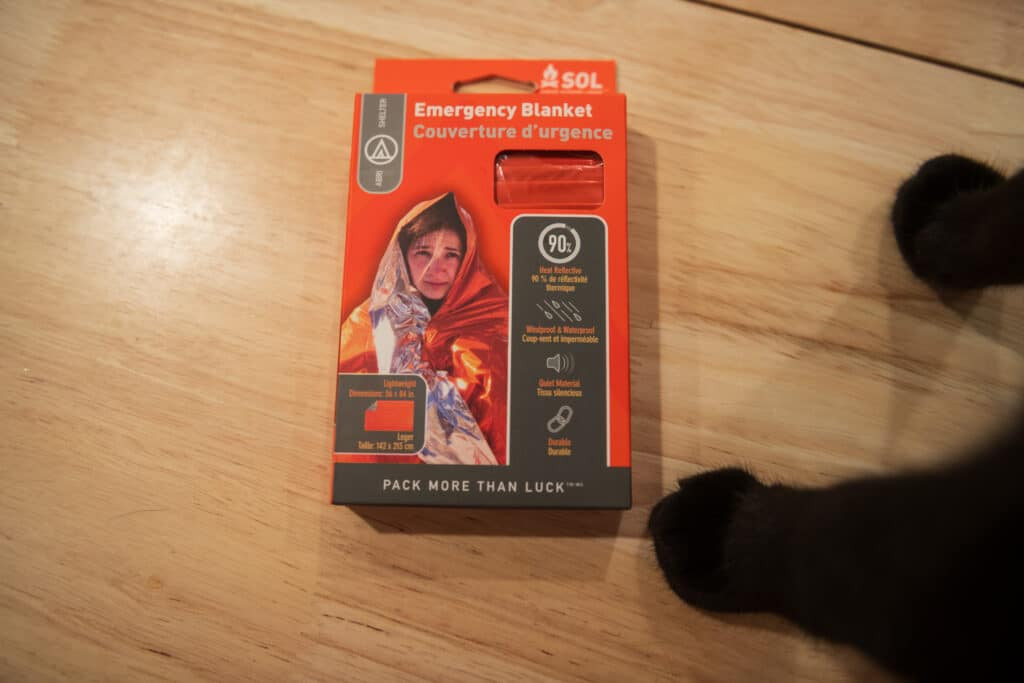 SOL Brand emergency blanket, a crucial component for windproofing a cat backpack carrier and reflecting heat.
Lay the emergency blanket flat and place the cut sheepskin on top. Initially, leave a slight excess of blanket around the edges of the sheepskin for flexibility. Trim as needed during the final adjustments. It’s beneficial to keep the top edge of the blanket slightly longer so it can be folded over the sheepskin’s top edge, securing it in place.
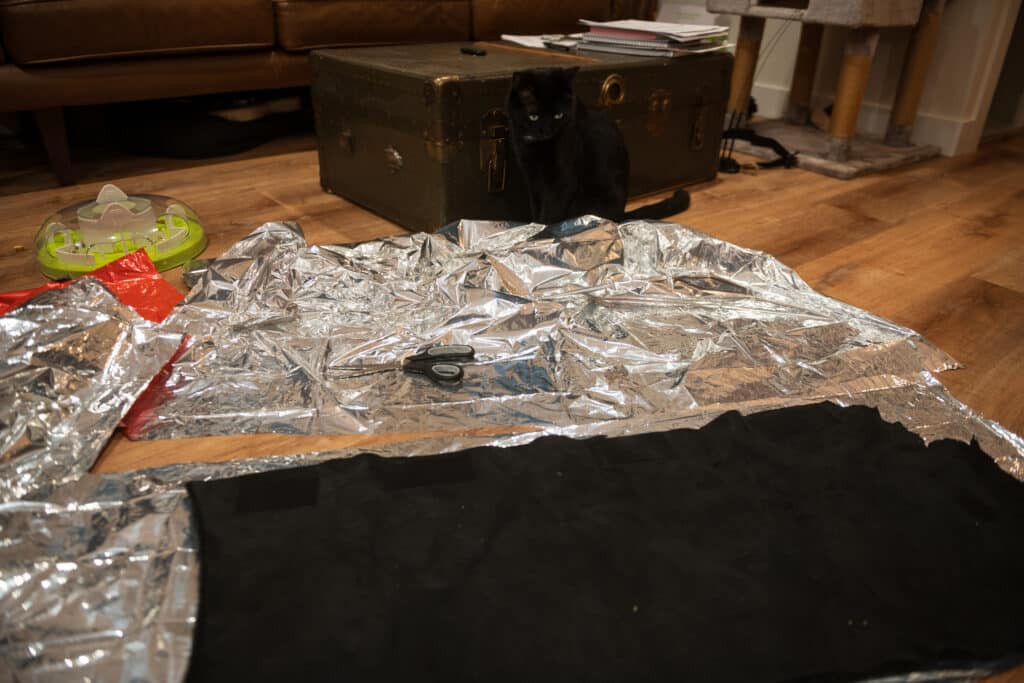 Cut out of SOL emergency blanket laying on the floor in a living room, prepared to be layered with sheepskin for insulating a cat backpack carrier.
Since the Velcro for the sheepskin was already in place within the backpack, attaching the blanket required a bit of ingenuity. To align the blanket with the Velcro, use a Sharpie to mark the blanket where the Velcro strips are located. Cut small slits at these marked points to allow the blanket to fit snugly over the existing Velcro.
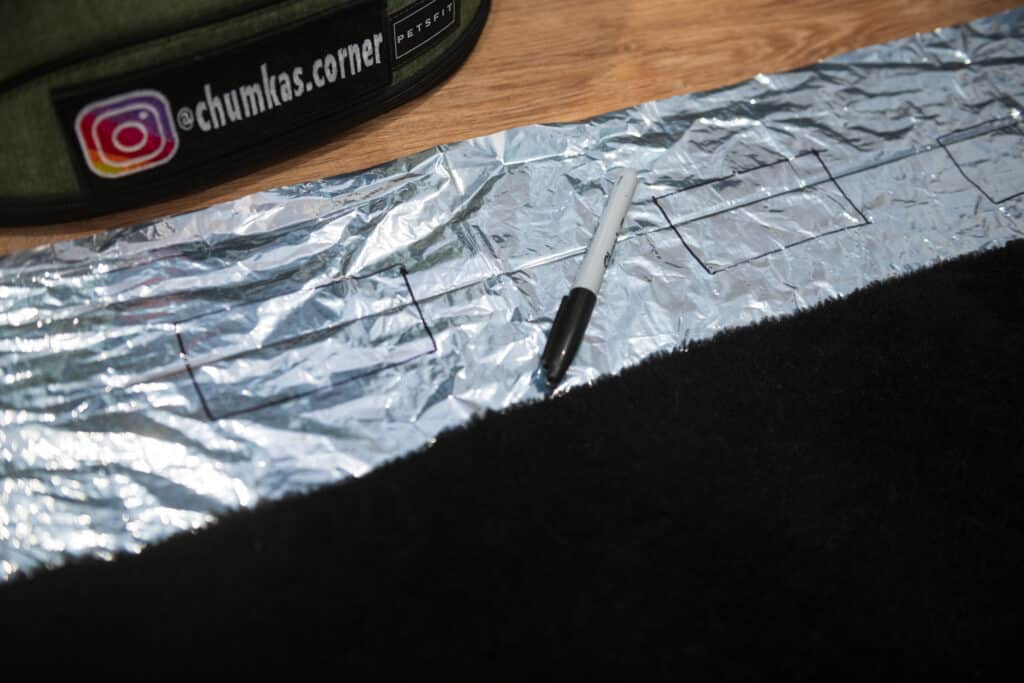 Cut out of SOL emergency blanket laying on the floor in a living room with sharpie, showing markings for velcro placement in a cat backpack carrier insulation project.
Assembling the Insulated Layers
The emergency blanket serves as the outermost layer of insulation, effectively blocking wind and preventing heat loss from the cat backpack carrier. With assistance to hold the blanket in position, carefully place the sheepskin inside, aligning it with the Velcro attachments. Fold the excess emergency blanket material inward, over the sheepskin, to further secure the layers and enhance insulation.
Finally, insert the Narlynx fleece bed into the backpack. This addition significantly boosts the coziness and warmth, making the backpack inviting and comfortable for your cat.
 Kitty laying inside a backpack. The backpack is insulated with a fleece blanket, sheepskin, and emergency blanket, creating a warm and safe cat backpack carrier.
Additional Tips for Enhanced Warmth
To further refine your winterized cat backpack carrier, consider these bonus tips:
Pull the Narlynx fleece bag over the top opening of the Petsfit backpack. This helps maintain the fleece bag’s shape and prevents wrinkling, adding to the overall neatness and functionality.
Attach Velcro strips to the edges of both the backpack and the fleece bag. This ensures all layers remain firmly in place, eliminating the need for constant readjustments each time your cat enters or exits the backpack, providing a consistently secure and warm environment.
Concluding Thoughts
This simple DIY project is designed to empower you to take your beloved pet on winter adventures comfortably and safely. While prioritizing functionality over high aesthetics, this method effectively winter-proofs a cat backpack carrier. The best part is its reversibility – easily dismantle the extra layers when warmer weather returns.
Embrace the winter months and share the joys of outdoor exploration with your cat, knowing they are traveling in a warm and secure, winter-ready cat backpack carrier. Give your furry friend extra love from me as you embark on your cold-weather journeys!