
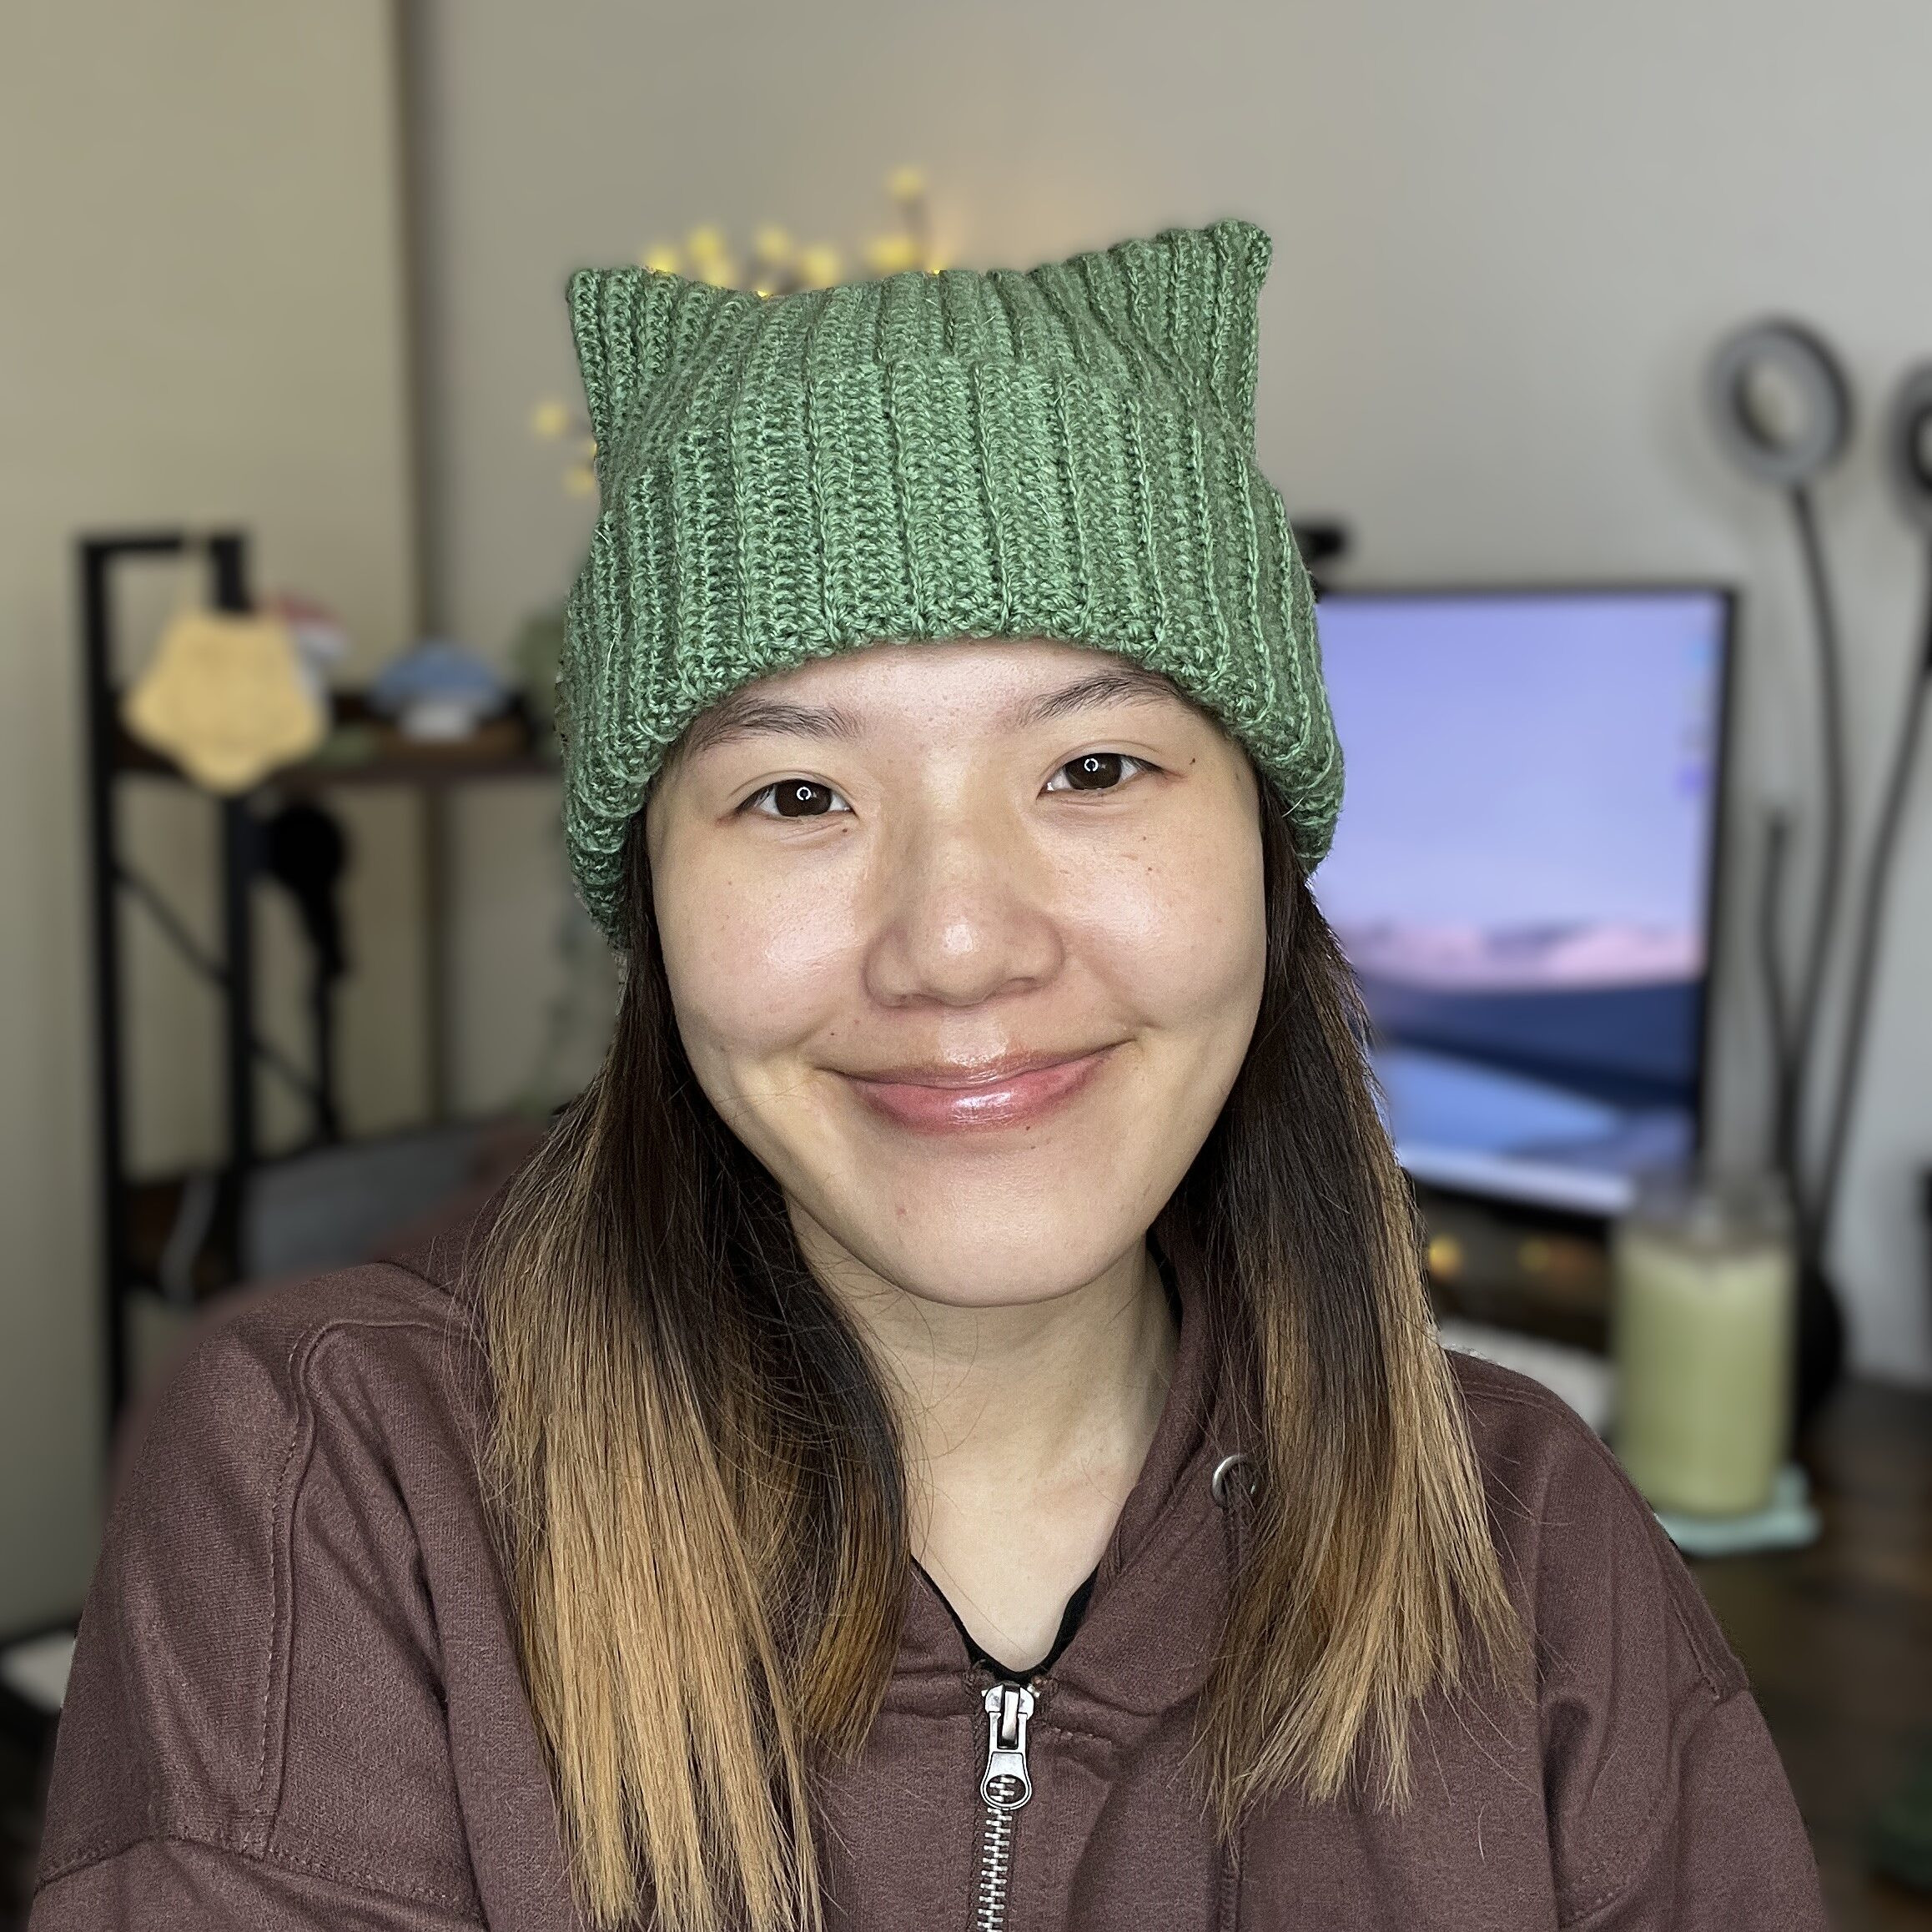
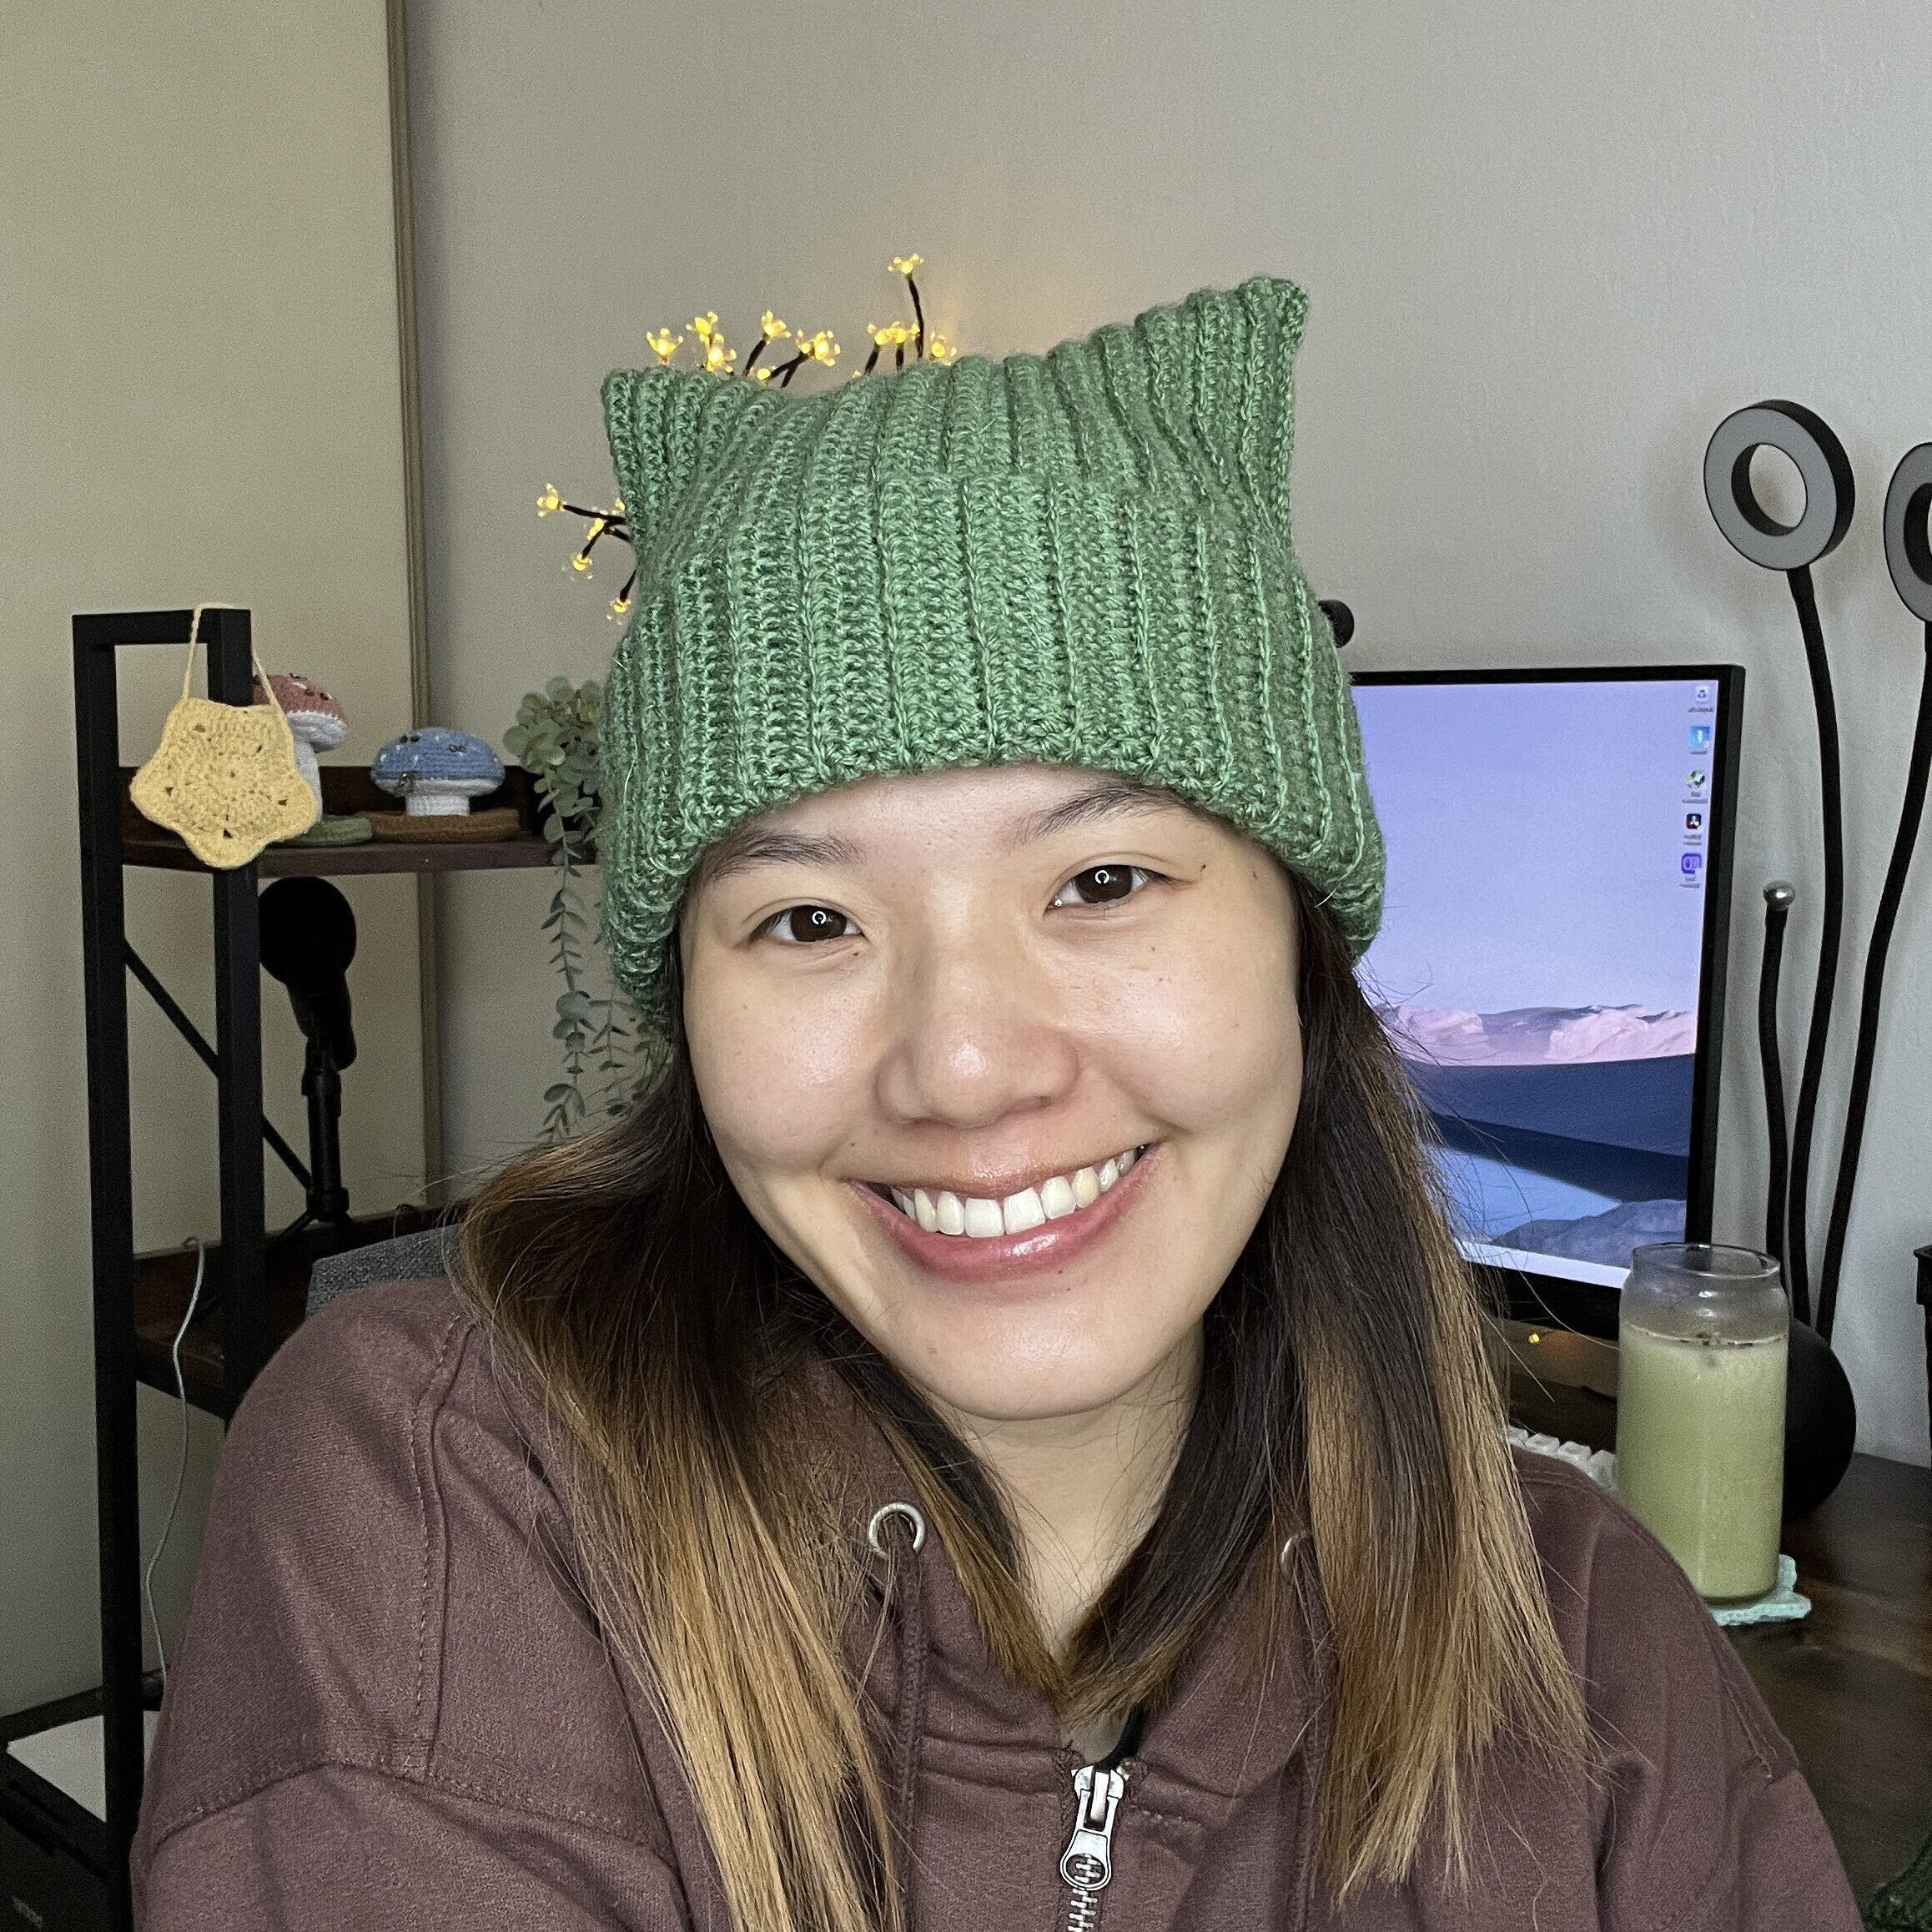
Are you looking for a fun and easy crochet project to keep you warm this winter? Look no further! This crochet cat ear beanie pattern is perfect for beginners and works up quickly. In just a few hours, you can create your own adorable and cozy cat ear beanie, and this guide will take you through each step.
 Close up of a woman wearing a cream colored crochet cat ear beanie, smiling slightly, with a blurred background
As the weather turns colder, a warm hat becomes essential. This crochet cat ear beanie is not only practical but also incredibly cute! For this pattern, acrylic yarn was used, providing excellent warmth. For a warmer yet breathable option, consider using wool yarn. The soft texture of either yarn makes this beanie a delight to wear.
If you’re interested in expanding your crochet skills and trying a beanie with a classic rounded top, you might want to explore our ribbed beanie pattern. While slightly more intricate than this cat ear beanie, it utilizes similar half double crochet stitches and could be a fantastic next project after mastering this one.
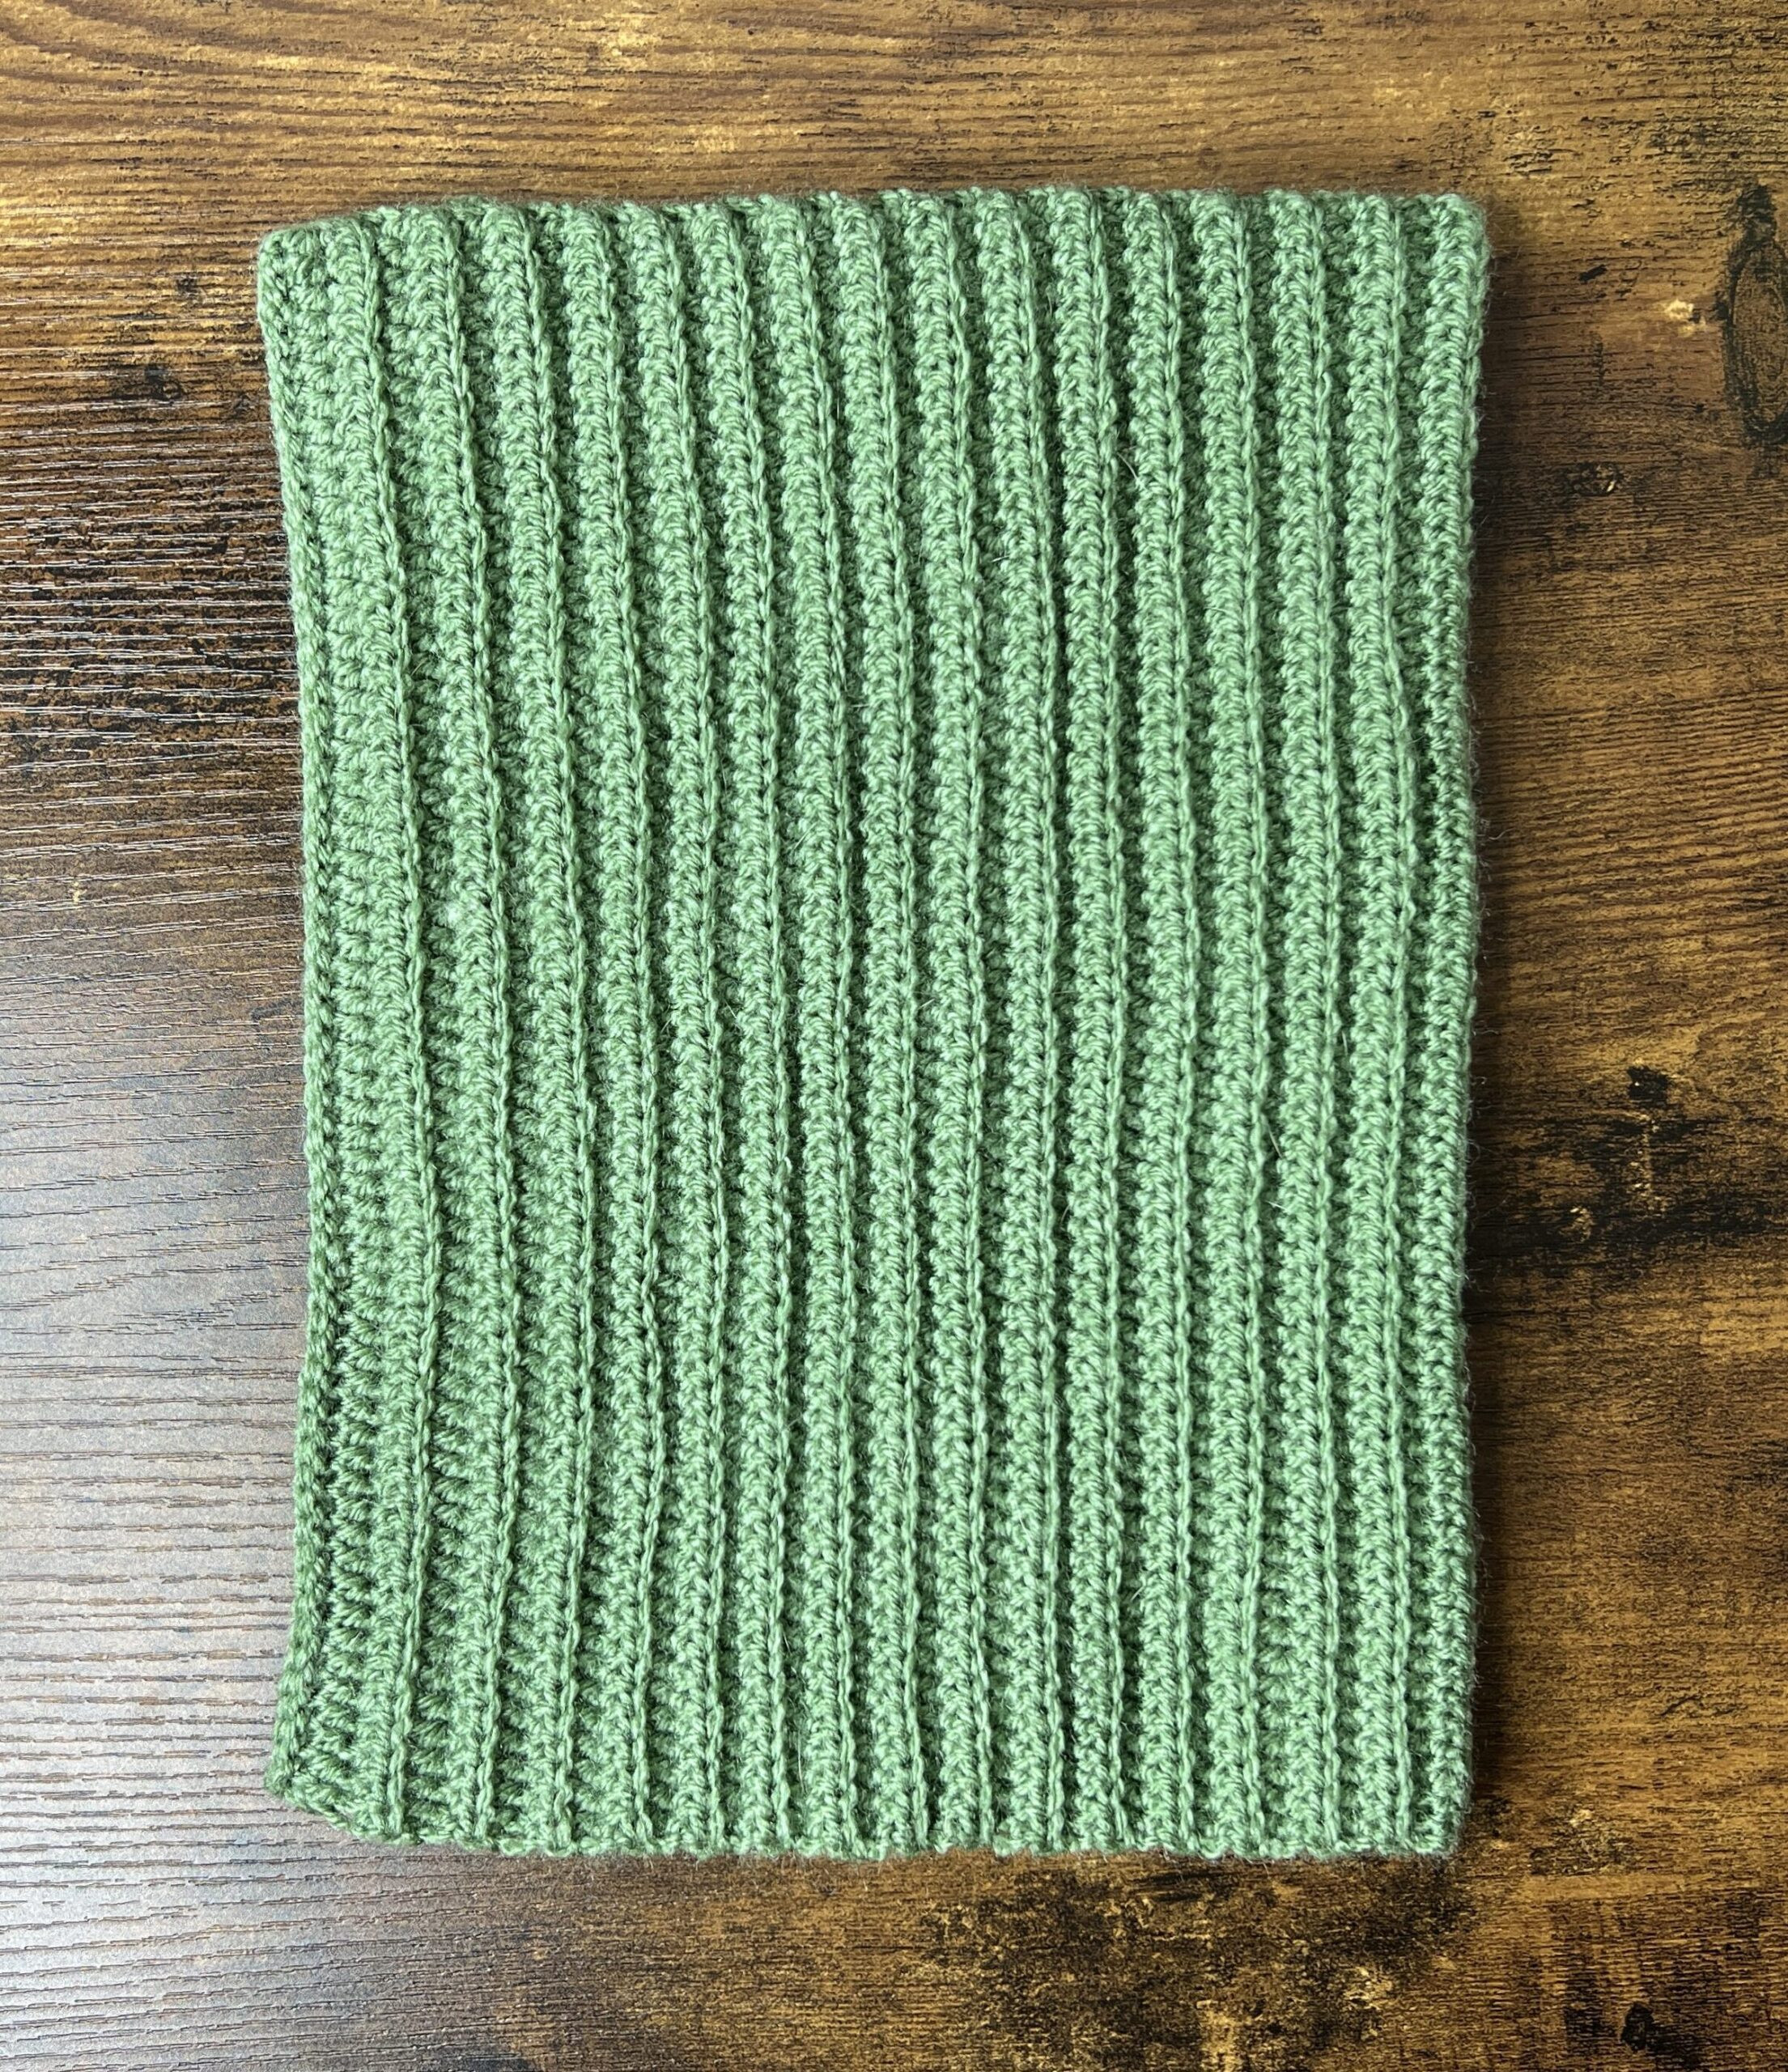 Close up of a folded cream colored crochet cat ear beanie showcasing the stitch texture
This cat ear beanie is truly one of the simplest crochet projects you can undertake. It’s essentially crocheting a rectangle, then seaming two sides together to create the beanie shape. While it starts as a rectangle, when worn, the clever construction naturally forms charming little cat ears at the top!
Another beginner-friendly project that uses the basic rectangle technique are these fingerless gloves. Being smaller than the cat ear beanie, they work up even faster, making them an ideal starting point for absolute beginners before moving on to the beanie.
Pin this pattern for later!
 Pinterest image for crochet cat ear beanie pattern
More Crochet Patterns You Might Enjoy
 Image of a person wearing a blue crochet bucket hat
Quick & Easy Crochet Bucket Hat | Free Pattern & Tutorial
 Image of a cream colored crochet ribbed beanie
No Bunching Crochet Ribbed Beanie | Free Pattern & Tutorial
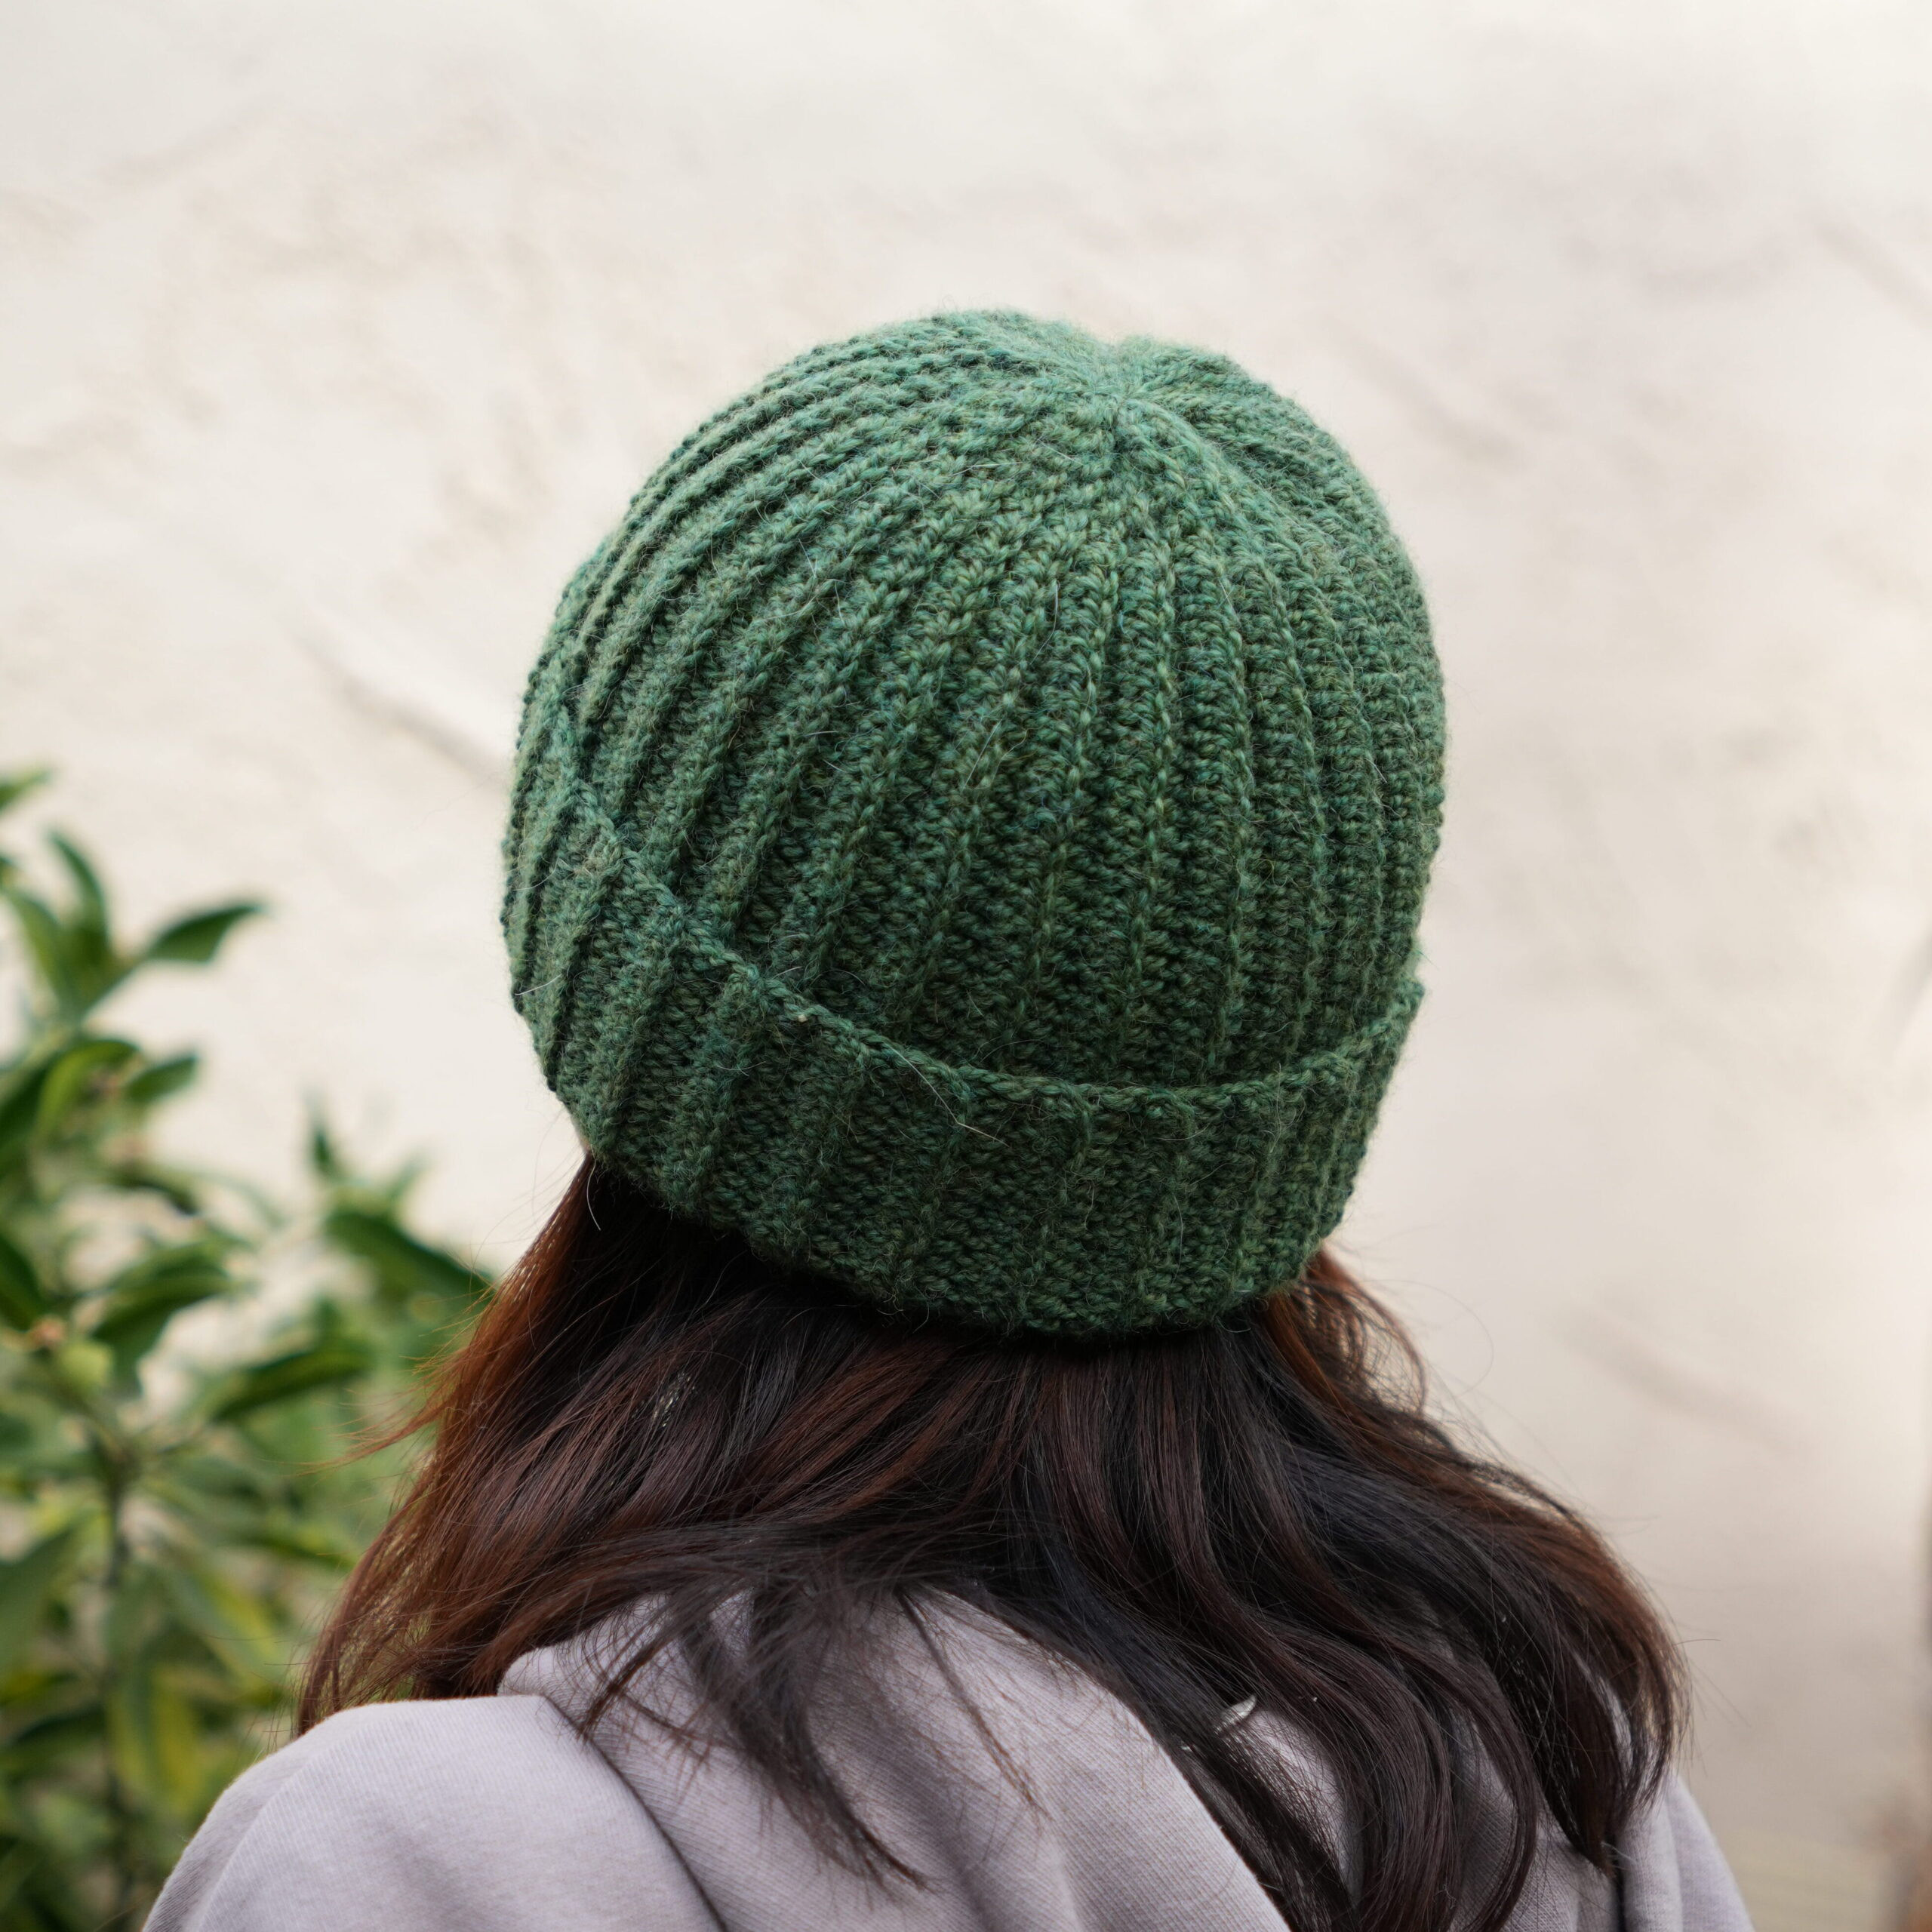 Image of a person wearing a grey crochet ribbed beanie from the back
Easy Crochet Ribbed Beanie for Beginners | Free Pattern & Video Tutorial
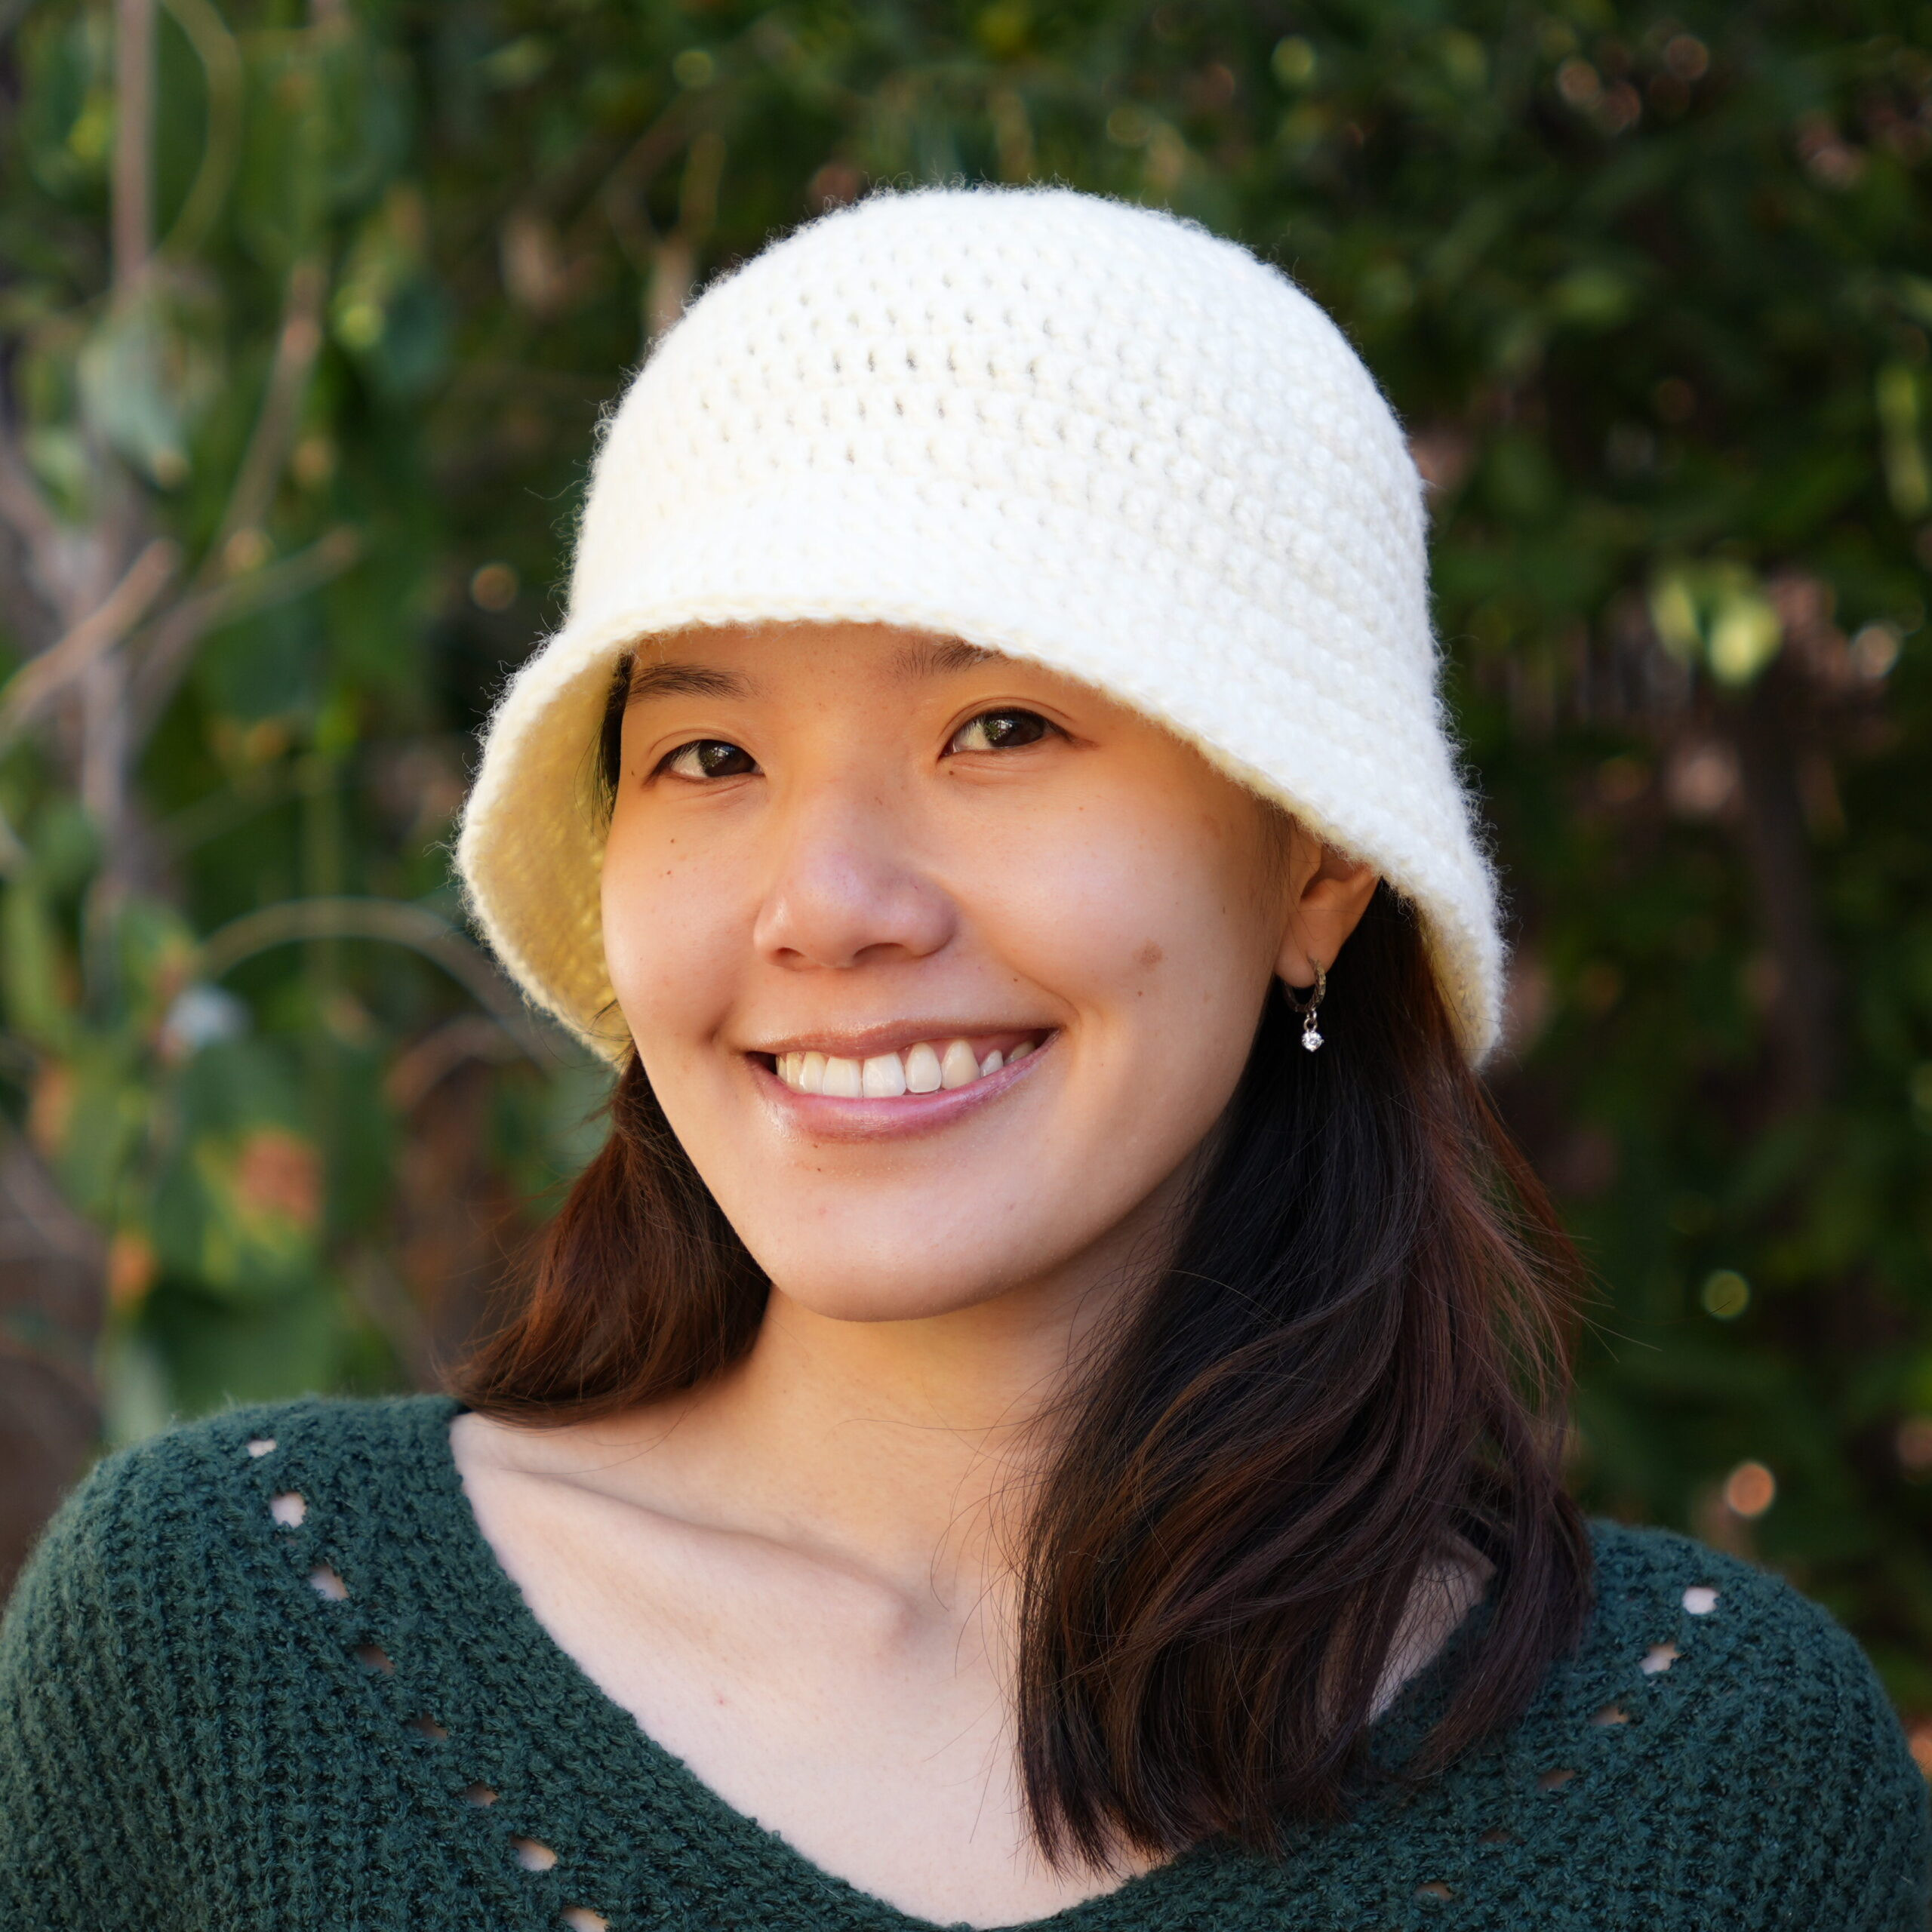 Image of a light brown crochet bucket hat
Easy Crochet Bucket Hat | Free Pattern & Video Tutorial
Crochet Cat Ear Beanie Video Tutorial
For those who prefer visual learning, a step-by-step video tutorial is available on YouTube to guide you through crocheting your cat ear beanie. The video is thoughtfully sectioned with timestamps, allowing you to easily navigate to specific parts as needed.
This post contains affiliate links. As an affiliate, I may earn a small commission on qualifying purchases at no additional cost to you.
Materials You Will Need
- Worsted weight yarn (acrylic or wool)
- 5.0 mm crochet hook
- Yarn needle
- Scissors
- Stitch markers (optional, but helpful)
Dimensions & Sizing
*Instructions included to adjust the sizing to your preference
Standard Size Fits: 50 – 54 centimeters head circumference (19.7 – 21.3 inches)
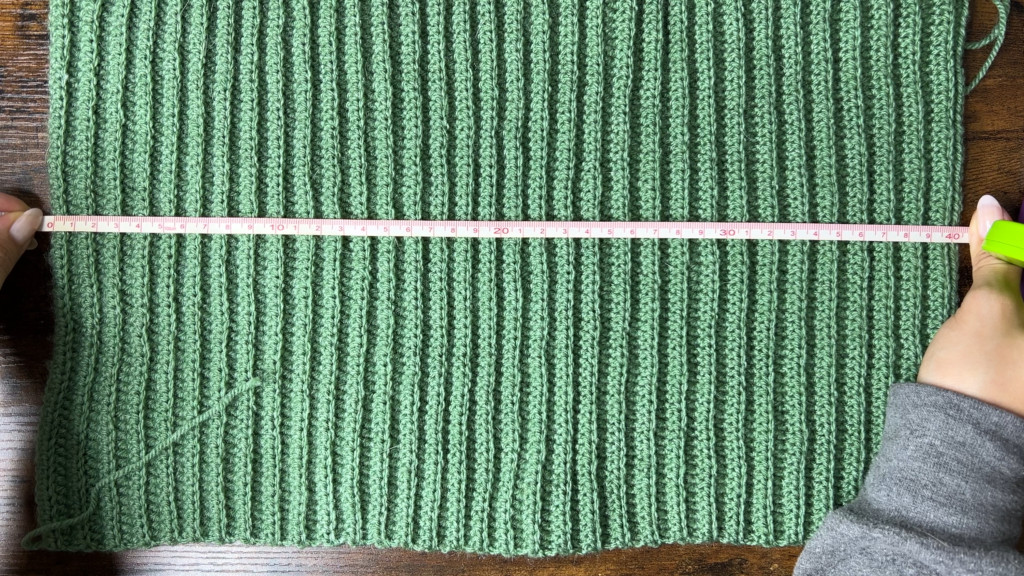
Rectangle Dimensions Before Joining (unstretched): 40 centimeters width x 25.5 centimeters height (15.7 inches width x 10 inches height)
Important Notes and Crochet Tips
- This crochet pattern is written in standard US crochet terms.
- Italicized notes within the pattern indicate adjustments for different sizes.
- The initial chain of 1 at the start of each row does not count as a half double crochet stitch.
- Maintain consistent stitch counts in each row to ensure straight, even edges for your rectangle.
- Using stitch markers to align rows can simplify the seaming process and result in neater edges.
Crochet Abbreviations Used
- ch = chain
- hdc = half double crochet
- blo = back loop only
- sl st = slip stitch
- st = stitch
Step-by-Step Crochet Instructions: Crocheting the Rectangle
Getting Started: Foundation Chain
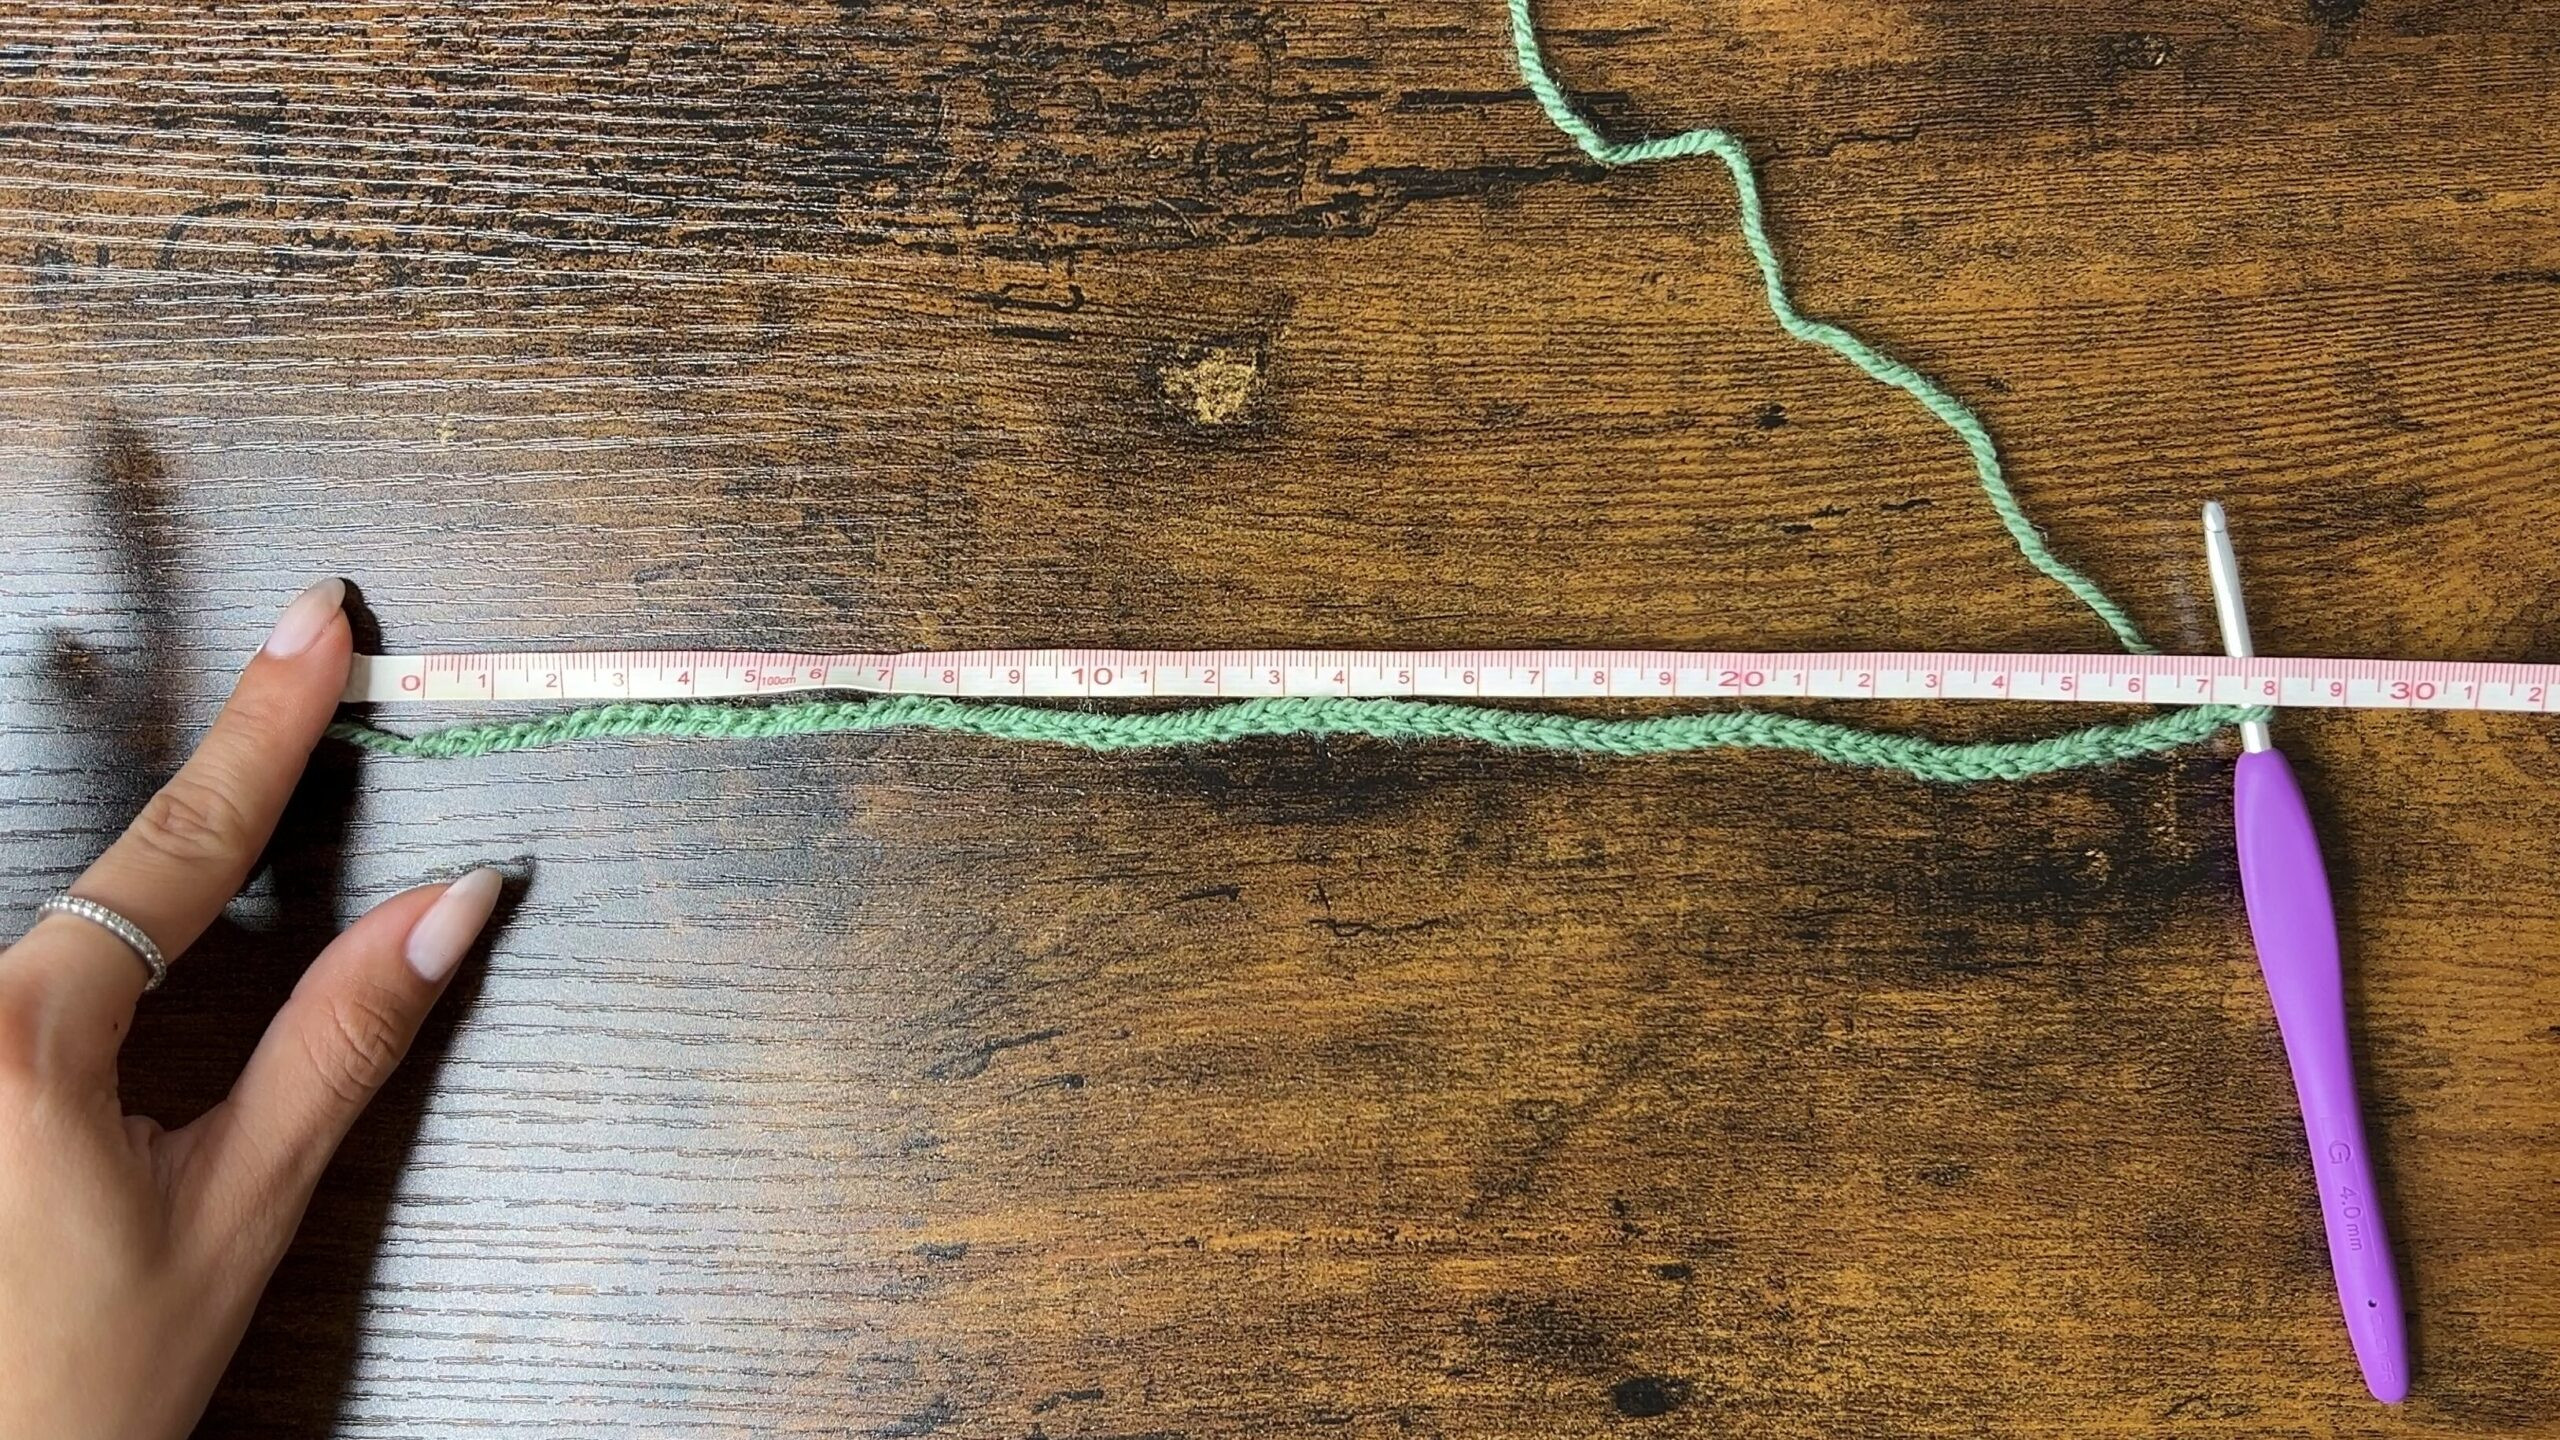
Begin by making a slipknot and then chain 61 (60 + 1 for the turning chain).
Sizing Adjustment Note: For a customized fit, measure the distance from the crown of your head down to your eyebrows and add the desired brim width that will be folded up. Make your foundation chain this length. Reduce the number of chains for a shorter beanie or increase for a longer, slouchier style beanie.
 Still image from the video showing how to create the foundation chain for the crochet cat ear beanie
Row 1: Half double crochet (hdc) in the 2nd chain from the hook and in each chain across to the end of the row. You will have 60 stitches.
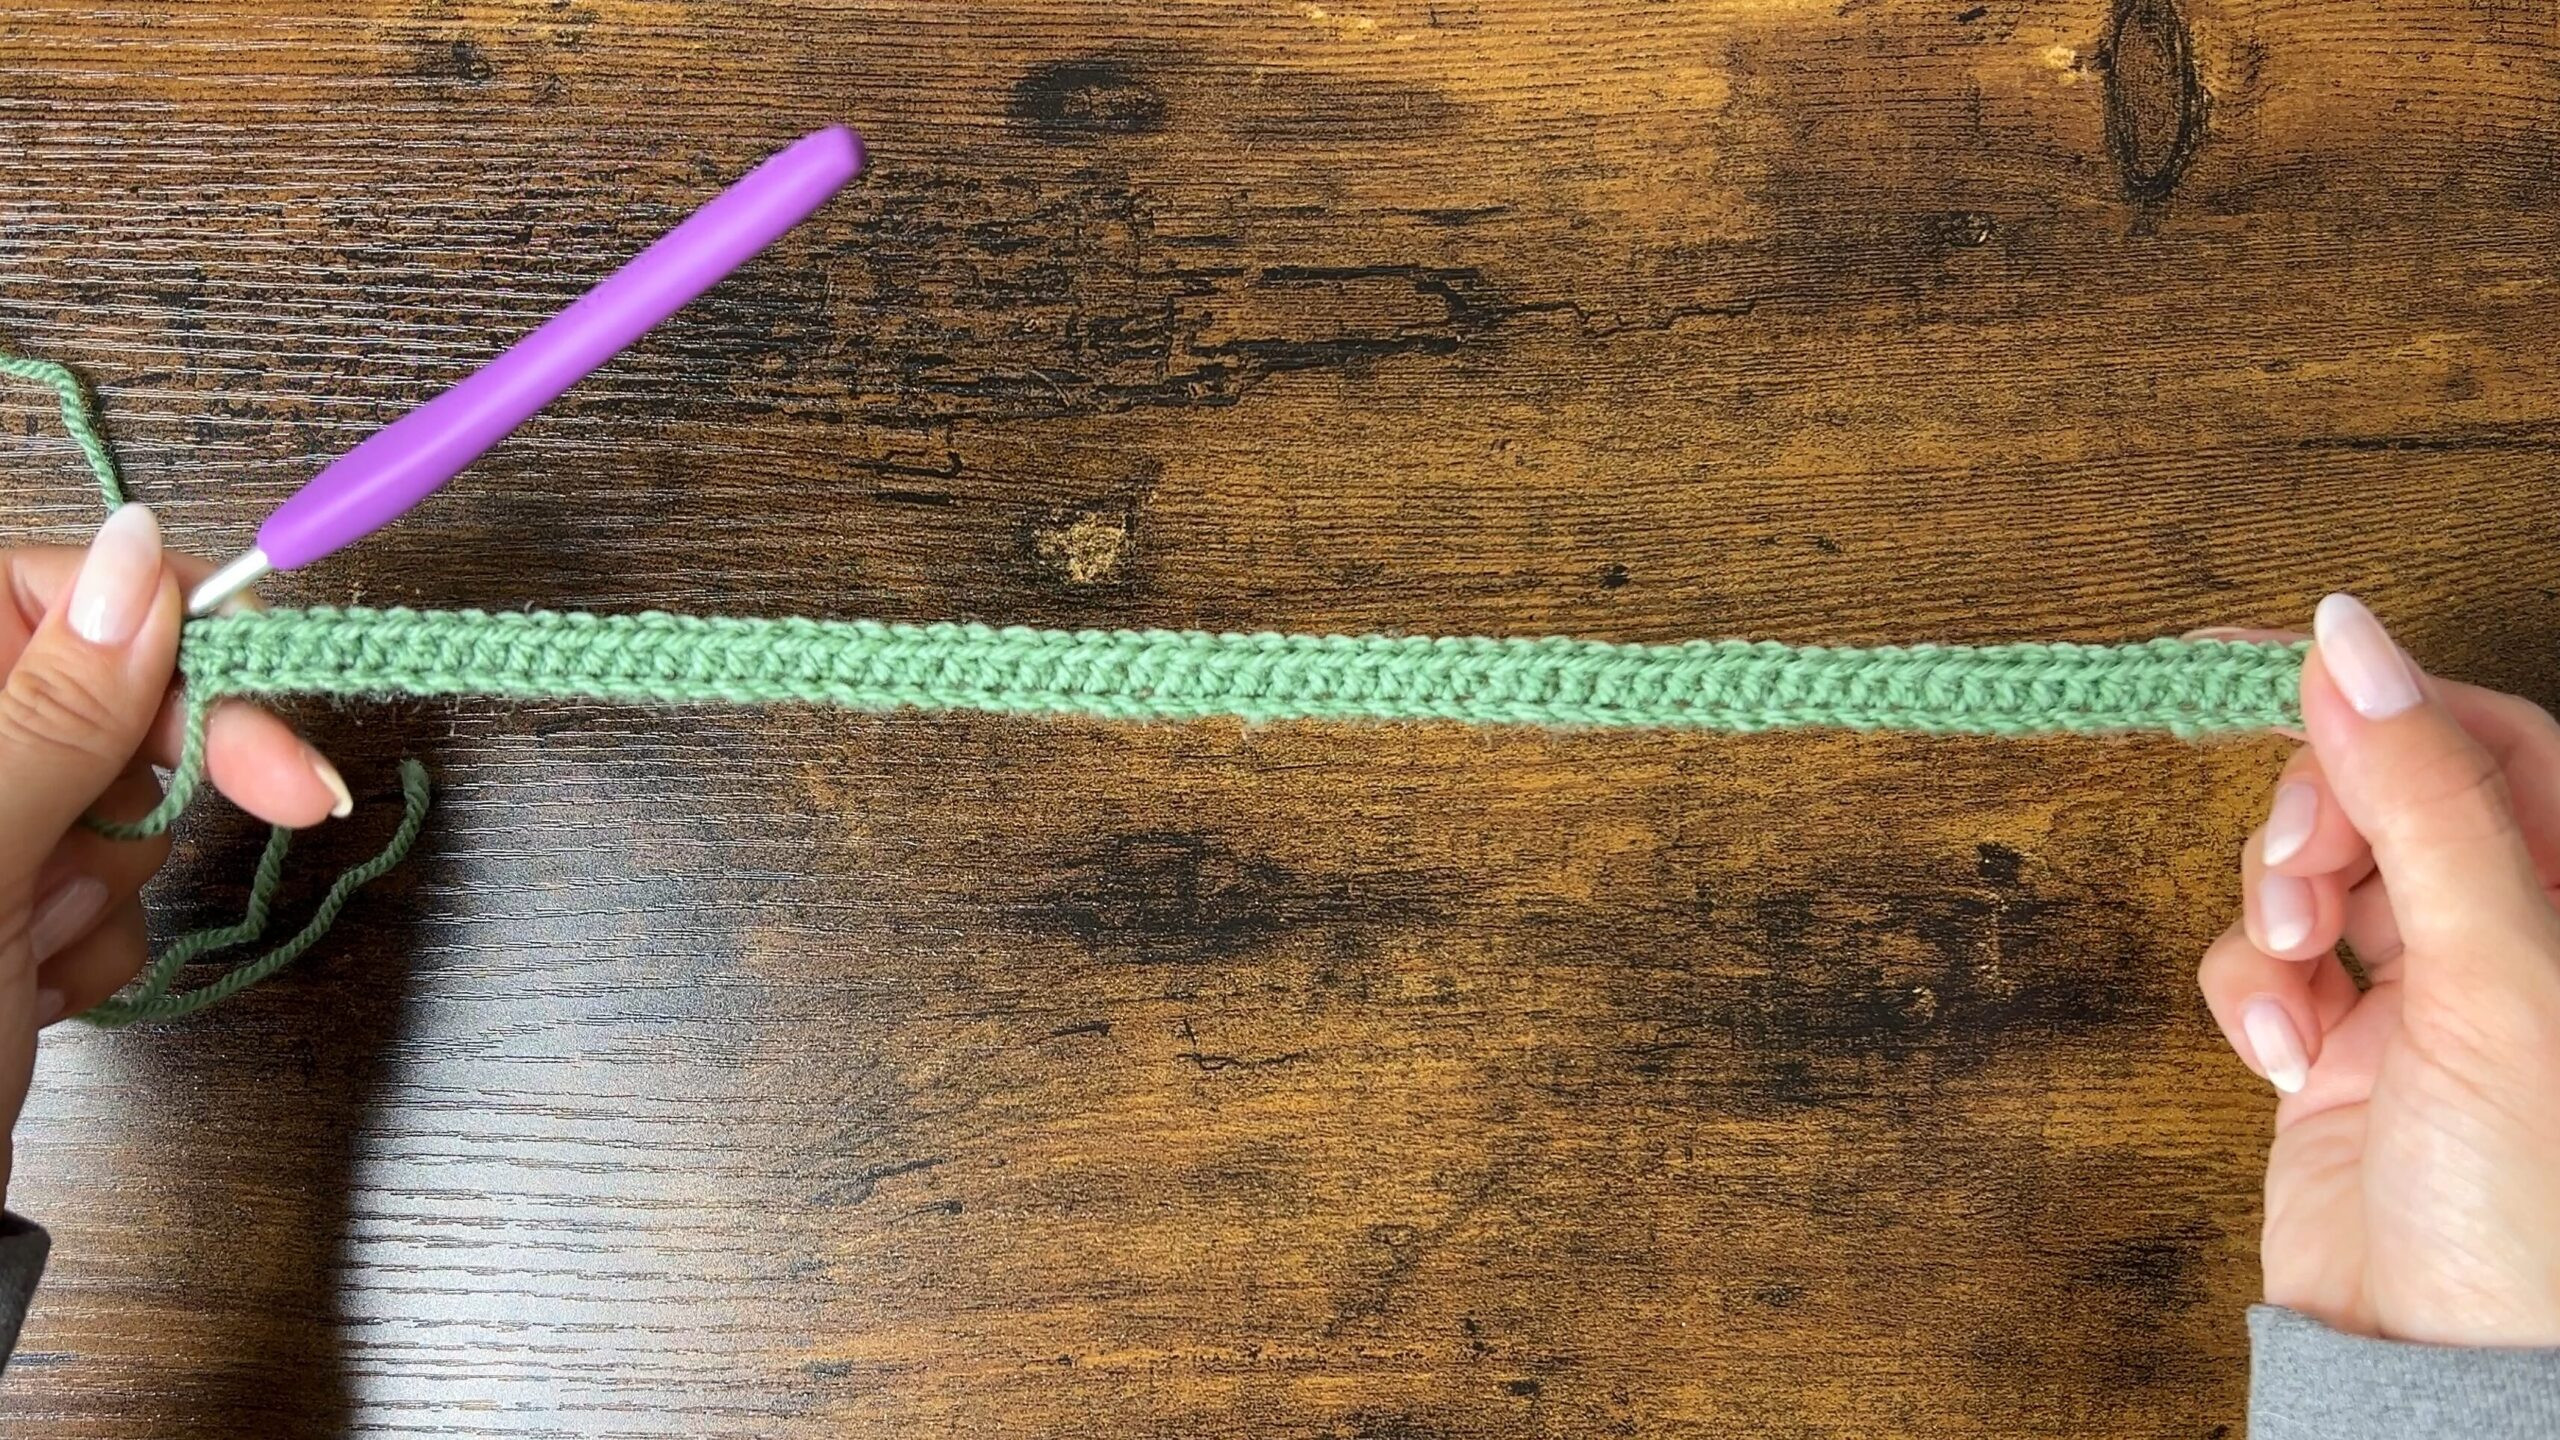 Image showing the first row of half double crochet stitches for the cat ear beanie
Rows 2-66: Chain 1 (does not count as a stitch), turn your work, and half double crochet in the back loop only (blo) of each stitch across the row. (60 stitches)
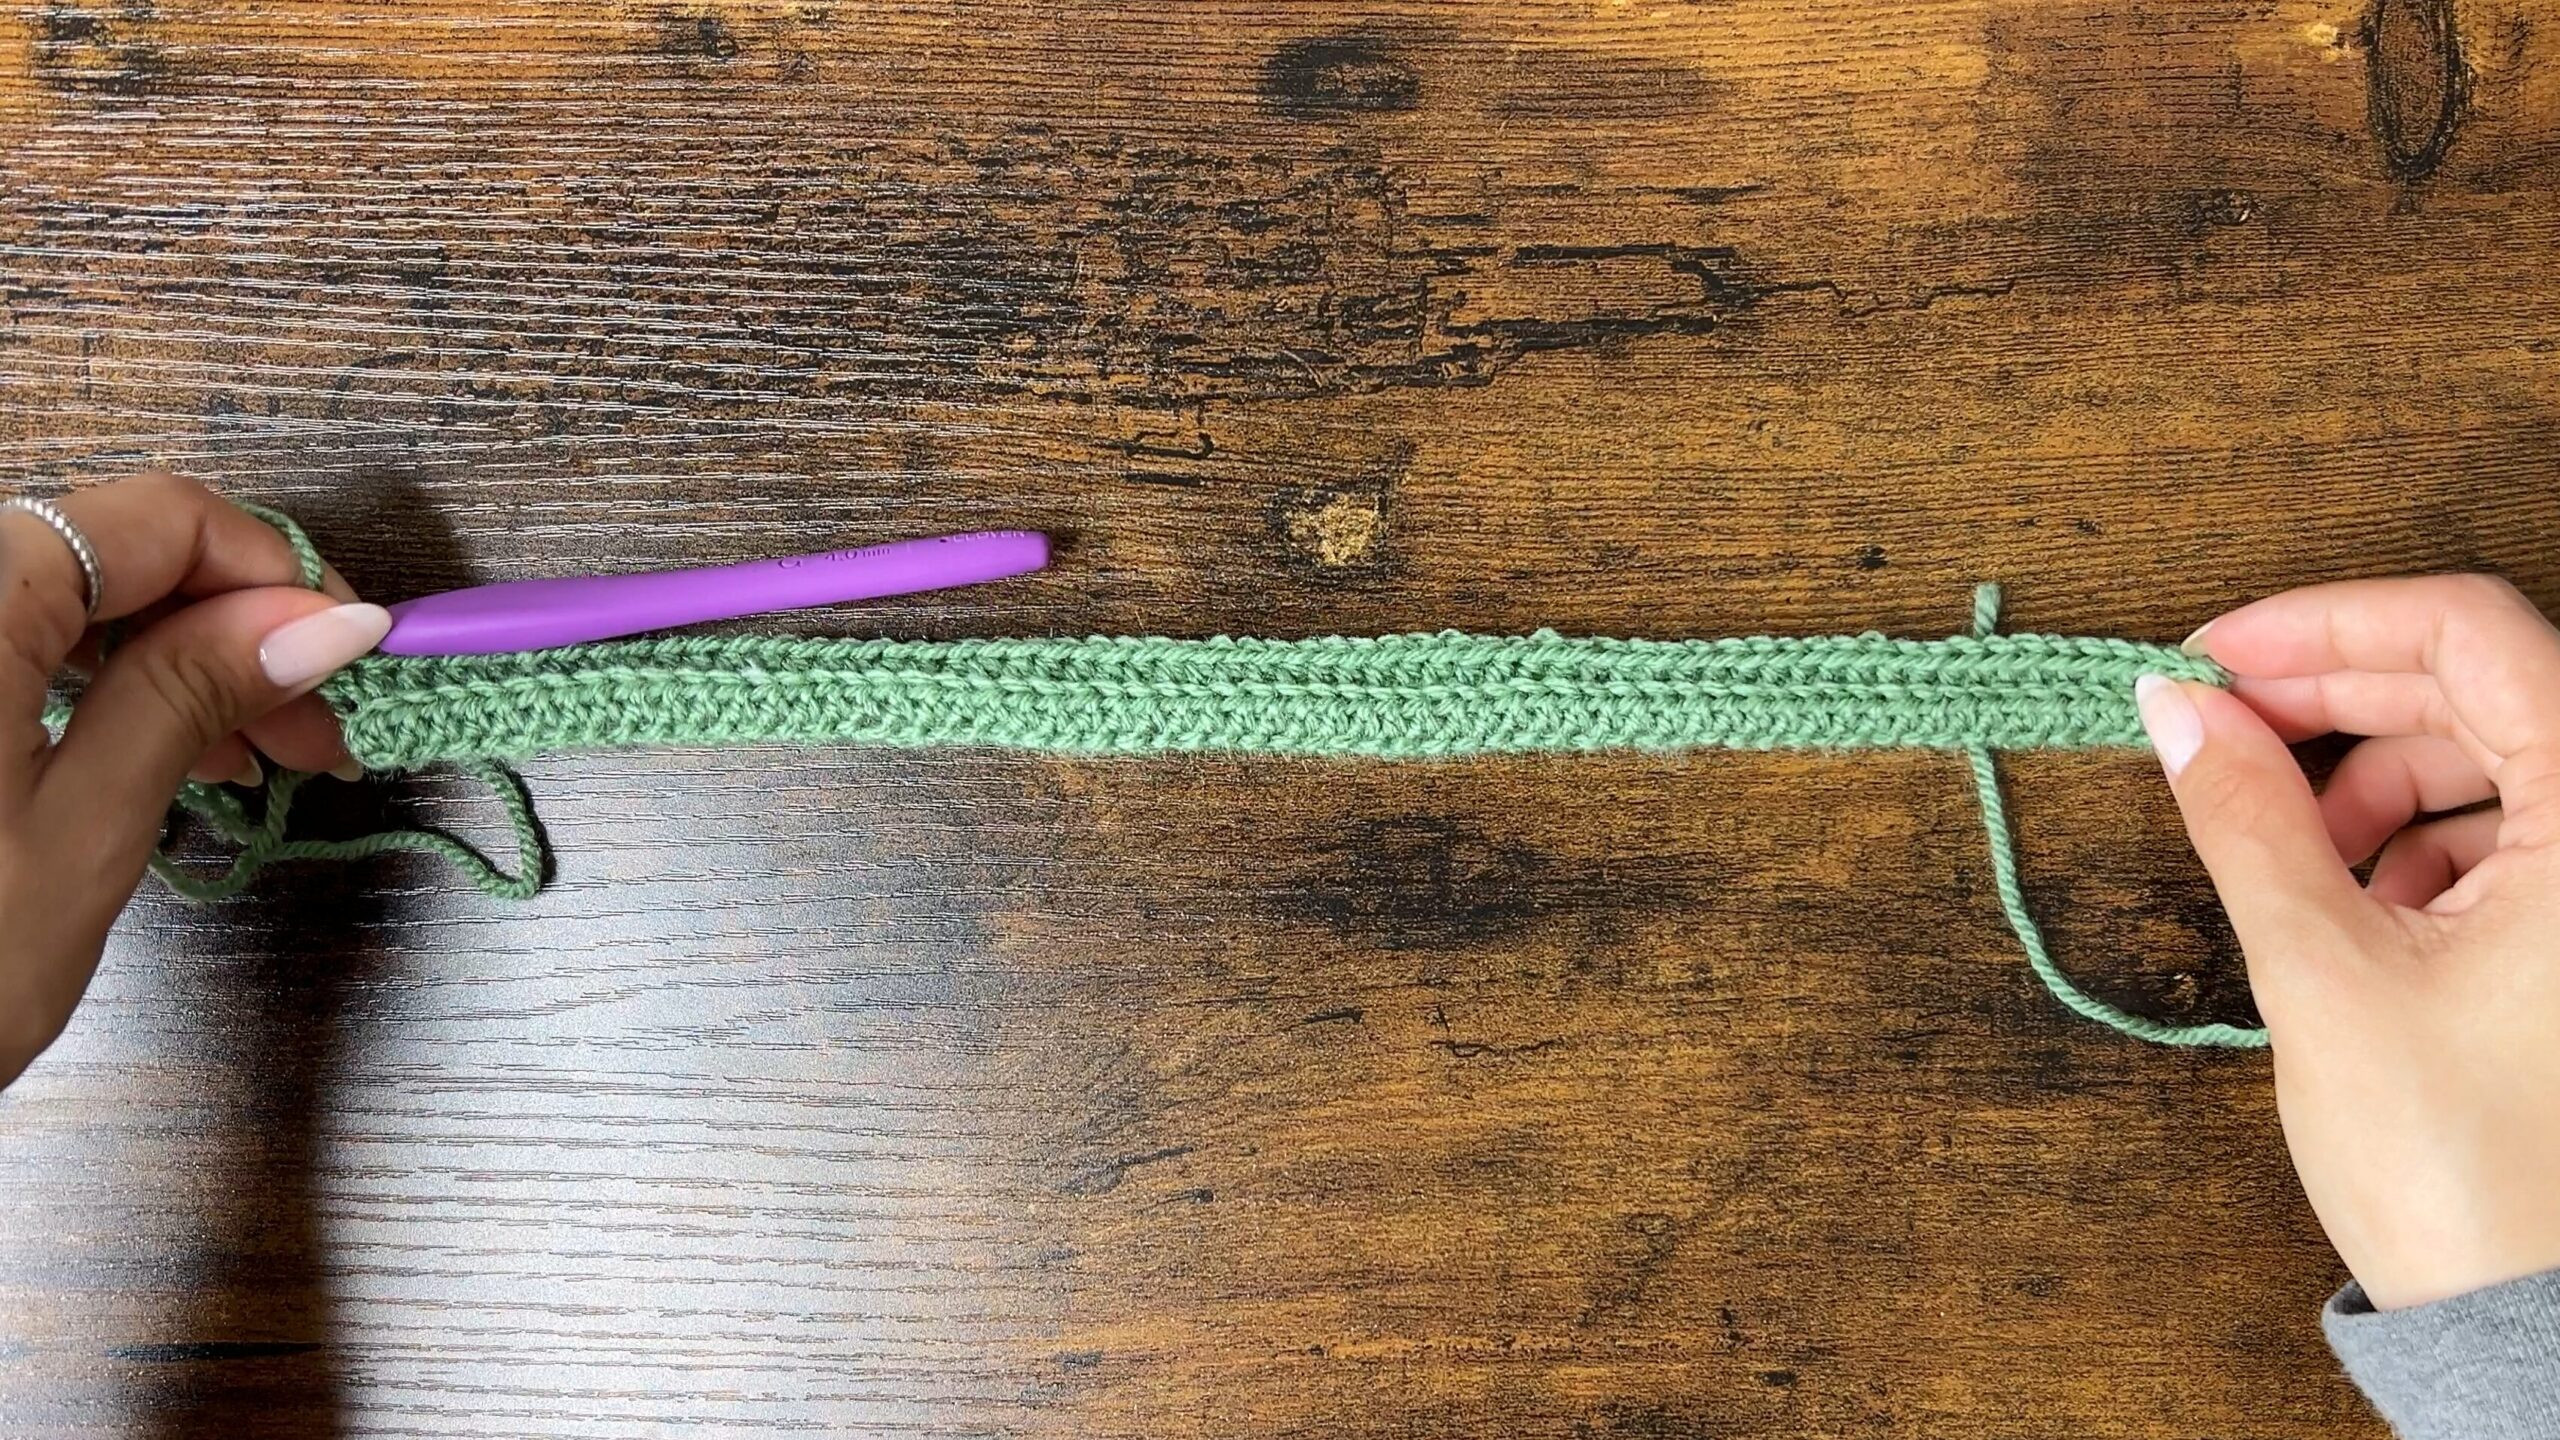 Image showing crocheting in the back loop only for subsequent rows of the cat ear beanie
Sizing Adjustment Note: To adjust the height and overall size of the beanie, modify the number of rows. Crochet fewer rows for a smaller beanie or more rows for a larger size. To check if the size is right, fold up the brim and wrap the crocheted rectangle around your head, it should fit snugly with a little stretch needed.
 Still image from the video demonstrating how to check the size of the crochet beanie rectangle by wrapping it around the head
Step-by-Step Instructions: Joining the Sides
-
Chain 1, turn your work.
-
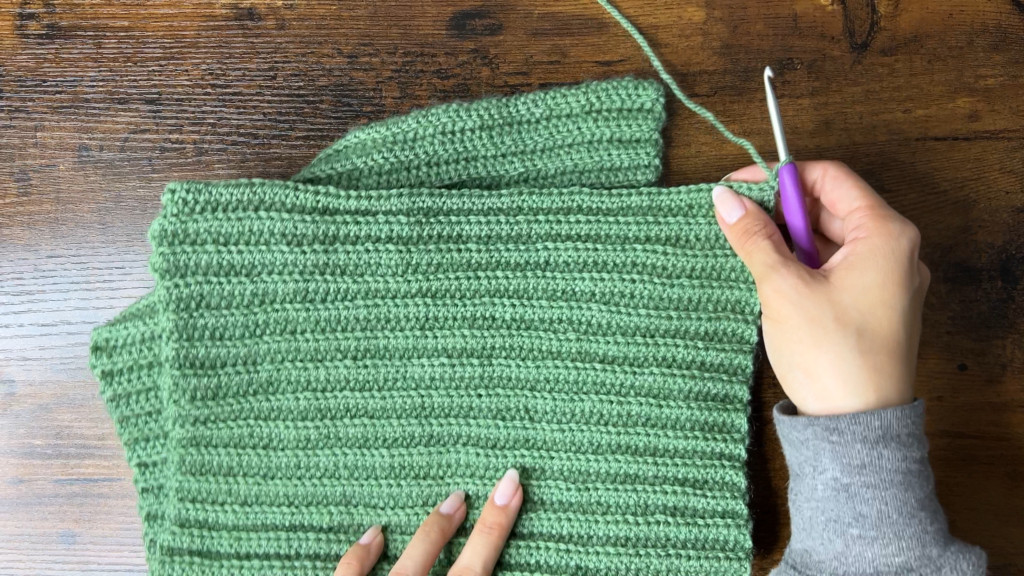
Fold your crocheted rectangle in half, bringing the bottom edge up to meet the top edge, aligning the rows.
-
Slip stitch (sl st) across both layers to join the sides. Work through the front loop of each half double crochet on the top layer and through the corresponding bottom of each chain on the bottom layer to create a neat seam.
 Still image from the video demonstrating the slip stitch seam to join the sides of the crochet cat ear beanie
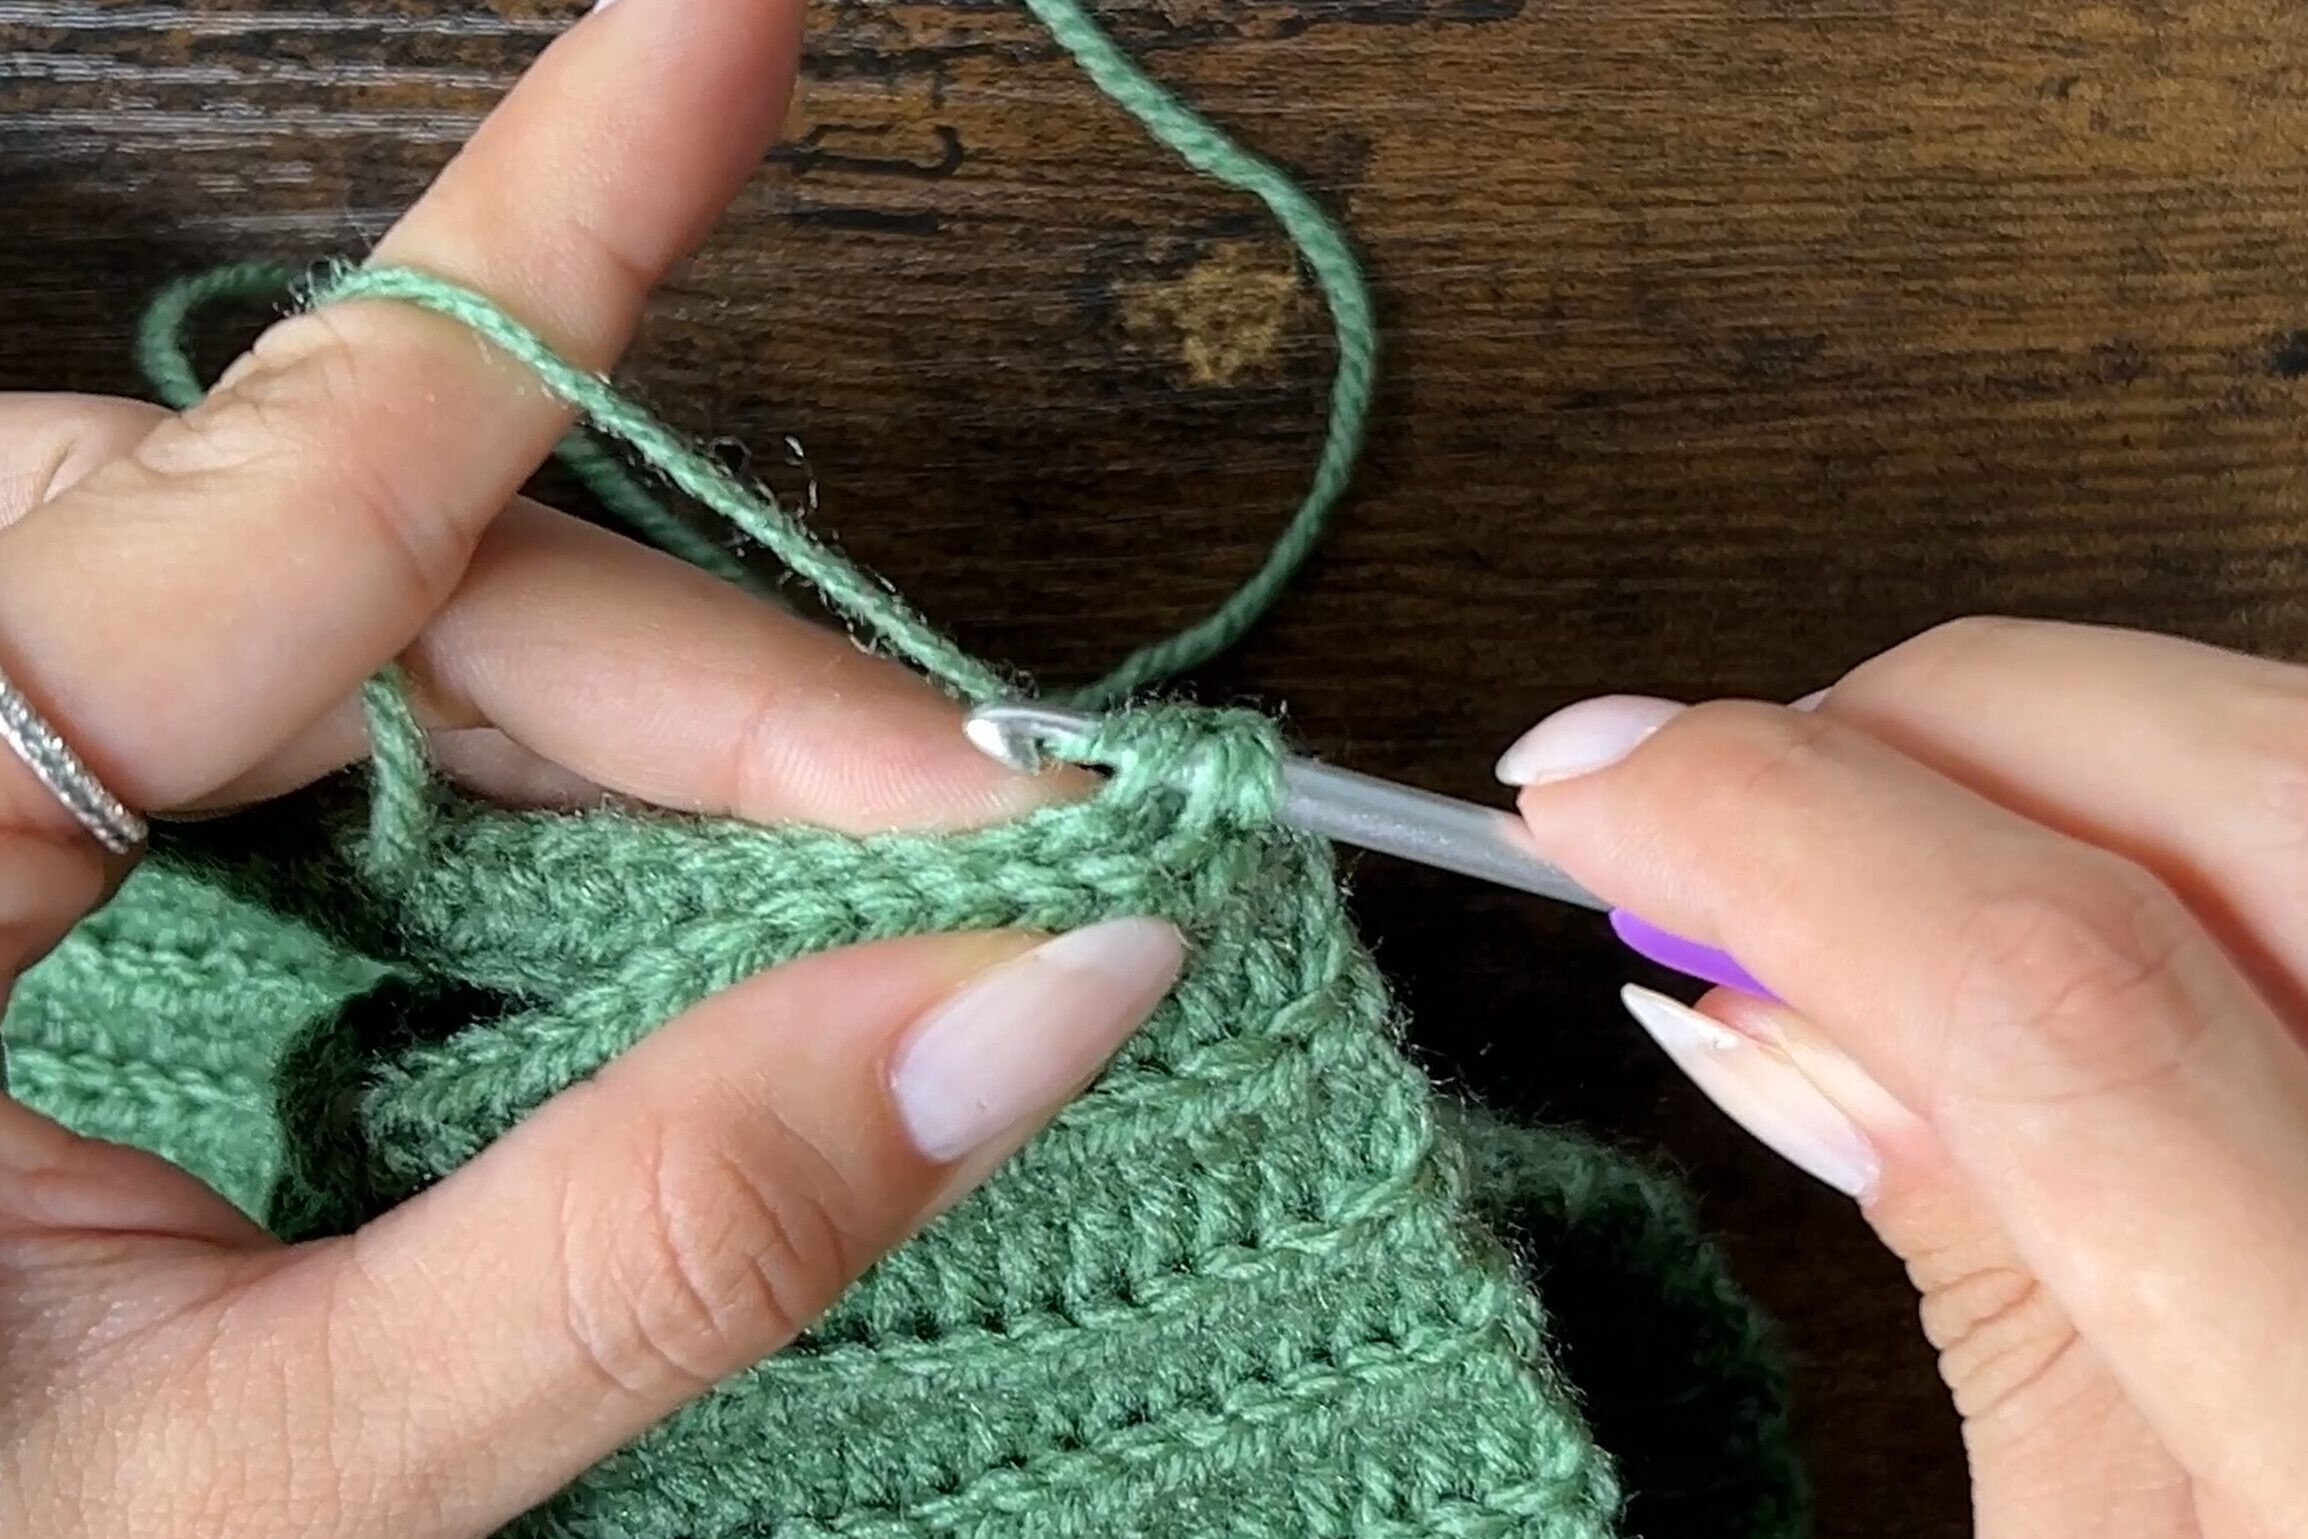 Image showing a close up of the slip stitch seam joining the sides of the crochet cat ear beanie
Step-by-Step Instructions: Closing the Top of the Beanie
-
Fasten off your yarn, leaving a long yarn tail, approximately 2-3 times the circumference of the beanie top, for sewing.
-
Fold the beanie along the slip stitch seam you just created. Mark the top-left corner of the folded edge with a stitch marker to help with alignment.
-
Using your yarn needle and the long tail, sew the top of the beanie closed using a whip stitch. Match the ridges on the top and bottom layers as you sew for a clean finish.
-
Once you have sewn all the way around, tie a secure double knot to fasten off the yarn.
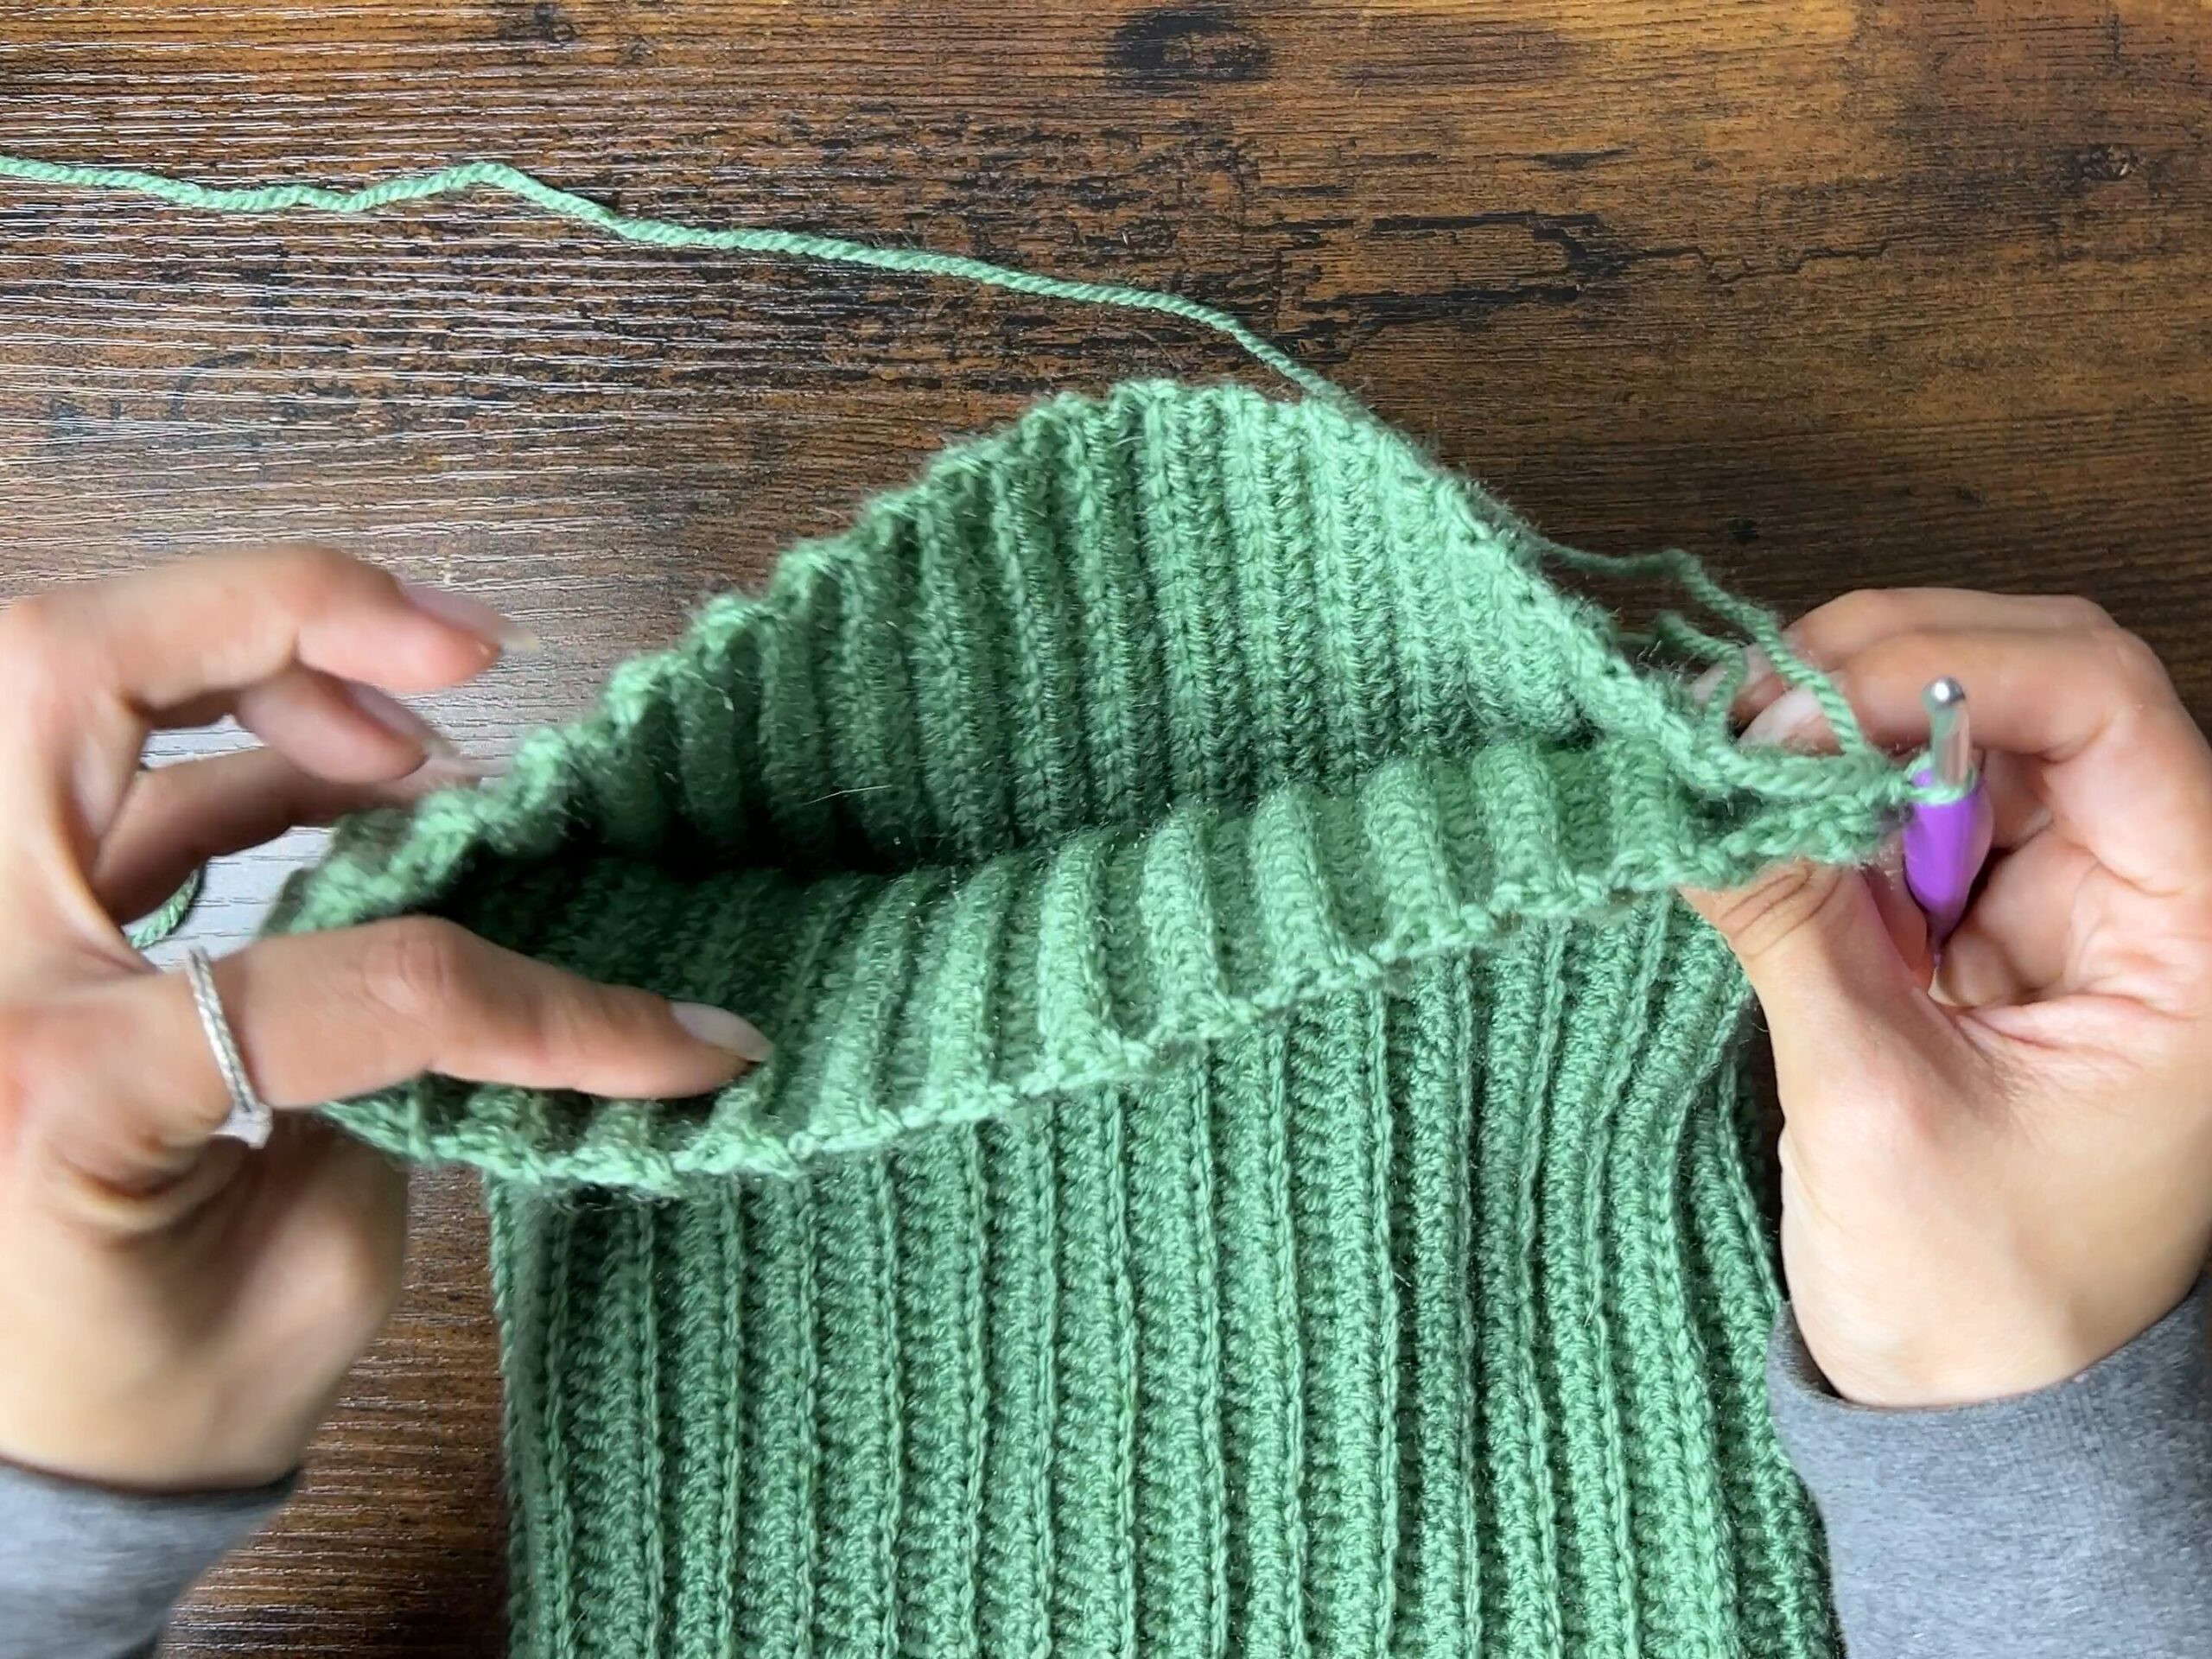 Image showing how to sew the top of the crochet cat ear beanie closed using a yarn needle
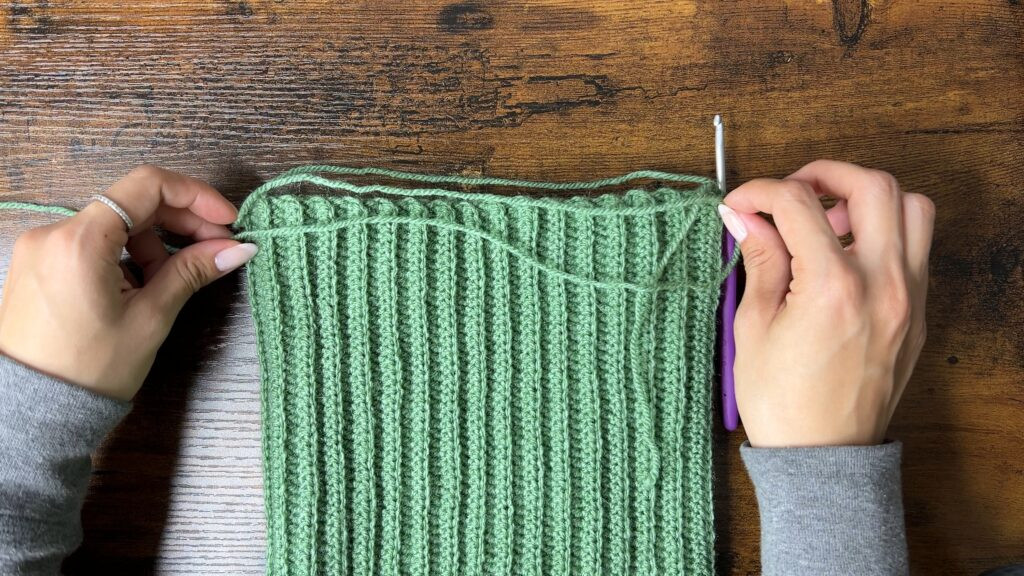 Image showing a close up of whip stitching the top of the crochet cat ear beanie closed
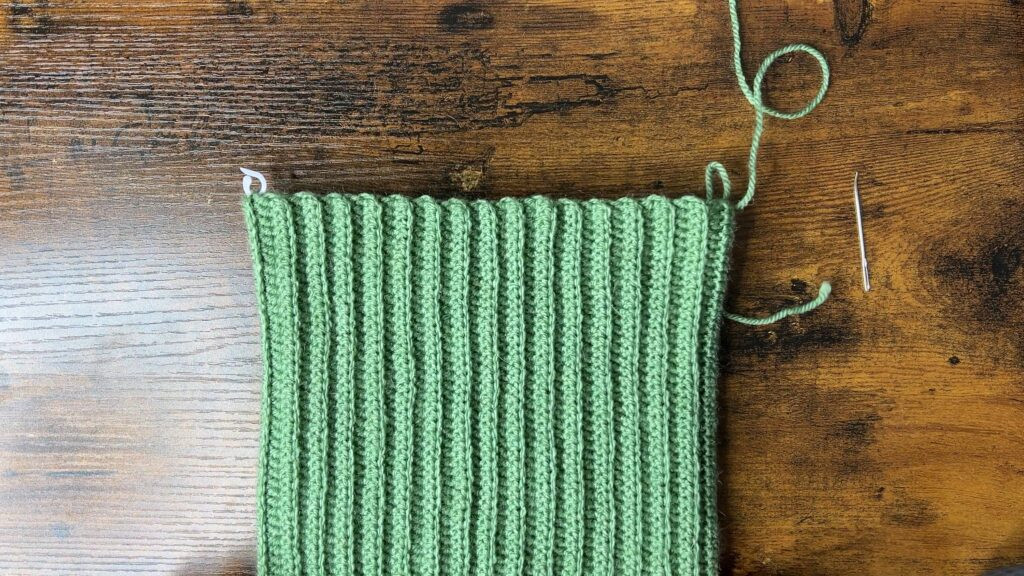 Image showing the top of the crochet cat ear beanie being sewn closed with whip stitches
 Image showing the finished sewn top of the crochet cat ear beanie
Finishing Your Crochet Cat Ear Beanie
To neatly finish your cat ear beanie, hide the loose yarn ends by threading them inside the hat using your yarn needle. Weave the ends under a few stitches to secure them, and then trim any excess yarn.
Turn your beanie inside out to conceal the seams and then fold up the brim to your desired cuff width. When worn, the clever shaping of this beanie will naturally create adorable cat ears at the top corners. You can adjust and shape these ears to your liking – flatten them for a subtle look or accentuate them for a more playful style.
 A person wearing a cream colored crochet cat ear beanie, smiling and looking to the side, with a slightly blurred background
Enjoy your new, handmade crochet cat ear beanie! It’s perfect for adding a touch of warmth and cuteness to any outfit.