Are you ready to bring the whimsical world of Dr. Seuss to life? One of the most recognizable symbols from his beloved books is undoubtedly the towering hat of the mischievous Cat in the Hat. Whether you’re preparing for World Book Day, a Dr. Seuss themed party, or simply looking for a fun craft project with kids, creating your own Cat And The Hat Hat is surprisingly easy and incredibly rewarding. This guide will walk you through simple steps to make your very own paper hat, perfect for little bookworms and playful adults alike. Let’s dive into this fun DIY project that’s sure to bring smiles and a touch of Seussian magic to your day!
Materials You’ll Need to Make Your Cat in the Hat Hat
Before we begin crafting your fantastic cat and the hat hat, let’s gather all the necessary supplies. This project is wonderfully simple, requiring just a few basic household items:
- Red Cardstock or Paper: 3 sheets of A4 size is ideal for the Cat in the Hat’s signature red and white stripes. Using cardstock provides more durability for your hat.
- White Paper: A few sheets of standard white printer paper will be used for the iconic white stripes.
- Tape: Essential for assembling your paper hat. Clear tape works best to keep the focus on the hat’s design.
- Scissors: For cutting paper and cardstock. Child-safe scissors are recommended if crafting with younger ones.
- Ruler and Pencil: To help with accurate measurements for stripes and tabs.
- Plate and Bowl: These will act as templates to trace perfect circles for the hat brim, making it easier to cut consistent shapes.
Once you have all your materials ready, you’re all set to start creating your very own cat and the hat hat!
Step-by-Step Instructions to Make Your Cat in the Hat Hat
Now for the exciting part – bringing your cat and the hat hat to life! Follow these straightforward steps to construct your own iconic headwear:
1. Prepare Your Paper Base
Start by preparing the base for your hat. For an adult-sized or larger child’s cat and the hat hat, you’ll need to combine two sheets of red cardstock or paper to create a larger piece. Simply overlap the edges slightly and tape them together securely. This larger sheet will form the main body of your hat.
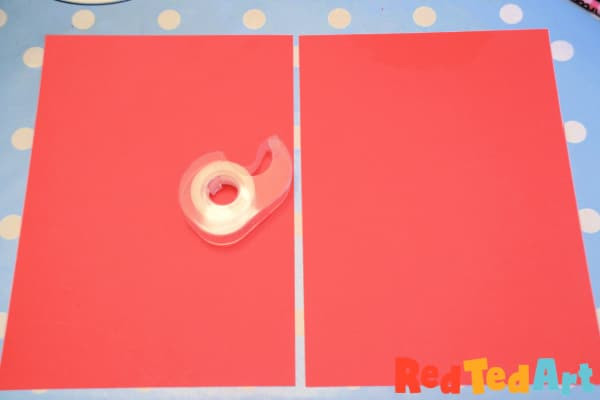 Two red sheets of paper joined to create a larger base for a DIY paper hat
2. Cut Out the Hat Brim
Next, we’ll create the brim of your cat and the hat hat. Take another sheet of red cardstock (or paper). Place a plate upside down on the cardstock and trace around it to create a large circle. Inside this large circle, place a bowl and trace around it to create a smaller circle in the center. Carefully cut out the larger circle, and then cut out the inner circle to form the brim of your hat.
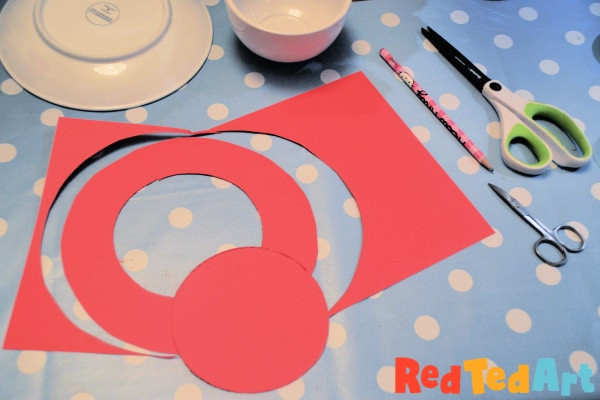 Red paper brim being cut out using a plate and bowl as guides for a paper hat craft
Eco-Tip: Don’t discard the inner red circle you’ve just cut out! We’ll be using this later as the top cover for your cat and the hat hat, making this craft more economical and environmentally friendly.
3. Check the Fit and Size
Before moving forward, it’s a good idea to check if the main body of your hat will fit nicely within the brim. Roll the joined red paper into a cylinder shape. Ensure that this cylinder fits comfortably inside the circular brim you just created. Adjust the size of the cylinder by trimming the edge if needed to ensure a good fit within the brim.
4. Mark and Prepare Hat Flaps
Unroll the red cylinder you just sized. Using a ruler and pencil, mark a half-inch strip along both long sides of the rectangular paper. Within these strips, mark half-inch gaps at regular intervals along the entire length. These marked areas will become the tabs that help attach the hat’s body to the brim.
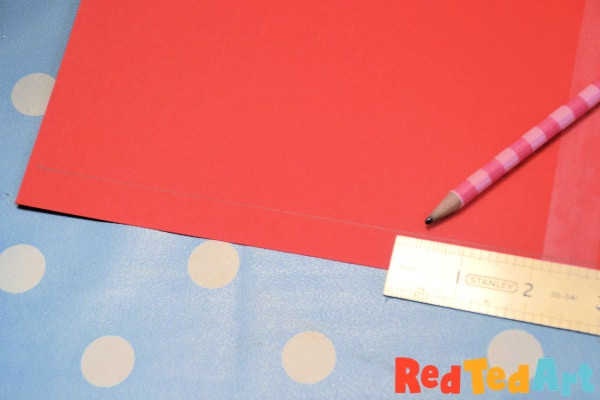 Ruler marking flaps on red paper for constructing a DIY hat
5. Cut Out the Hat Tabs
Carefully cut along the marked lines to create tabs on both sides of your red paper rectangle. These tabs will be folded inwards to attach the cylindrical hat body to the brim in the next step.
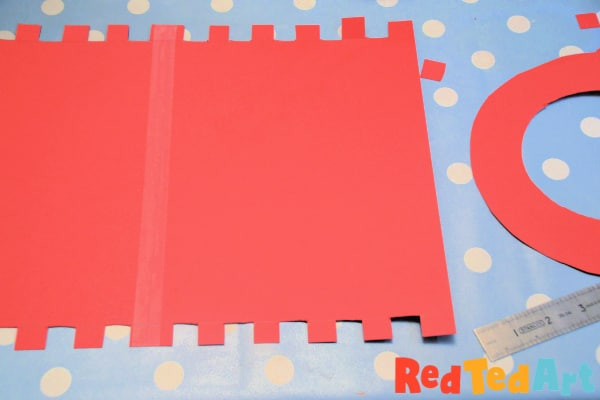 Cutting out paper tabs on red paper for a handmade paper hat
6. Assemble the Paper Hat
Re-roll the red paper into a cylinder shape, overlapping the edge and taping it closed to form the main body of your cat and the hat hat. Check once more that it fits nicely inside the brim. If you are satisfied with the size, fold the tabs you cut outwards, ready for attaching to the brim.
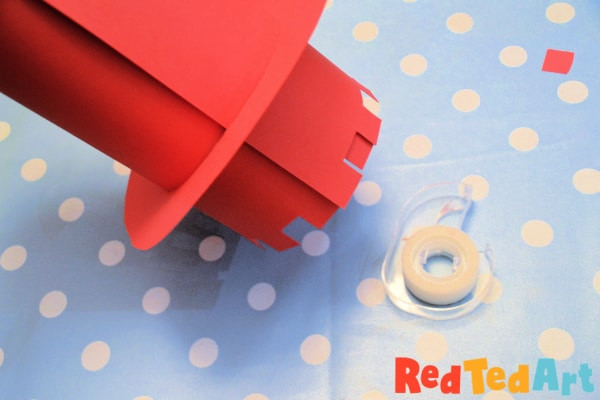 Checking the size of a rolled paper cylinder for a DIY paper hat
7. Add White Stripes and Attach the Brim
Now it’s time to add the signature white stripes to your cat and the hat hat. Cut strips of white paper and tape them around the red cylinder to mimic the iconic Dr. Seuss hat design.
Once the stripes are added, place the cylindrical hat body onto the brim. Fold the tabs inwards and tape them securely to the underside of the brim, attaching the body to the circular brim.
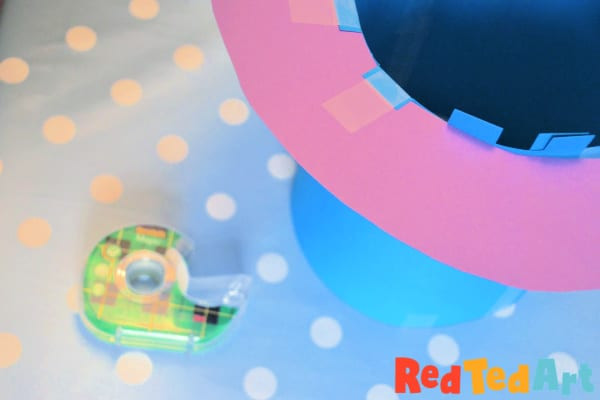 Taping down the sides of a paper hat underneath the brim for assembly
8. Finish the Top of the Hat
Remember the inner red circle we cut out from the brim? Now it’s time to use it! Place this red circle on top of the open cylinder of your hat. Fold the top edges of the cylinder inwards towards the center and tape the red circle on top, covering the opening and giving your cat and the hat hat a neat, finished look.
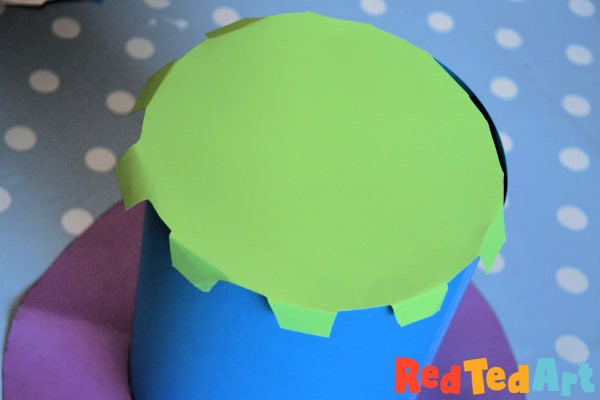 Using the inside cutout to cover the top of a DIY paper hat
9. Your Cat in the Hat Hat is Complete!
Congratulations, you’ve successfully crafted your very own cat and the hat hat! Get ready to showcase your creation at your next book-themed event or enjoy some fun dress-up play.
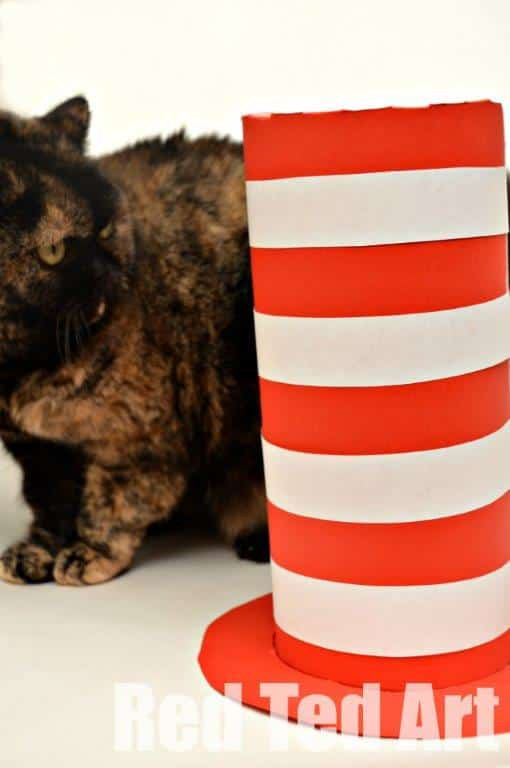 Finished Cat in the Hat paper craft hat on display
Tips and Creative Variations
- Mad Hatter Inspired Hat: If you loved making this basic paper hat structure, you can easily adapt it into a Mad Hatter hat! Use brightly colored cardstock for both the brim and body, and decorate it with strips of colorful tissue paper, ribbons, or even feathers for a whimsical touch.
- Size Adjustments: To make hats for different head sizes, adjust the initial rectangle size and brim diameter accordingly. You can measure head circumference to get the perfect fit.
- Durability: For a more durable hat, consider using thicker cardstock or laminating the finished hat to make it last longer, especially for repeated use in classrooms or playgroups.
Creating a cat and the hat hat is a fantastic way to engage with Dr. Seuss’s imaginative world and enjoy a simple, fun crafting activity. Perfect for parties, costumes, or just a creative afternoon, this DIY project is sure to be a hit with kids and adults alike. Enjoy bringing a bit of Seussian silliness into your life with your handmade hat!

